Using Schedule Windows
Pipeline User’s Guide
131
74-0085-05
clips are captured, they are saved in the folder specified by the storage location (located at the top of the
window) – click to select a new folder or share for storing clips you capture.
You can move a clip by clicking in the body of the clip event and dragging it up or down. This avoids the
necessity of moving a clip by adjusting both the start and stop times correctly. You can’t overlap clip events
on a schedule.
To play a local clip (directly on your computer, SAN, or connected server), hover the mouse over the clip
event and click the Play button that displays. If the file exists and is accessible, it plays in the preview area.
Deleting Clip Events
To delete a clip you’ve selected, choose one of several actions:
• Press the Delete key on the keyboard
• Click the X icon to the left of the schedule.
Once a clip has been placed on the schedule, you can drag it around to change their times. Or, you can
open the property sheet and adjust their start and stop time. You can’t create a single clip event lasting
longer than 4 hours.
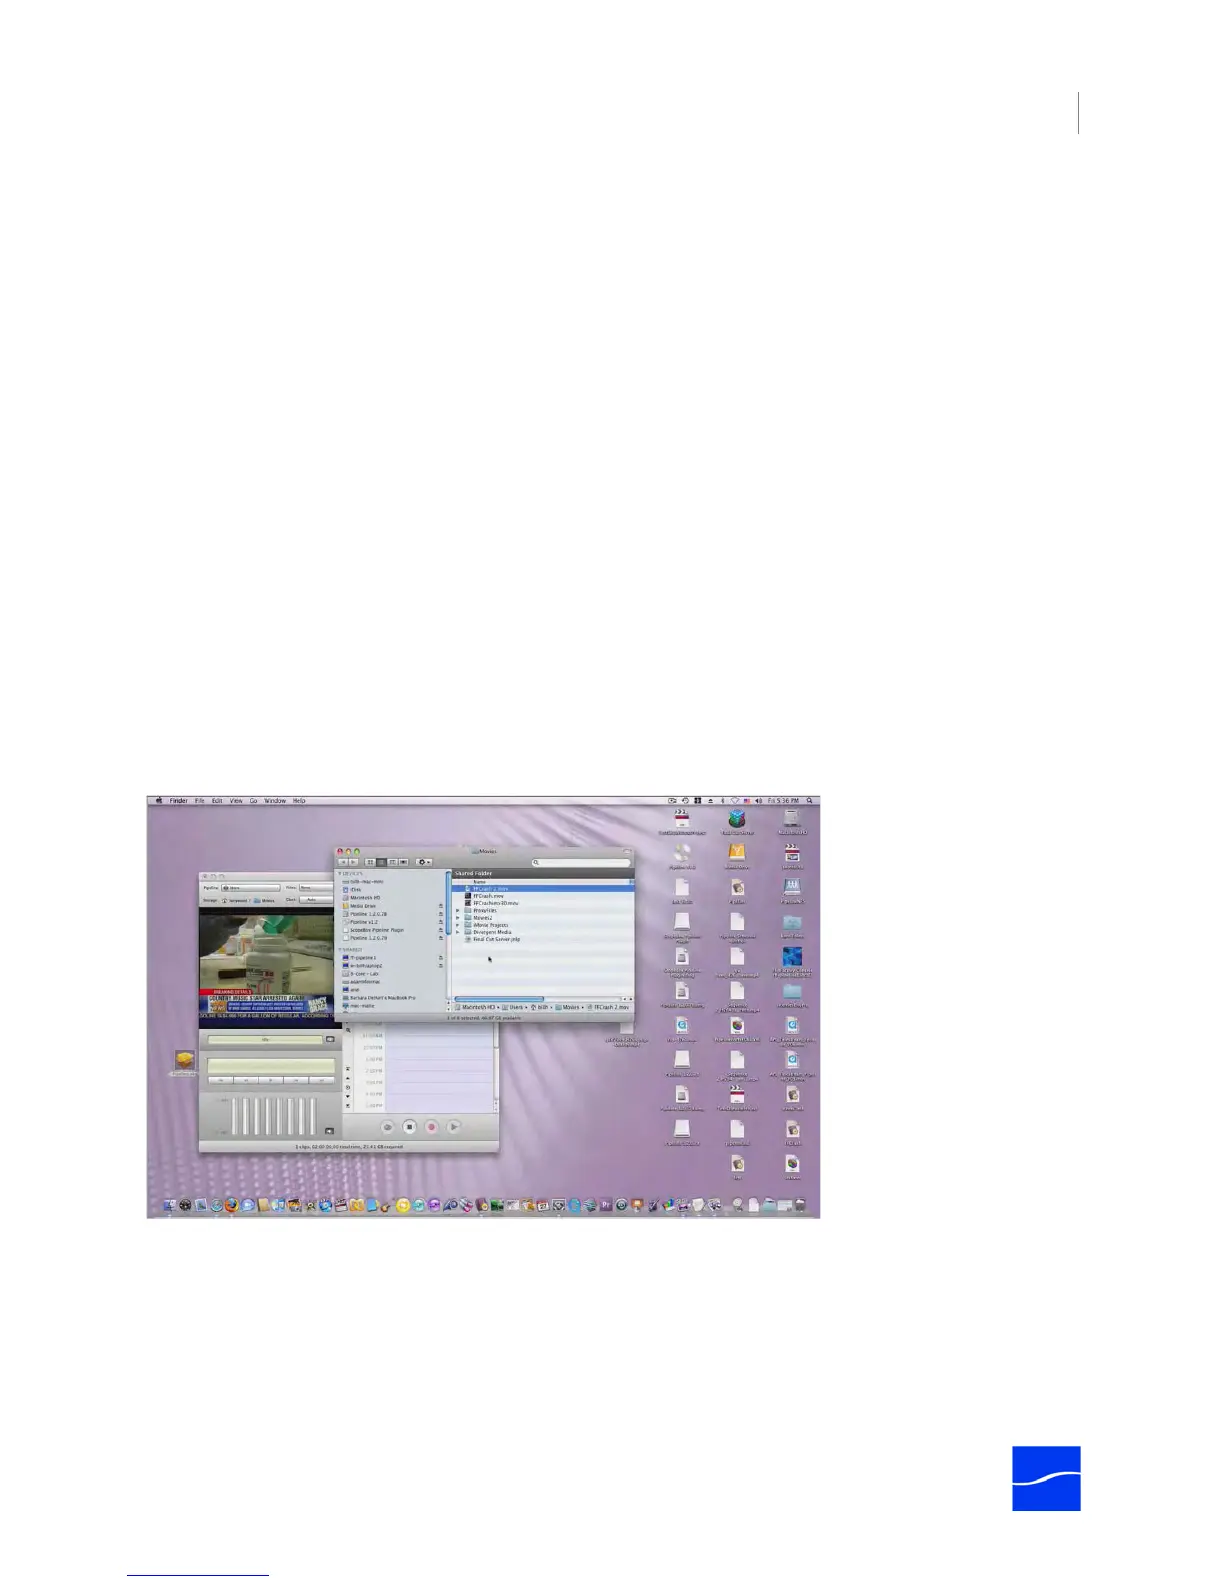
Showing Media on Your Desktop
When an event in the schedule points to local media, you can open the folder that contains the clip directly.
Pipeline Control sends a command to the operating system to display the clip in the enclosing folder:
Figure 8–3. Pipeline Control displays the video clip’s folder.
Editing a Clip Event’s Property Sheet
Each clip event has its own property sheet. To display a clip event’s property sheet, double-click in its title
bar on the schedule panel. Or, select the clip and click the i icon in the toolbar to the left of the timeline.
Properties are displayed on two different tabs: General, and Labels (Mac OS X). In Windows, the tabs are
General, Standard, QuickTime, and Final Cut Pro.