Chapter F: PARTS REPLACEMENT AND REPAIR 4 C-ARM AND UPPER ARM PARTS REPLACEMENT
Technical manual Planmeca ProOne 157
Now remove the tube head by unscrewing the two attachment screws on top of the tube
head with a 4 mm Allen key. You can then detach the tube head by pulling it out.
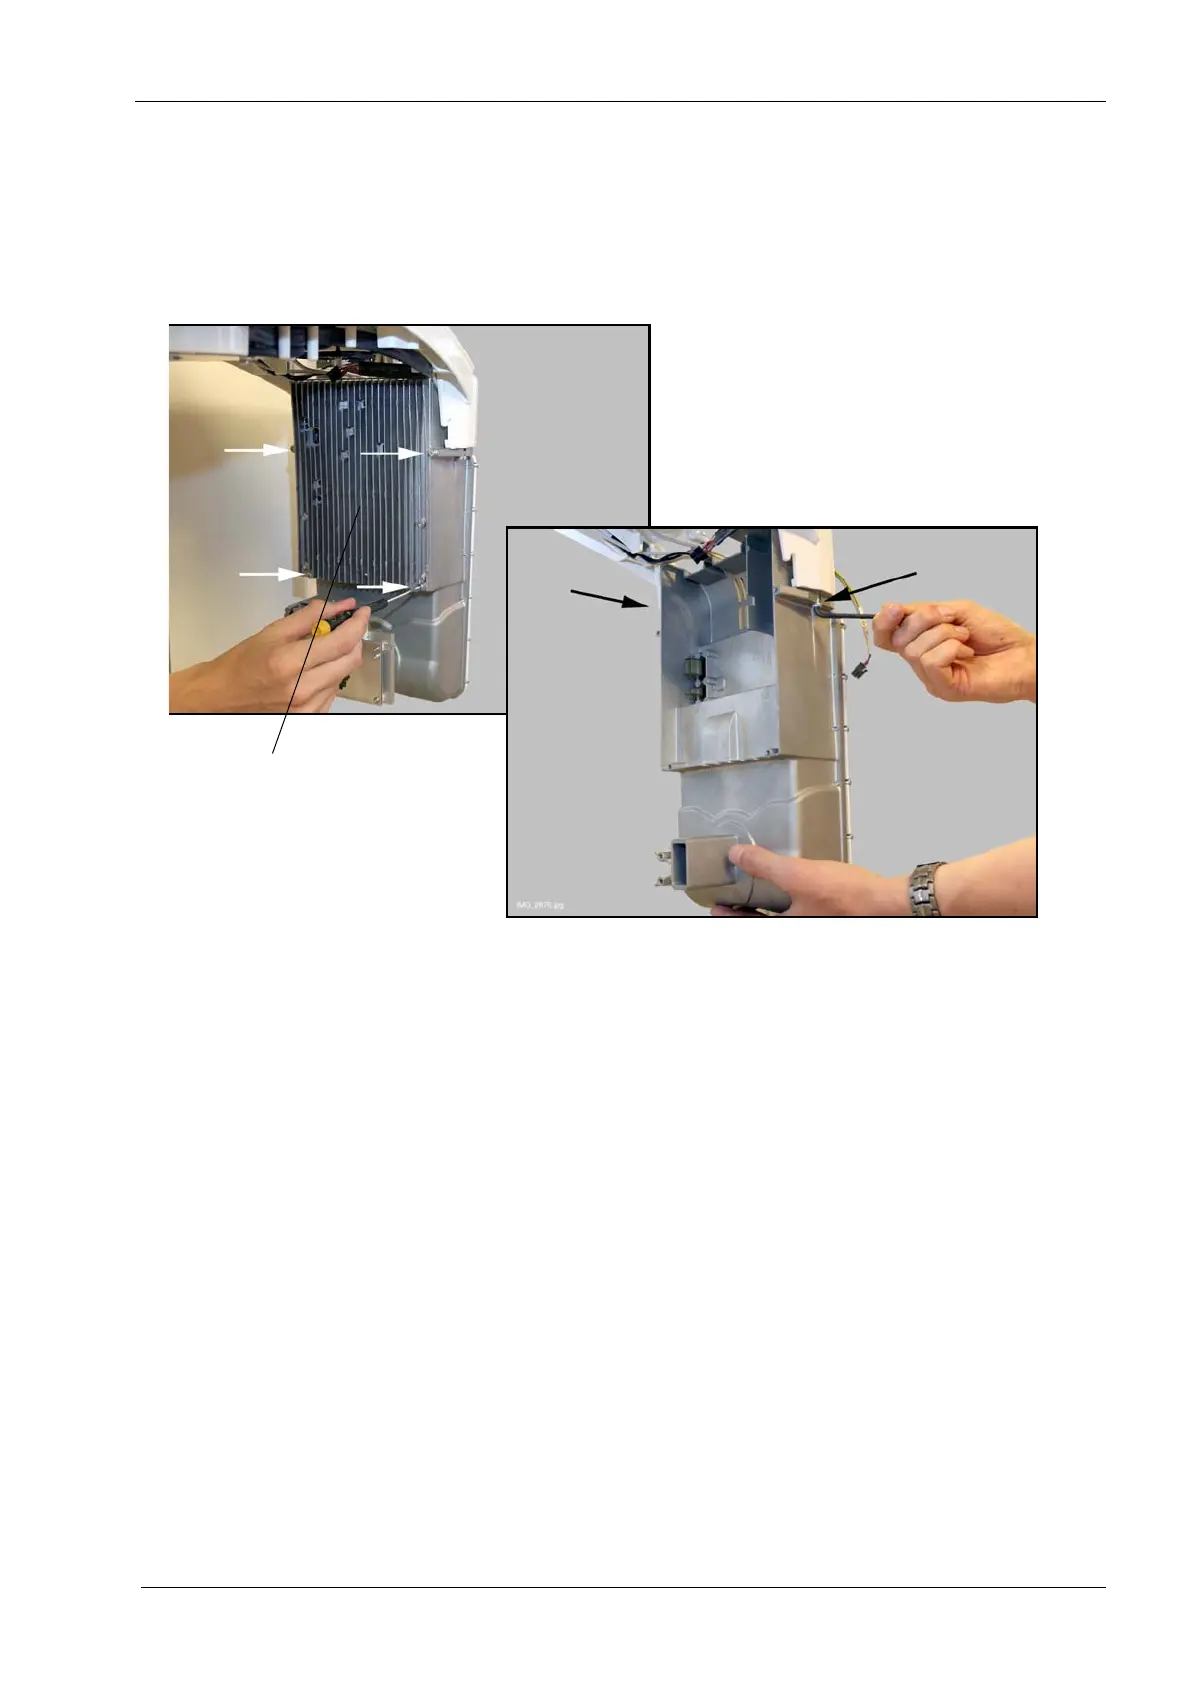
If the Power Supply Unit (PSU) assembly does not need to be replaced, detach it from the
tube head by unscrewing the four screws that hold it in position.
Install a new tube head in reverse order.
When reconnecting the cables note that both the cables and the cable connectors are
labelled for easy reference and assembly.
Power Supply Unit
(PSU) assembly
(If needed, detach PSU assembly
by removing four screws
with 2.5 mm Allen key)