93 • Performing a Bump Test GX-6000 Operator’s Manual
10 . With the desired sensor screen displayed, connect the tubing from the
demand flow regulator to the rigid tube on the probe then quickly press
and release the POWER/ENTER button to proceed to the Bump In
Progress Screen. The instrument will count down.
If you do not want to proceed with the bump test, press and release the
DISP/LOCK button to return to the Gas Select Screen.
If you do want to continue with the bump test, proceed to the next step.
11 . When AUTO CAL in the BUMP PARAMETERS menu item in
Maintenance Mode is set to OFF:
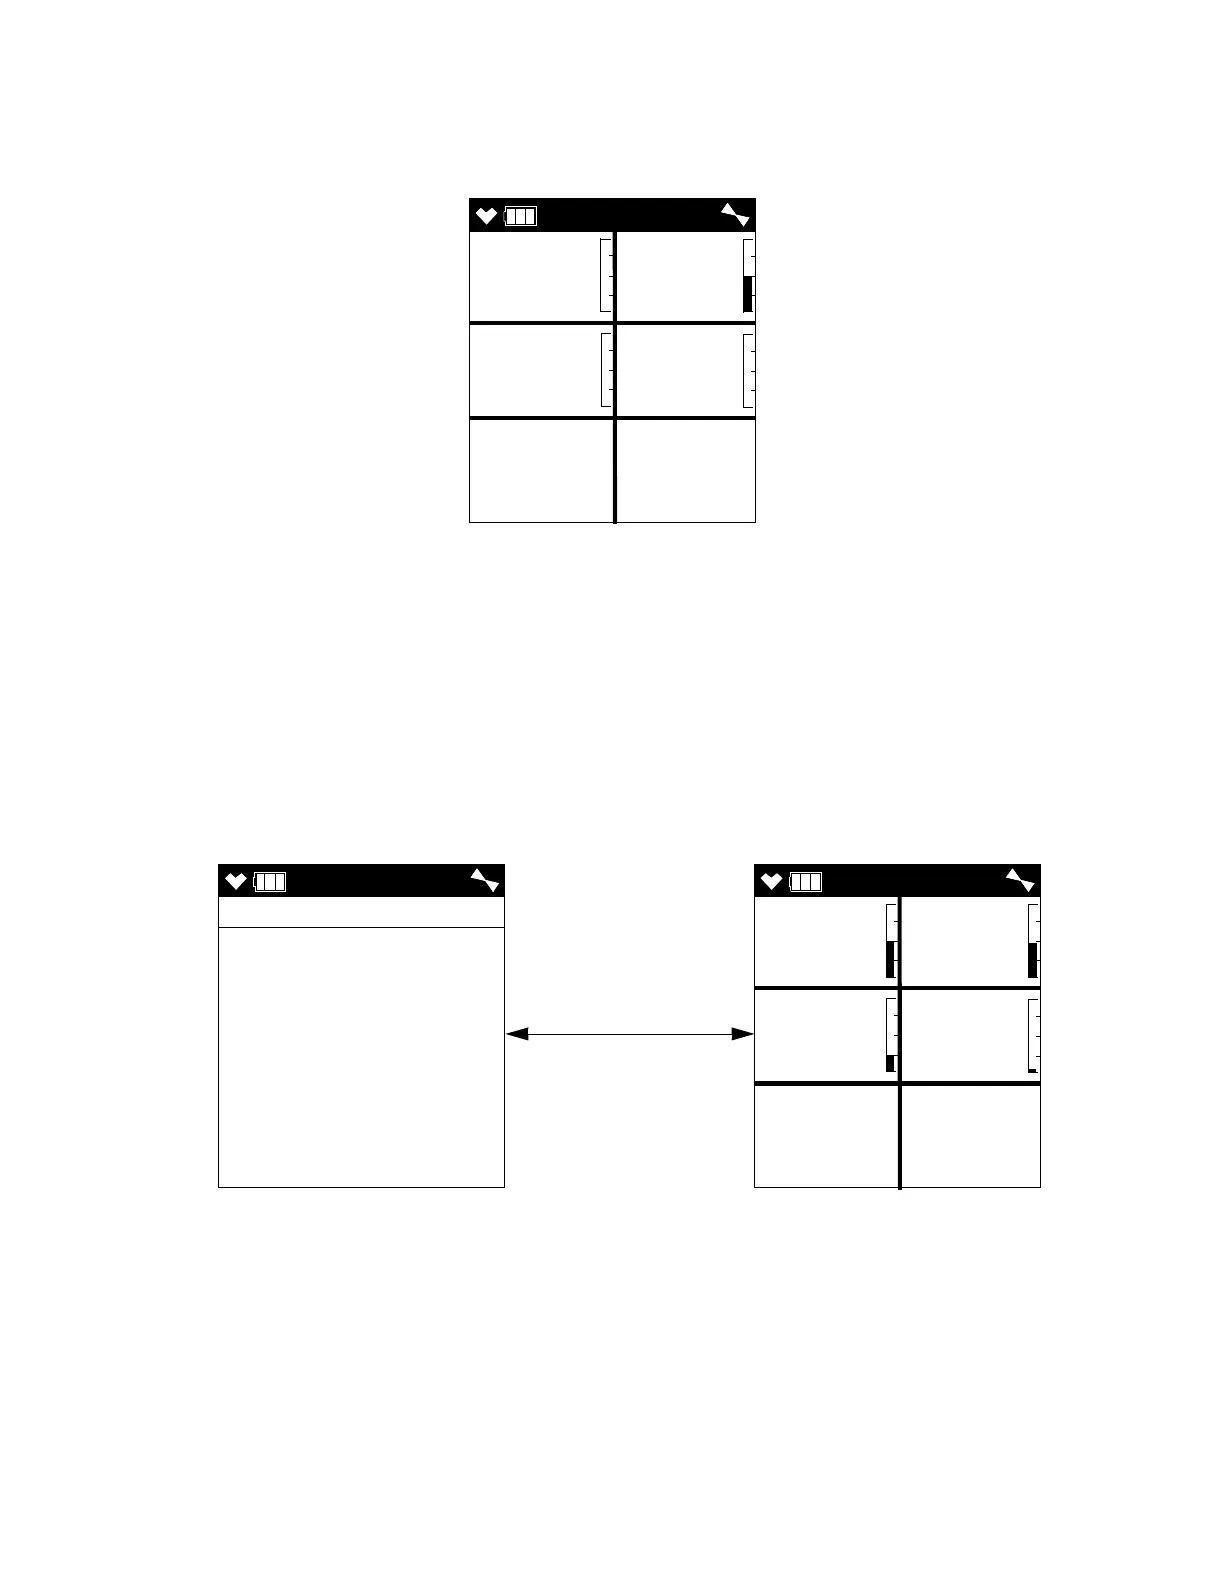
a. The instrument will indicate which channels passed or failed the
bump test with an OK (pass) or an NG (fail) to the right of the gas.
You can scroll between the bump test results and the bump test gas
readings with the ▲AIR and SHIFT ▼ (PANIC) button.
b. To return to the Gas Select Screen, press and release the POWER/
ENTER button. If any channel failed the bump test, the buzzer will
sound a double pulsing tone until you press and release the POWER/
ENTER button.
If one or more sensors fail the bump test, see “Troubleshooting” on
page 104 to investigate the cause of the failure and replace the failed
sensor or sensors if necessary.
30BUMP
CH4 O2
%LEL %
H2S CO
ppm ppm
0 20.9
0.0 0
BUMP
CH4 OK
O2 NG
H2S OK
CO NG
BUMP
CH4 O2
%LEL %
H2S CO
ppm ppm
50 19.0
25.0 13
▲ AIR or
SHIFT ▼ (PANIC)

 Loading...


