125
Editing a Sample
Here’s how you can use the sample(s) to create a rhythm set. This
operation is called
Create Rhythm Set.
When you execute Create Rhythm Set, the sample(s) will become a
rhythm set and will be assigned to a part.
For example, you could record a sample, use the Chop function to
divide it, and then use this Create Rhythm Set operation to assign
the divided samples to a part as a rhythm set. Alternatively, you can
assign a mark to two or more samples in the sample list, and execute
Create Rhythm Set to assign the samples to a part as a rhythm set.
The samples will be assigned consecutively from the C2 key.
1.
In the Sample List screen, select the sample(s) from which
you want to create a rhythm set.
If you want to select two or more samples, select the sample and
press [INC]. A check mark (
✔
) will be added to the selected
sample. To remove the check mark, press [DEC].
To add a check mark to all samples of the selected group, press
[SHIFT] so it lights and then press [INC]. To remove the check
mark from all samples of the selected group, press [SHIFT] so it
lights and then press [DEC].
You can press OUTPUT knob to audition the selected sample.
2.
Press [MENU].
The Sample Utility screen will appear.
3.
Use or to select “Create Rhythm Set.”
4.
Press [ENTER].
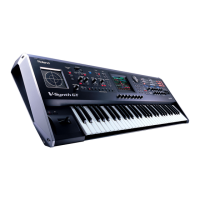
The Create Rhythm Set screen will appear.
fig.15-035
5.
Turn the VALUE dial or use [INC][DEC] to change the
“Tempo Sync” value.
If this is “ON,” the Wave Tempo Sync parameter (p. 55) of the
assigned rhythm set will be On.
6.
Press [ENTER].
A message will ask you for confirmation.
7.
Press [ENTER].
The sample will be created as a rhythm set.
To cancel, press [EXIT].
1.
In the Sample List screen, select the sample(s) from which
you want to create a rhythm set.
If you want to select two or more samples, select the sample and
press [INC]. A check mark (
✔
) will be added to the selected
sample. To remove the check mark, press [DEC].
To add a check mark to all samples of the selected group, press
[SHIFT] so it lights and then press [INC]. To remove the check
mark from all samples of the selected group, press [SHIFT] so it
lights and then press [DEC].
You can press OUTPUT knob to audition the selected sample.
2.
Press [MENU].
The Sample Utility screen will appear.
3.
Use or to select “Create Rhythm Set.”
4.
Press [ENTER].
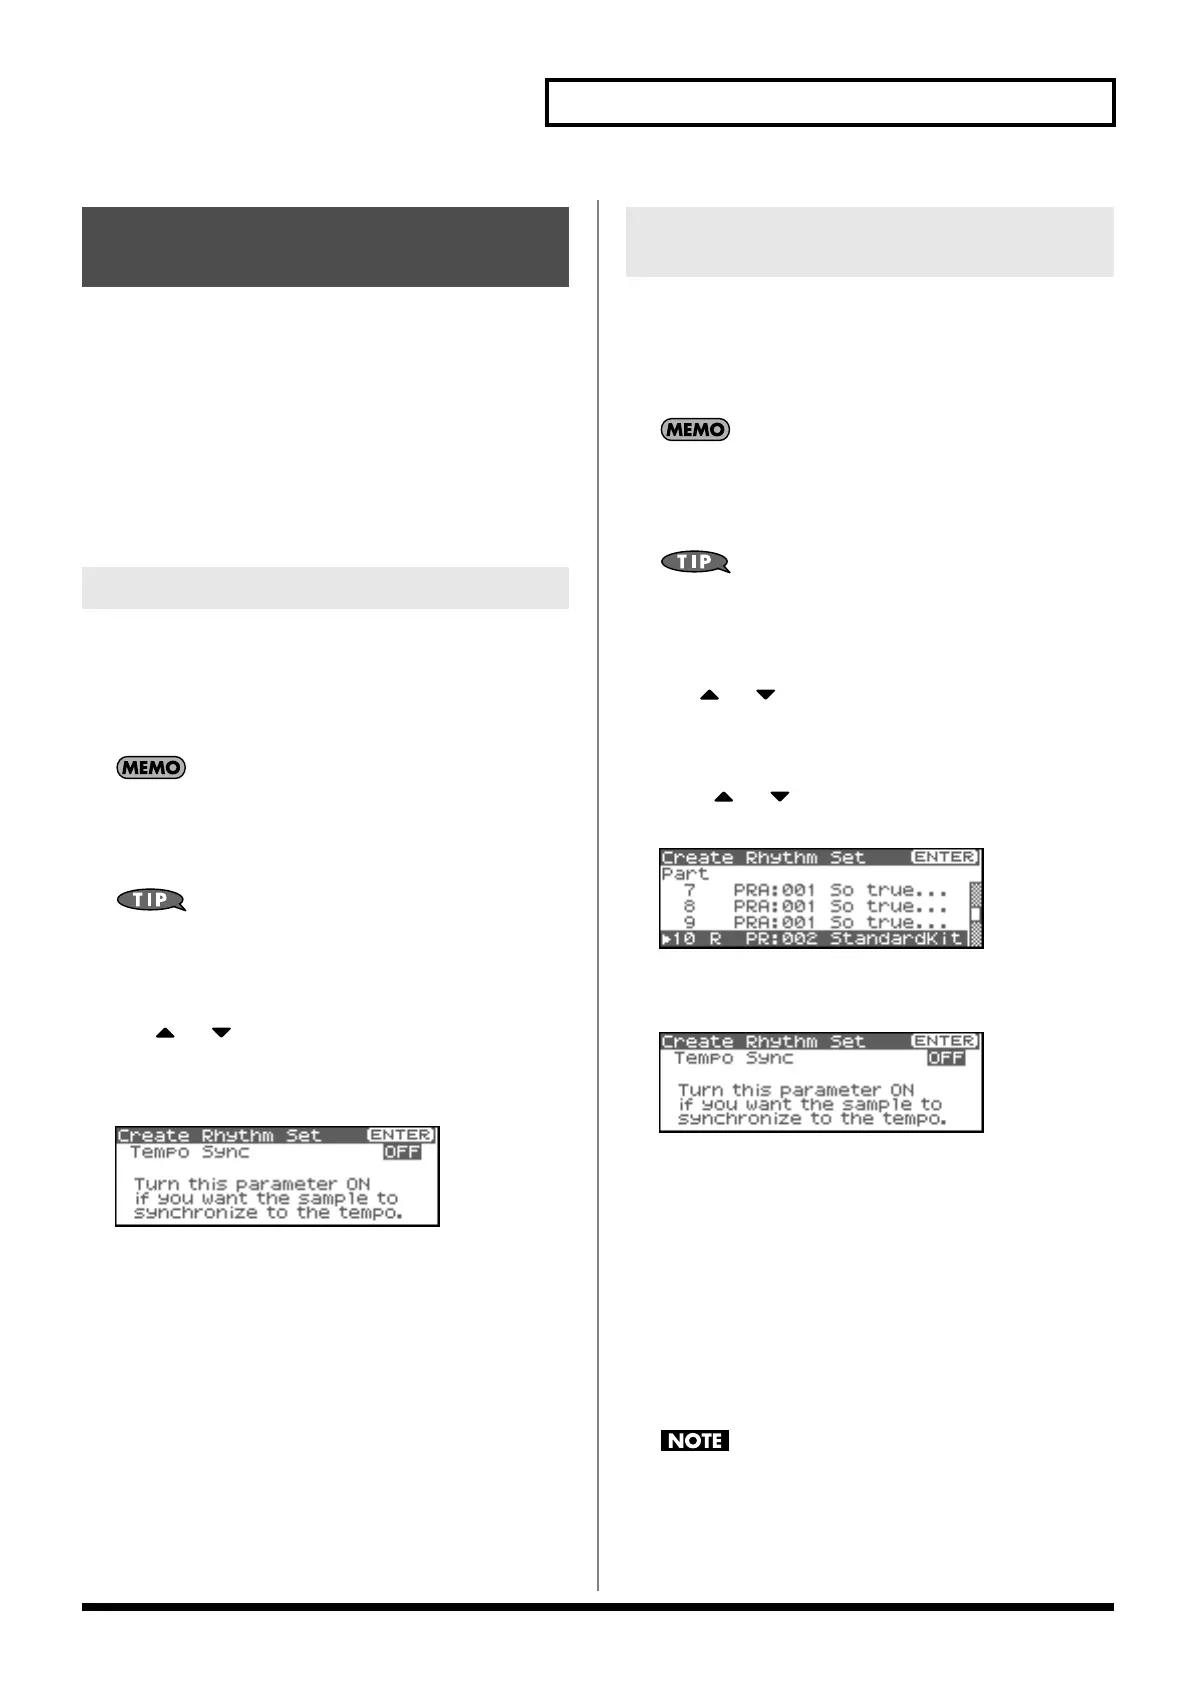
The Create Rhythm screen will appear.
5.
Press or to specify the part to which the new
rhythm set is to be assigned.
fig.15-015
6.
Press [ENTER].
The Create Rhythm Set screen will appear.
fig.15-036
7.
Turn the VALUE dial or use [INC][DEC] to change the
“Tempo Sync” value.
If this is “ON,” the Wave Tempo Sync parameter (p. 55) of the
assigned rhythm set will be On.
8.
Press [ENTER].
A message will ask you for confirmation.
9.
Press [ENTER].
The sample will be assigned (as a rhythm set) to the specified
part.
To cancel, press [EXIT].
If you select another rhythm set, the rhythm set you assigned
will be replaced by that. If you want to keep the patch you
created, be sure to save it.
Creating a Rhythm Set from
samples (Create Rhythm Set)
If you’re starting from Patch mode
If you’re starting from
Performance mode
Fantom-XR_r_e.book 125 ページ 2006年4月4日 火曜日 午前10時14分

 Loading...