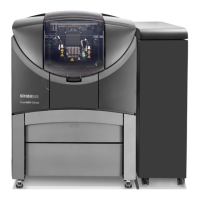
Using Objet Studio
5–20
DOC-06810 Rev. A
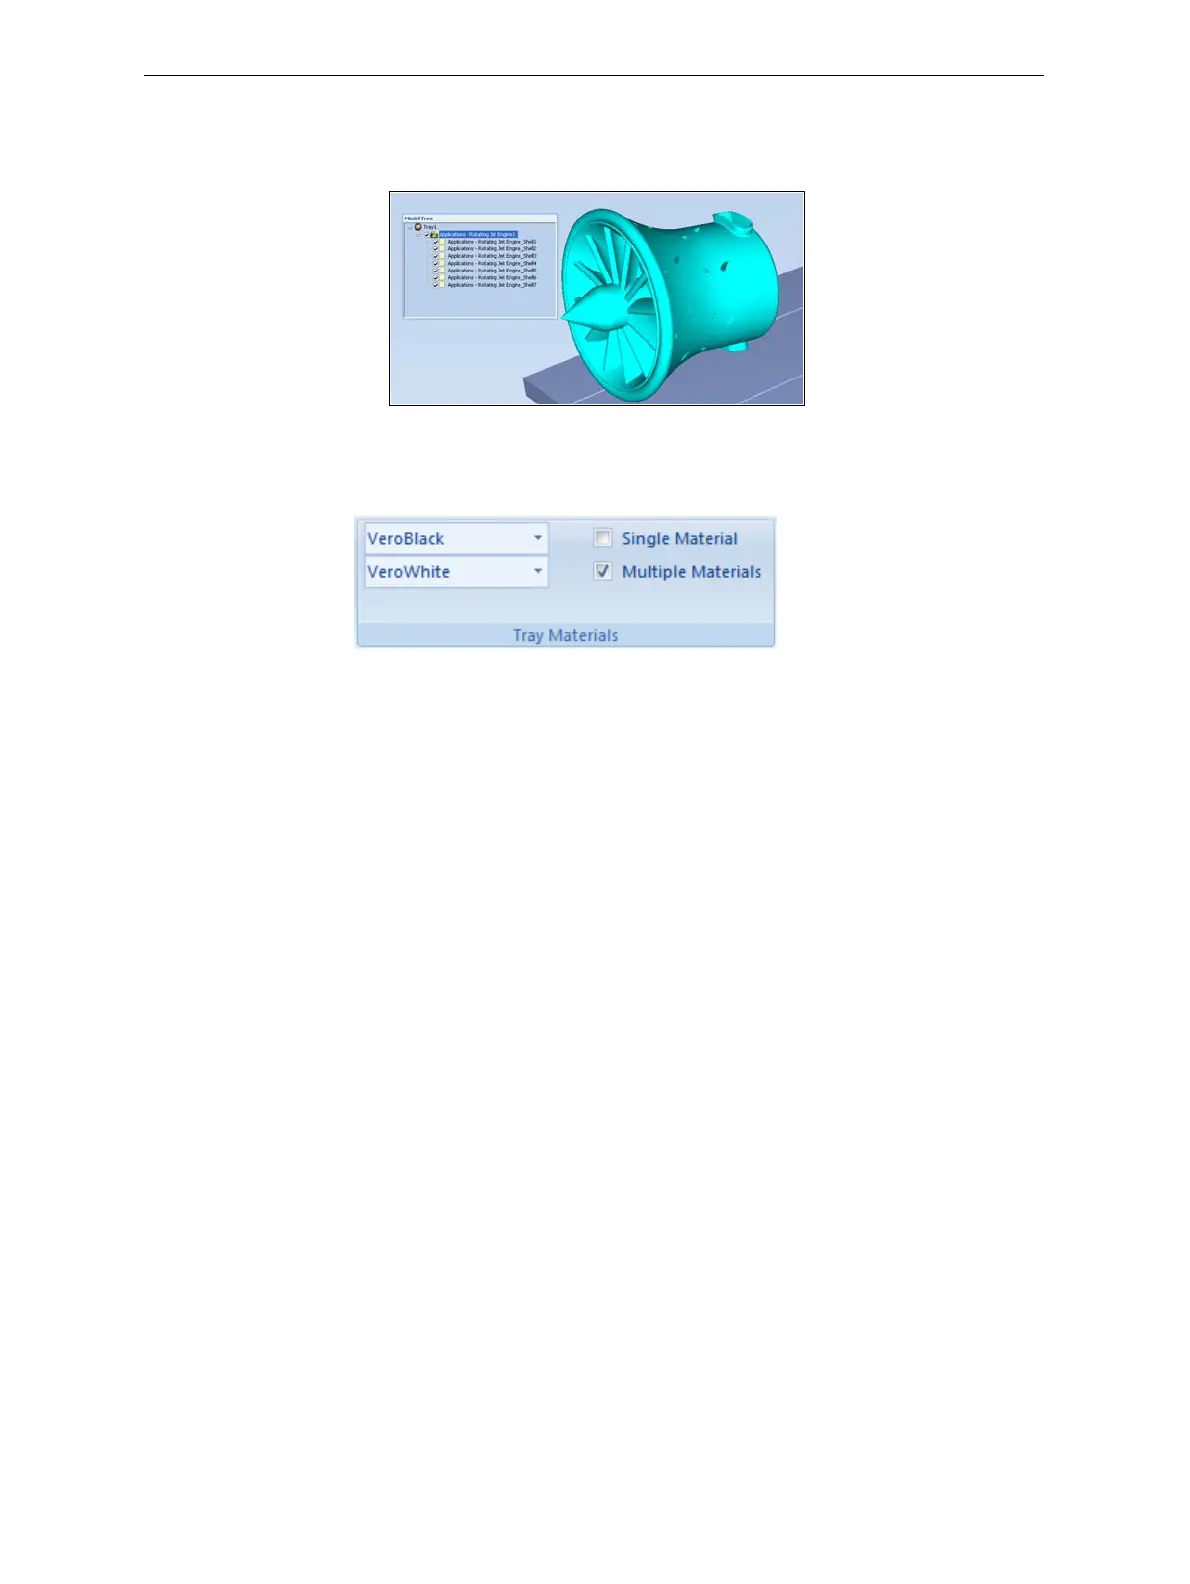
Theobjectappears—onthebuildtrayandinthemodeltree—asan
assemblyofparts(“shells”).Youcanassigneachpartadifferentmodel
material(Thisisexplainedin“Model‐MaterialSettings”onpage 20).
Figure 5-23: Object after being converted to an assembly of component parts
Model-Material
Settings
BeforeplacingobjectsonthebuildtrayinObjetStudio,youshouldpay
attentiontothematerialselectionsettingsontheTraySettingsribbon.
Figure 5-24: Material selection settings
• Bydefault,thematerialselectionsettingsontheribboncorrespondto
thetwomodelcontainersloadedintheprinter.
• Thematerialsdisplayedarebasicmodelmaterials.Thesematerialscan
laterbecombinedtocreatedigitalmaterials(see“DigitalMaterials”on
page 22).
• Thematerialdisplayedonthetop(VeroBlack,inthefigureabove)is
consideredtheprimarymodelmaterial(“Model‐1”).Itisassignedto
objectsthatdonothaveamaterialassignmentwhenyouplacethemon
thebuildtray.Forexample,sincestlfilesdonotcontaininformation
aboutthemodel
material,ObjetStudioassignstheprimarymodel
materialtothem.Also,ifyoutry toinsertobjdffileswhoseassigned
materialsarenotrecognizedbyyourversionofObjetStudio,youcan
insertthefilebysubstitutingtheprimarymodelmaterialforthe
missingmaterials.
• SelectSingle Materialifyouwanttoprintusingonlyonematerial—both
ofthematerialdrop‐downmenuscontainthesamematerial.Ifyou
decidetoprintwithmultiplematerials,thematerialinthetopdrop‐
downmenuremainsassignedtotheobjectuntilyouselectanother
material.
• Ifyouinsertanobjdffileintoanemptybuildtray,andthemodel‐
materialassignmentdoesnotmatchthesettingsontheTraySettings
ribbon,thesesettingsarechangedautomatically.However,ifthereisan