DOC-06810 Rev. A 5–21
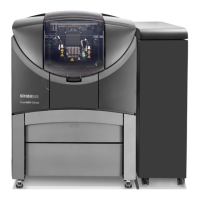
Objet1000 Plus User Guide
objectalreadyonthebuildtraywhosematerialsdonotmatchthe
materialassignmentintheobjdffile,youcannotplacethenewobjecton
thetray.Toprintthisobject,youhavethefollowingoptions:
Insteadofprintingitonthesamebuildtray,printthenewobjectasa
separatejob.
Changethematerialsassignedtoobjectsonthebuildtrayto match
thoseassignedtothenewobject(see“ChangingtheModel
Material”and“AssigningaModelMaterialtoObjects,”below).
Changethematerialsassignedtothenewobjectbeforeinsertingit,
sothereisnoconflictwiththesettingsontheTraySettingsribbon.
To change the materials assigned to an object before inserting it:
1. OpenanotherObjetStudiowindow,byrunningtheapplicationfrom
theWindowsStartmenu.
2. Insertthenewobject(objdffile)intotheemptybuildtray.
3. ChangethematerialselectionsettingsontheTraySettingsribbonto
thoseusedontheotherbuildtray.
4. Assignmaterialstotheobject(see“AssigningaModel
Materialto
Objects”onpage 23).
5. Selecttheobjectandcopyit.
6. DisplaytheotherObjetStudiowindow,andpastetheobjectontothe
buildtray.
Note: You can save the object with the new materials either as a new objdf
file, or by saving the original file with the changes.
Changing the
Model Material
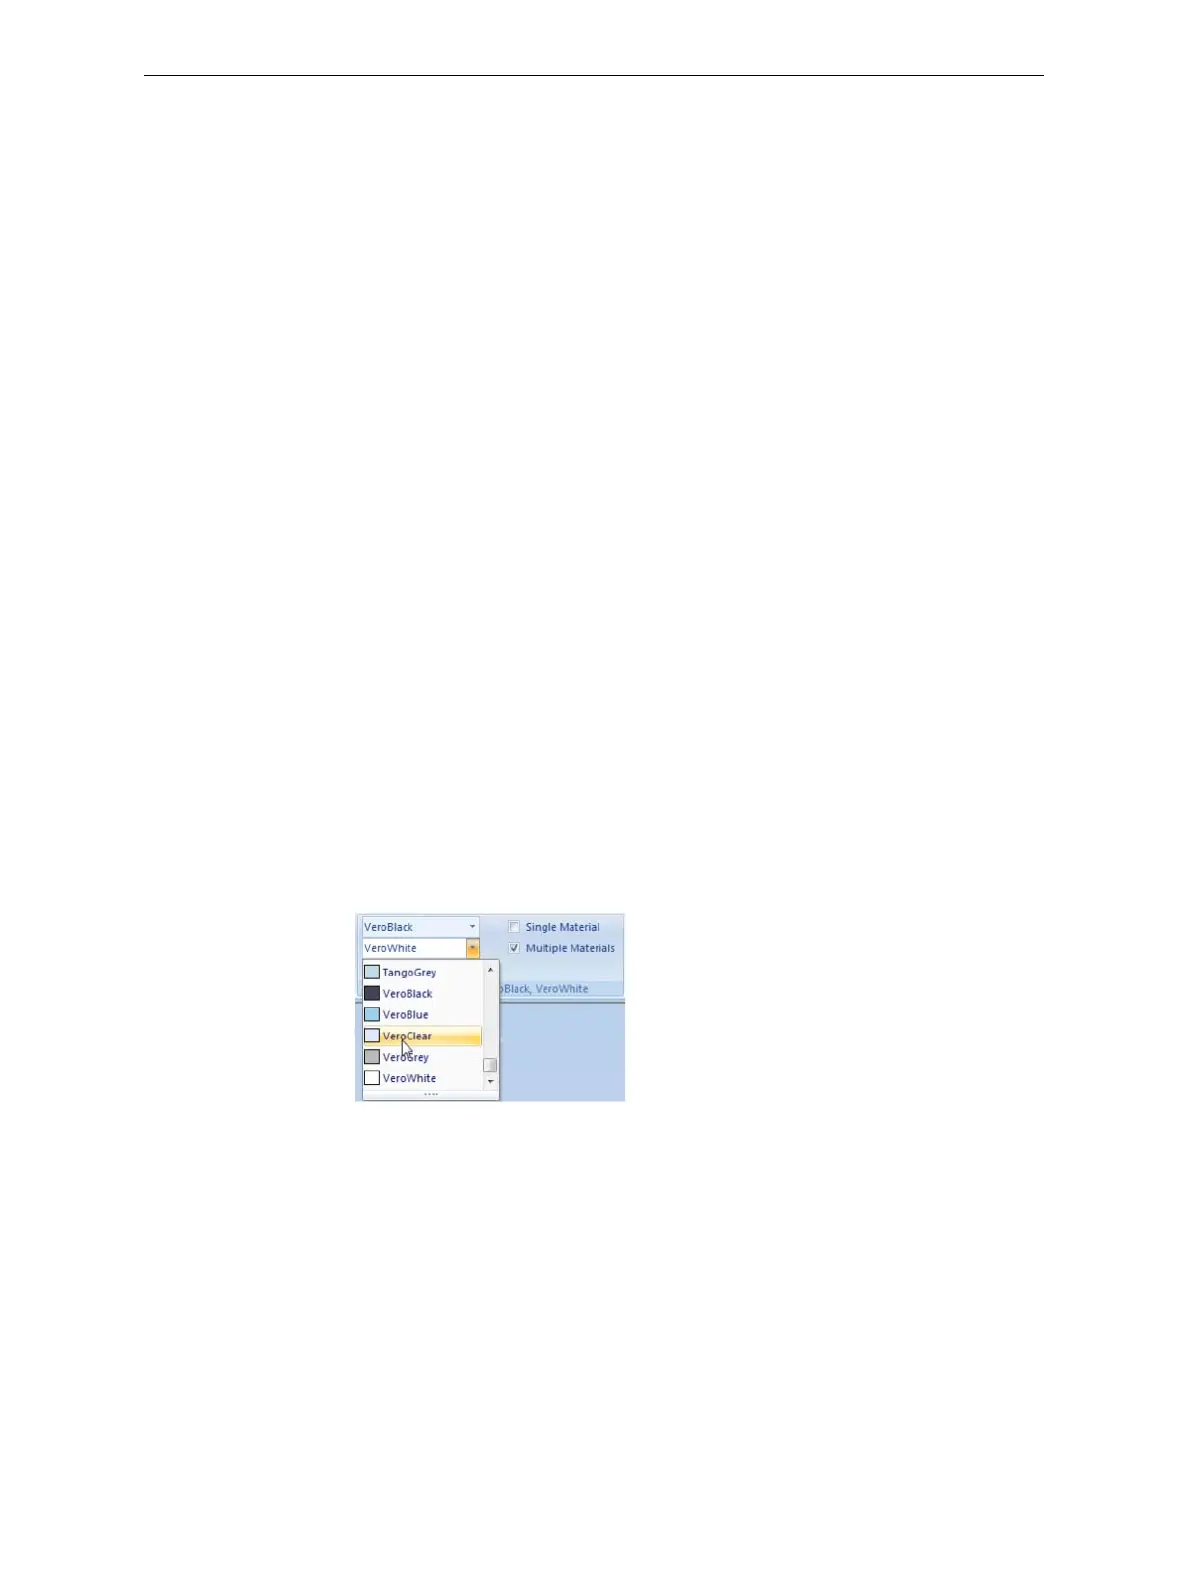
WhenyoudesignabuildtrayinObjetStudio,youcanusemodelmaterials
thatmightnotbecurrentlyinstalledintheprinter.Becausetheinstalled
materialsaredisplayedbydefault,changethematerialselectionsettingson
theTraySettingsribbon,ifnecessary.
Figure 5-25: Selecting a new model material