DOC-06810 Rev. A 6–33
Objet1000 Plus User Guide
8. Aftertighteningthescrews,inspectthebladeandmakesurethatitis
straight.Ifnecessary,loosenthescrewsandtightenthemagain,evenly.
9. ReturntherollerwastecollectorassemblyandtherightUVlampto
theprintblock.Seesteps6to4,frompage 30.
Aligning the
Print Heads
Youshouldcheckthealignmentoftheprintheads—
• onceamonth
• afterreplacingoneormoreheads
• ifmodelqualityisnotacceptableevenaftercleaningtheorificeplateon
thebottomoftheprintblock(see“CleaningthePrintHeads,Rollerand
Wiper”onpage 21)
Thisproceduretakesabout20minutes.
To check the alignment of the print heads:
1. Prepare—
• atransparencysheet—A‐4orLettersize
• anytypeofstickytape,tofastenthetransparencysheettothebuild
tray
2. StarttheHeadAlignmentwizardfromtheOptionsmenu(see
figure 6‐9onpage 12).
3. ClickNexttobegin,andclosethe cover.
4. Inthewizardscreen,selectthecheckboxtoconfirmthatthecoveris
closed,andclick
Next.
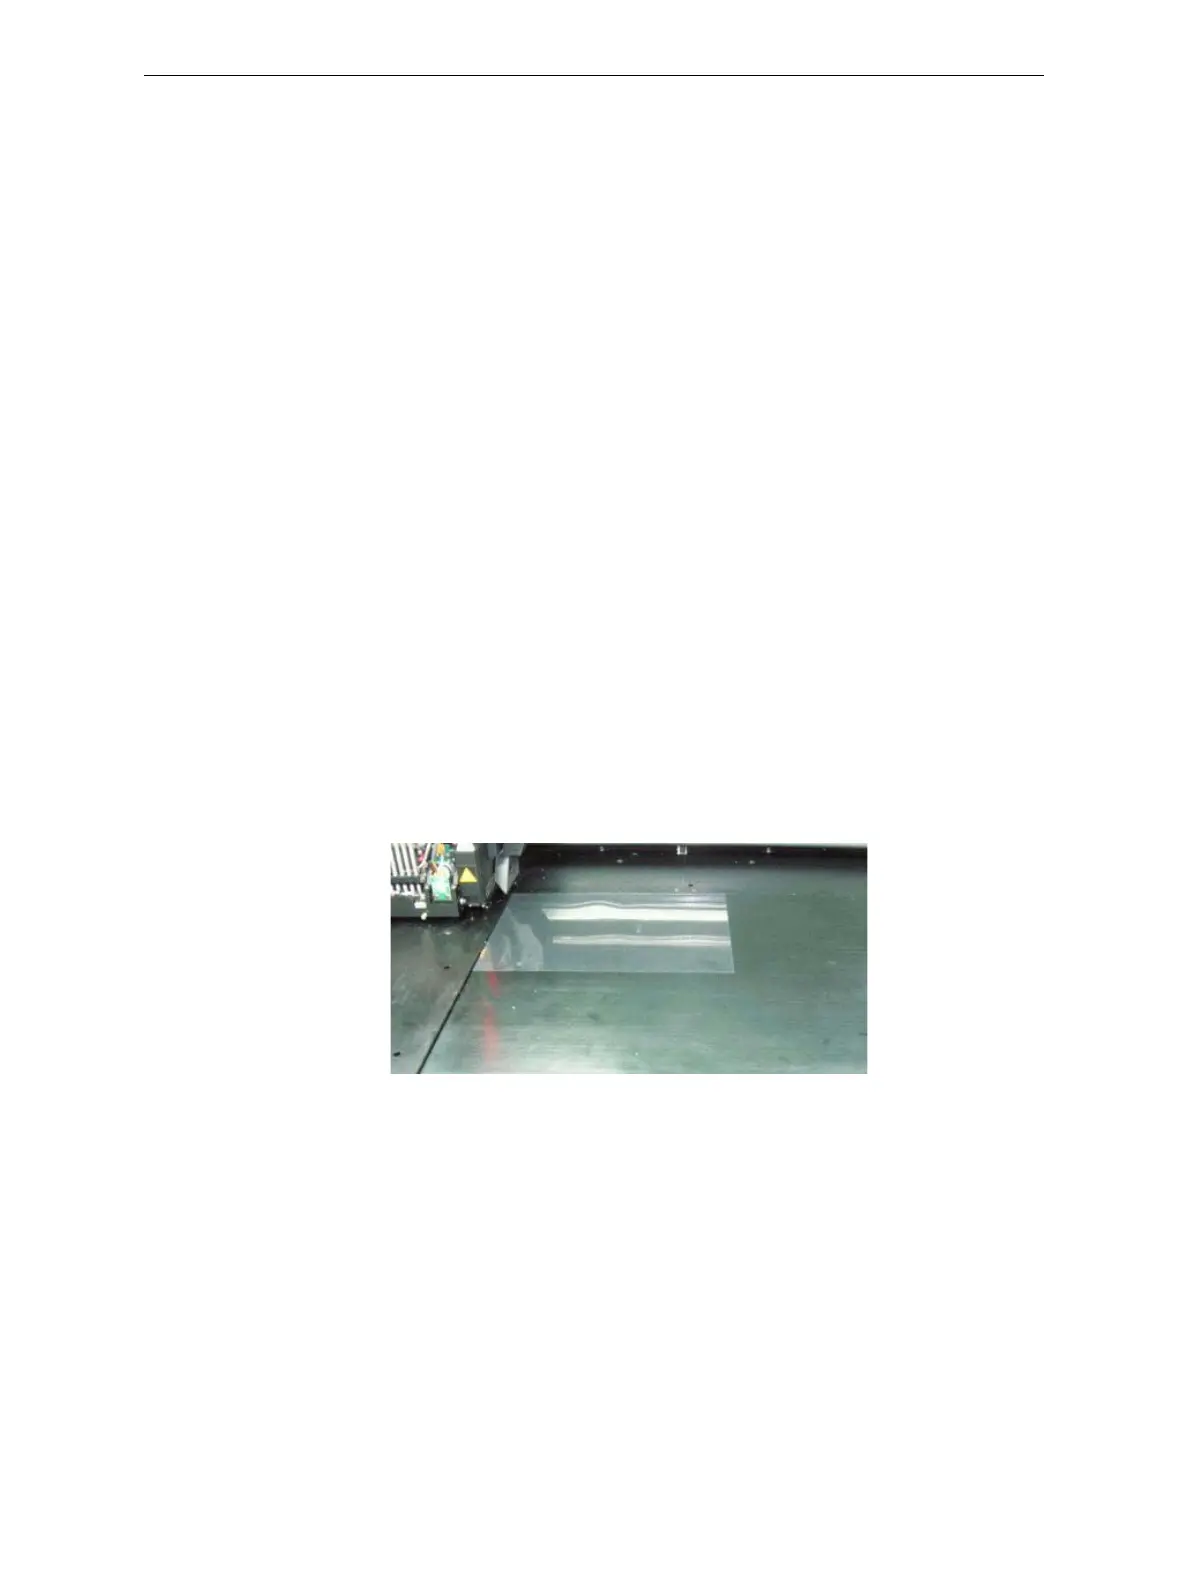
5. Wheninstructedtodoso,placethetransparencyonthebuildtray—
nexttotheleftandrearedgesofthetray,asshowninthefollowing
figure.
Figure 6-41: Positioning the transparency on the build tray
6. Makesurethatthetransparencysheetislyingflat,andtapeittothe
tray.
7. Inthewizardscreen,selectthecheckboxtoconfirmthatthe
transparencysheetisonthebuildtray,andclick
Next.
Theprinterprintstheheadalignmenttestonthetransparency.