If the display for the setup menu appears noticeably longer than 6
seconds and the main menu is not called up automatically, there is a
communication error between the display and the CPU!
4.1.1.1
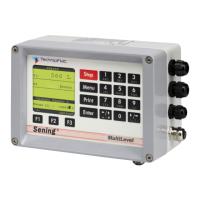
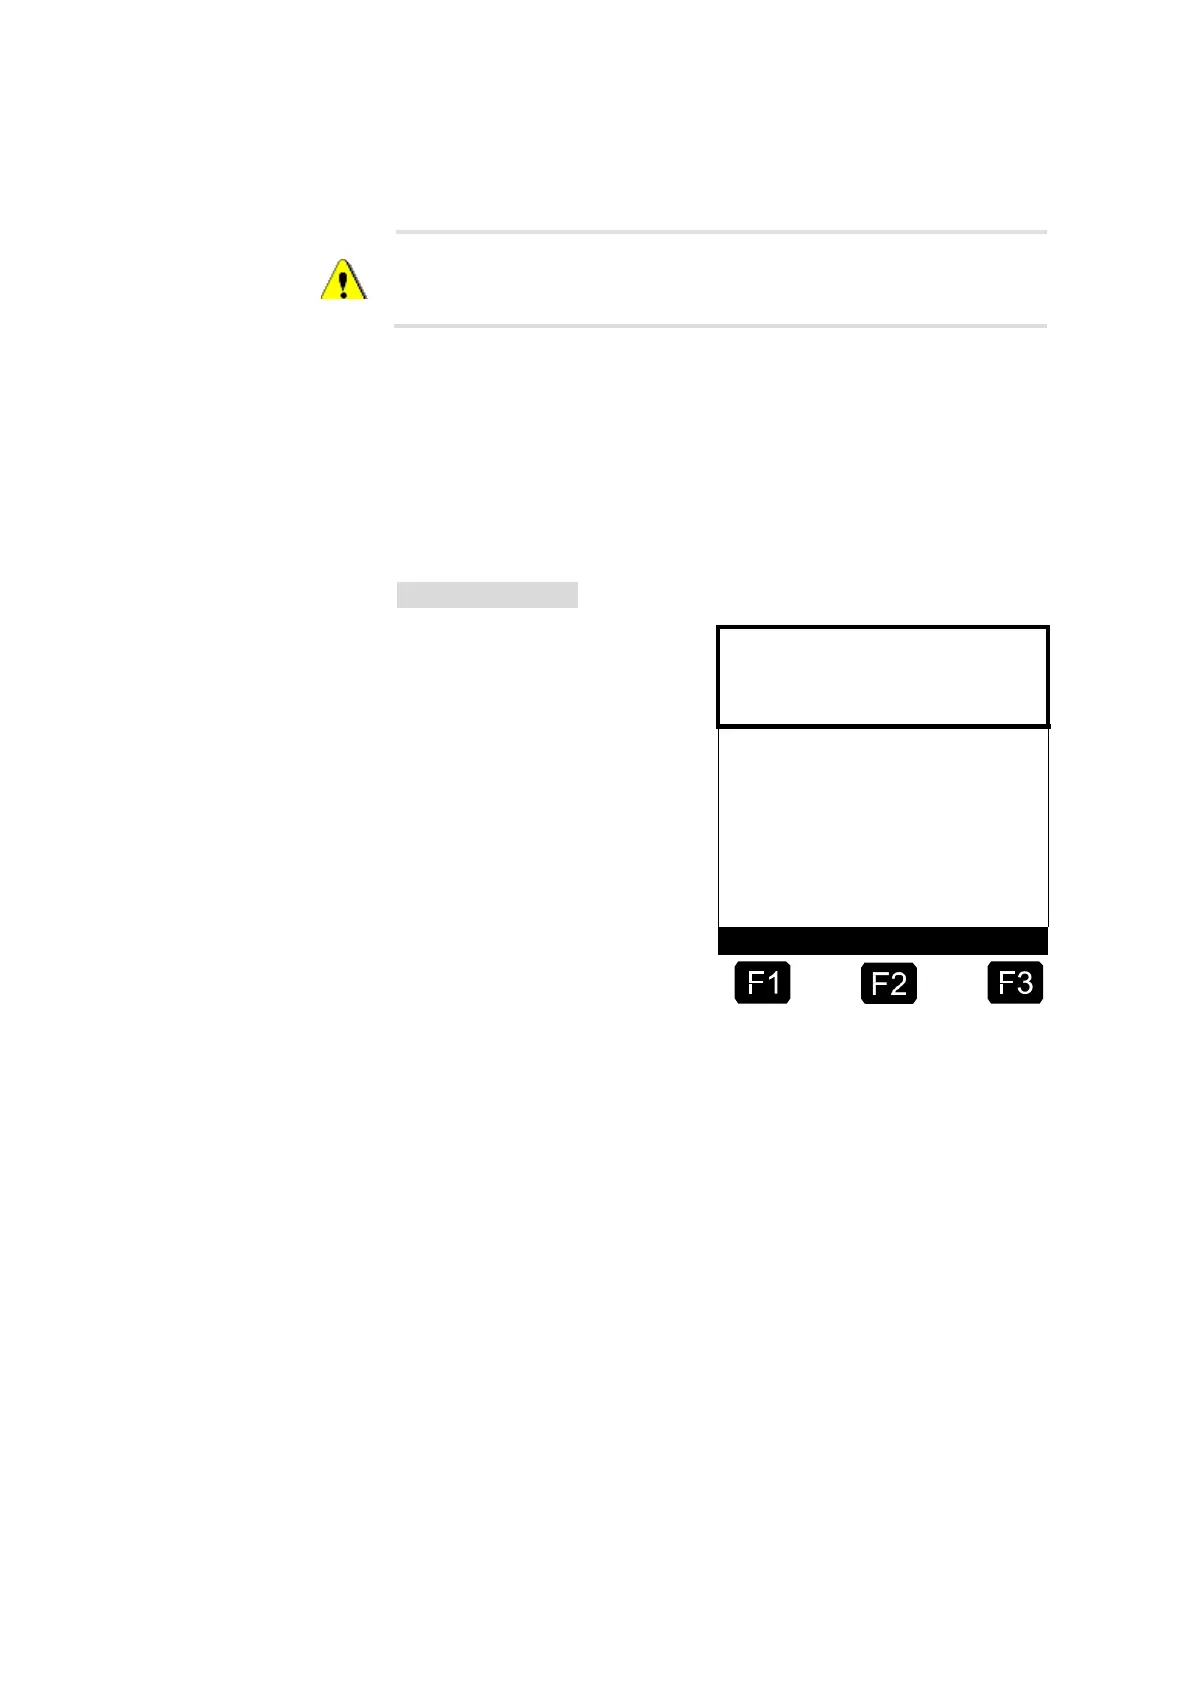
Setup Display Menu <F1>
By pressing the function key <F1> the SETUP DISPLAY opens up and
this screen is shown. From this menu you can access display-specific
tests and settings, as well as keyboard tests and basic address settings
for the CAN bus.
SETUP / 1 - Menu
The selection of individual menu
items is made with the keys
<F1> for "up" and <F2> for
"down", and you gain access to
the second setup page with
<F3> for "more". Access into the
menu items thus selected is
gained with the <Enter> key:
<Display Test>:
In this test all the font options
are selected in sequence and
presented in the display.
<Master address>:
Setting of the address region (0…9) with <F1> for "plus" and with <F2>
for "minus" und <F3> for "end" and adoption of the newly-set value.
(default value: „0“)
<Own address>:
Setting of the address region (0…9) with <F1> for "plus" and with <F2>
for "minus" und <F3> for "end" and adoption of the newly-set value.
(default value: „1“)
<CAN Freq. kHz>:
Setting of the range of values (50 / 100) with <F1> for "plus" and with
<F2> for "minus" und <F3> for "end" and adoption of the newly-set value.
(default value: „50“)
<Keyboard test>:
A keyboard test can be carried out with this menu item. With each
pressing of a key, said key is displayed with its corresponding