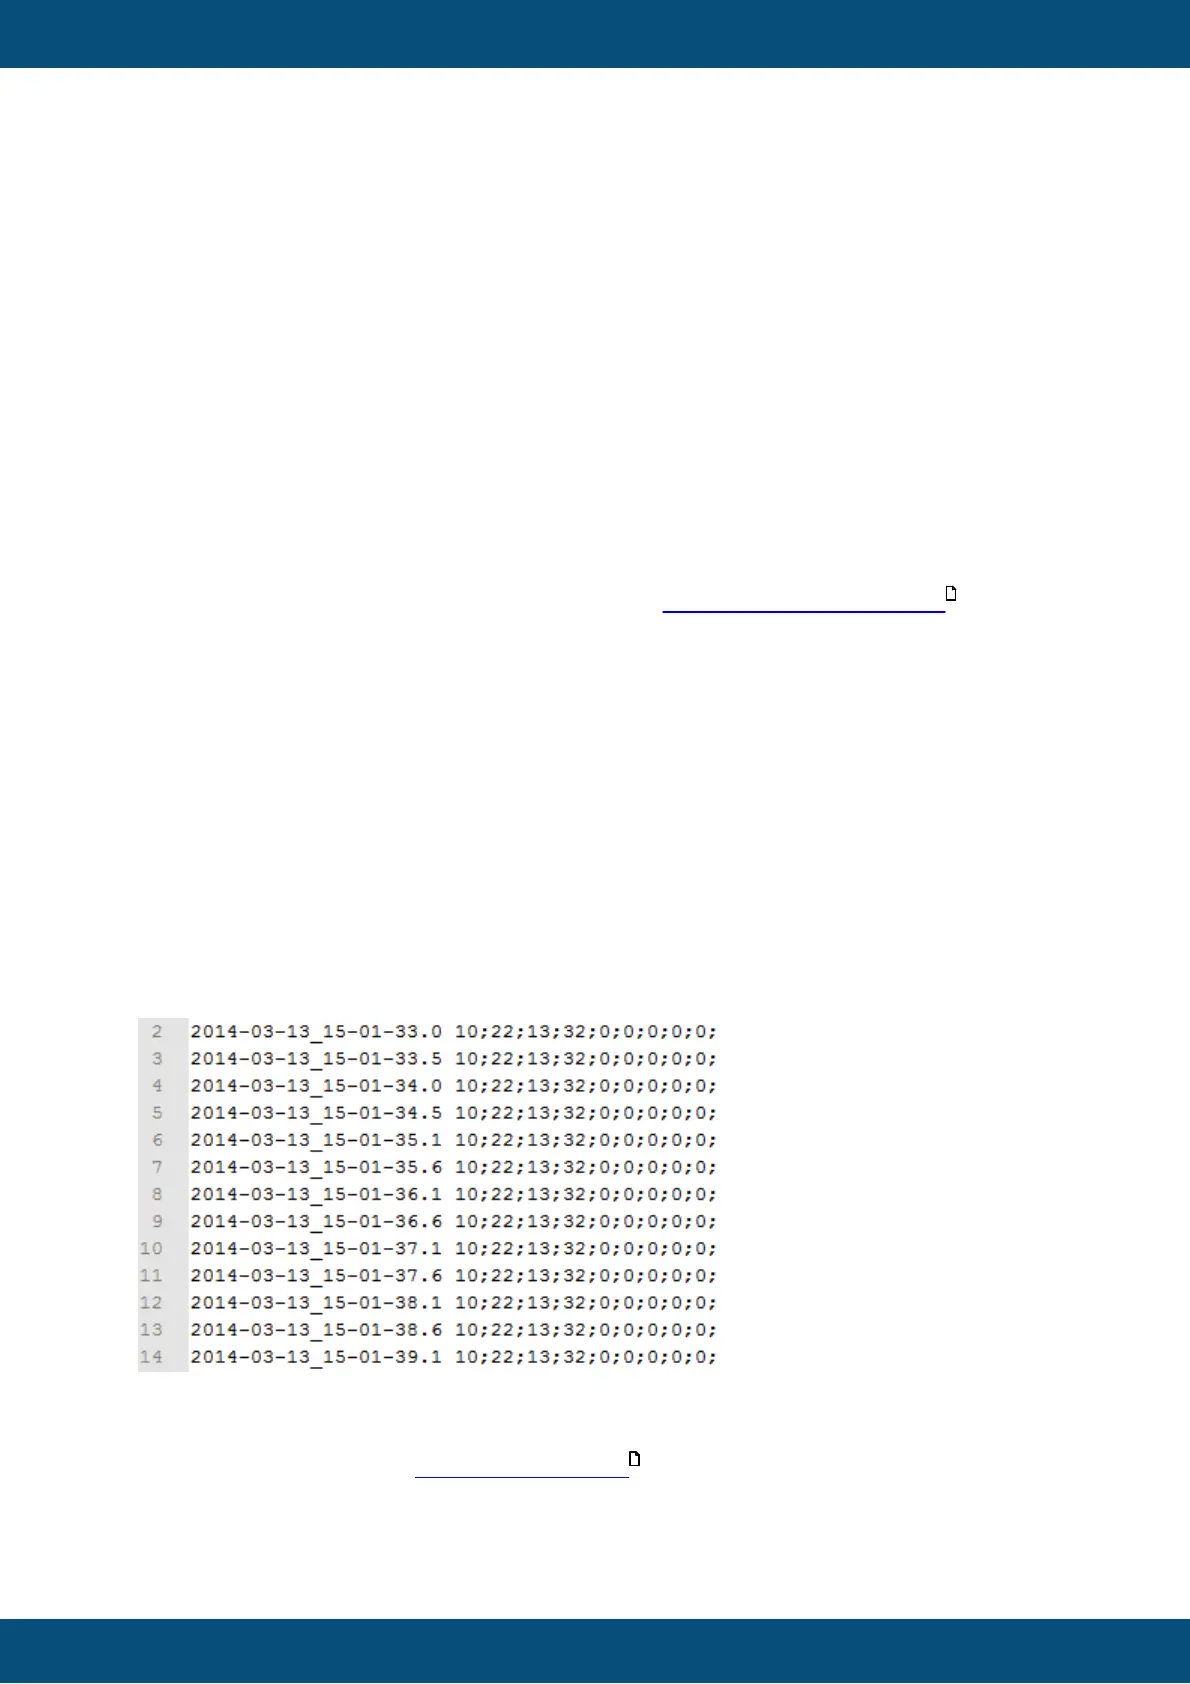
Show Log File Example (3)
This shows an example of how a log file could look like. Note: This is not a run time
preview so the shown example will not change based on the changes you made to
the settings.
Define Log Header File (4)
When clicking the button Define Log Header File, a new dialog opens to insert the text that
will be later printed in the log file at every start of the variable logger. The appearing dialog
only consists of a text input field and an OK and Cancel button. The following example text
is set by default:
Log File of Project Version
The following variables will be logged:
<LIST_OF_LOGGED_VARIABLES>
After finishing the input, use the OK button to store the log file header or the Cancel button
to discard all changes. To see all tag options go to Allowed tags for file header .
Define Line Prefix (2)
Right besides the label Define Line Prefix (2), enter a string with which every line of the log
file will begin. On the right side of the line edit field a button Reset Line Prefix is lo-cated.
Clicking this button will set the following default text to the line edit field:
<YYYY>-<MM>-<DD>_<hh>-<mm>-<ss>.<s/10>
Define Delimiter Character (6)
On the right side of the label Delimiter Character, enter one character that will be inserted
between each variable value (time based) or between variable name, event and value
(event based). It is possible to enter only one character.
"Fixed Time Based Logging" or "Event Based Logging" (7)
You can choose the option which is right for you. The time based option writes all selected
variables in one line. This makes it easy to transfer the data into a spreadsheet. The
variable entries are sorted in the order you defined inside the time based logging tab.
The event based option writes one line per variable per event. By default it includes the
variable name and the event when the variable is written. If you like to have shorter entries
please refer to the chapter Event based logging .