140
OPUS Projektor Manual
User Interface
2 - Zoom slider. Here you can change the zoom level of the preview images in the symbol
library window. Sliding to the left shows more smaller preview images, sliding to the right
shows less larger preview images.
3 - Image size. Here you can set the size of the image in pixels, with which the image will be
created. The image will be square, so the size will be X times X. This is only true if the image
is not used within another object, e.g. as a background image. Then the size of the parent
object determines the size of the image.
4 - Blend colors. Here you can set 4 different blend colors for the creation of the images in
your project. The first color is the color of the object in most cases. See here for the use of
the other colors.
Using the symbols
You put the symbols into your project with Drag & Drop . This works both on the scene as
well as on the project tree.
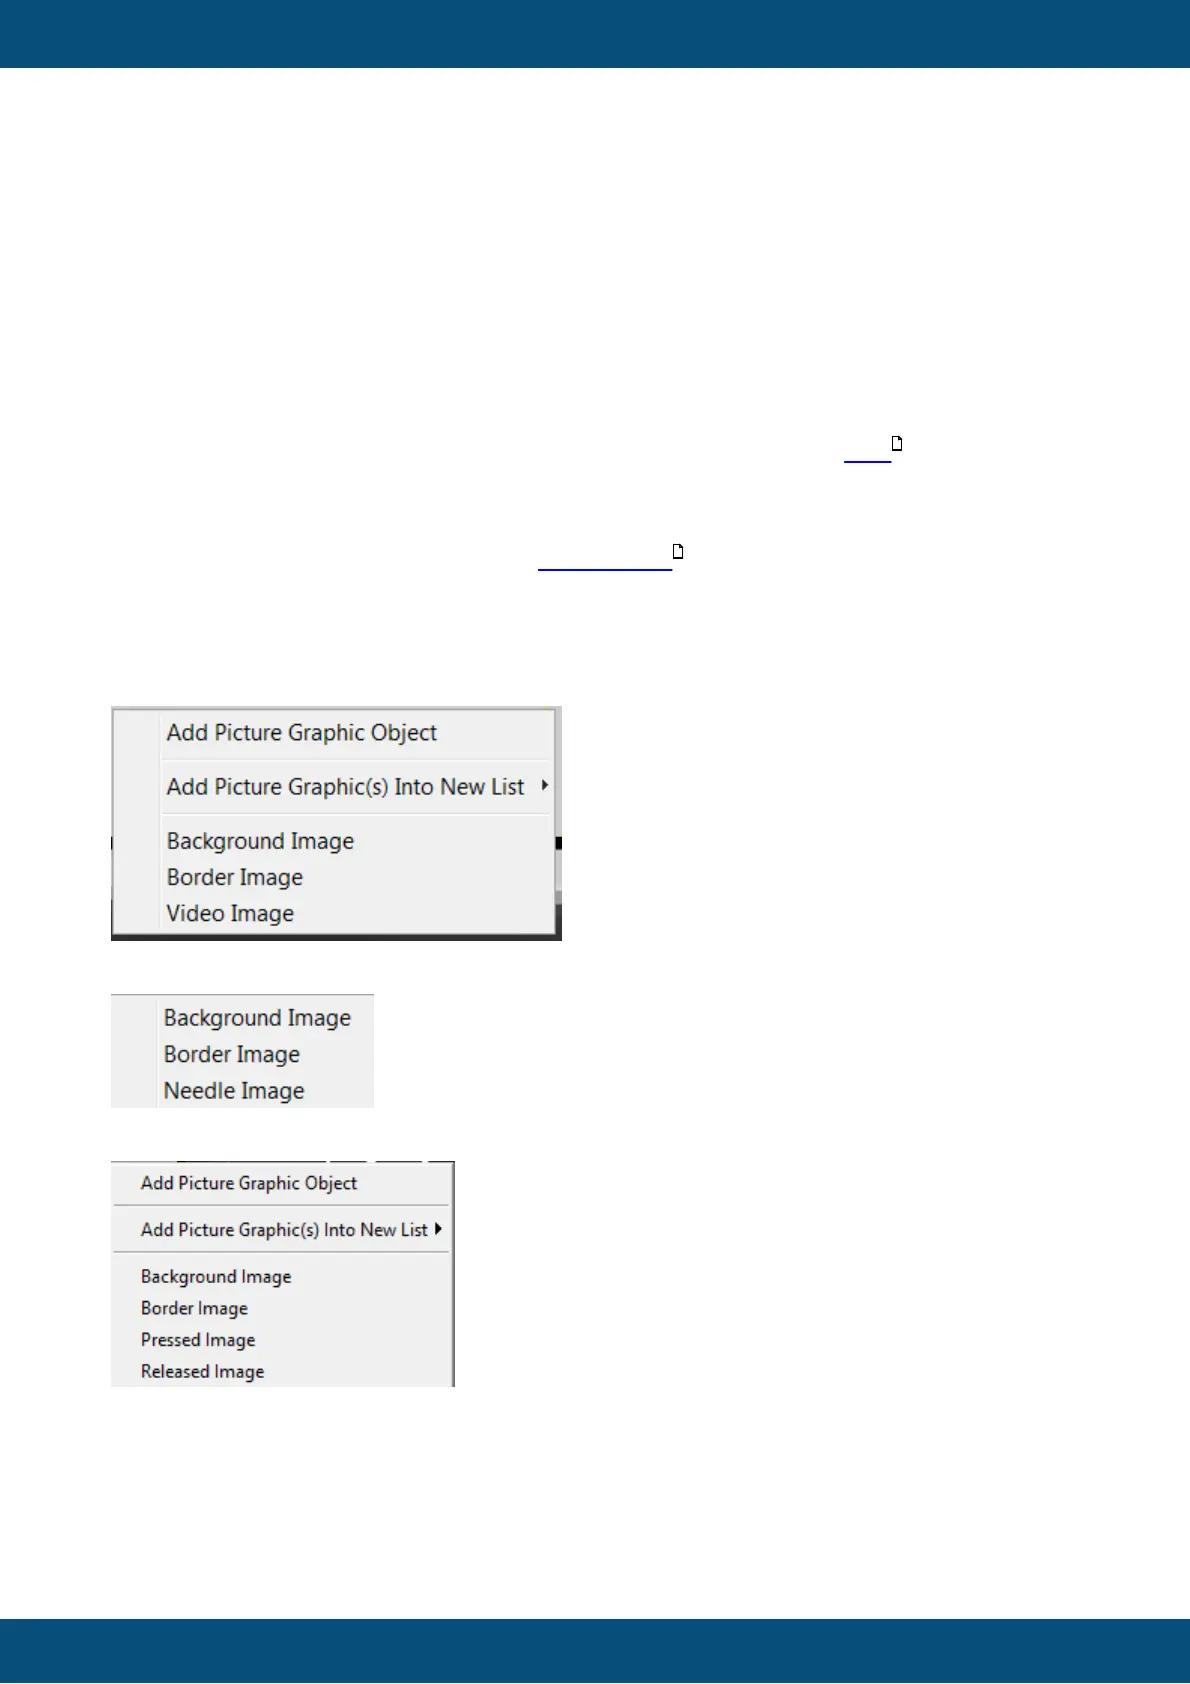
Depending on where you drop the image, you will get a context menu with different options
how to use the image, e.g.
Frame:
Meters & Gauges:
Buttons:
Add Picture Graphic Object - This will create a new Picture Graphic Object with the symbol
image as the Image To Display
Background Image - This will use the image as the background image of the object that it was
dropped on
141
43