726
OPUS Projektor Manual
Miscellaneous
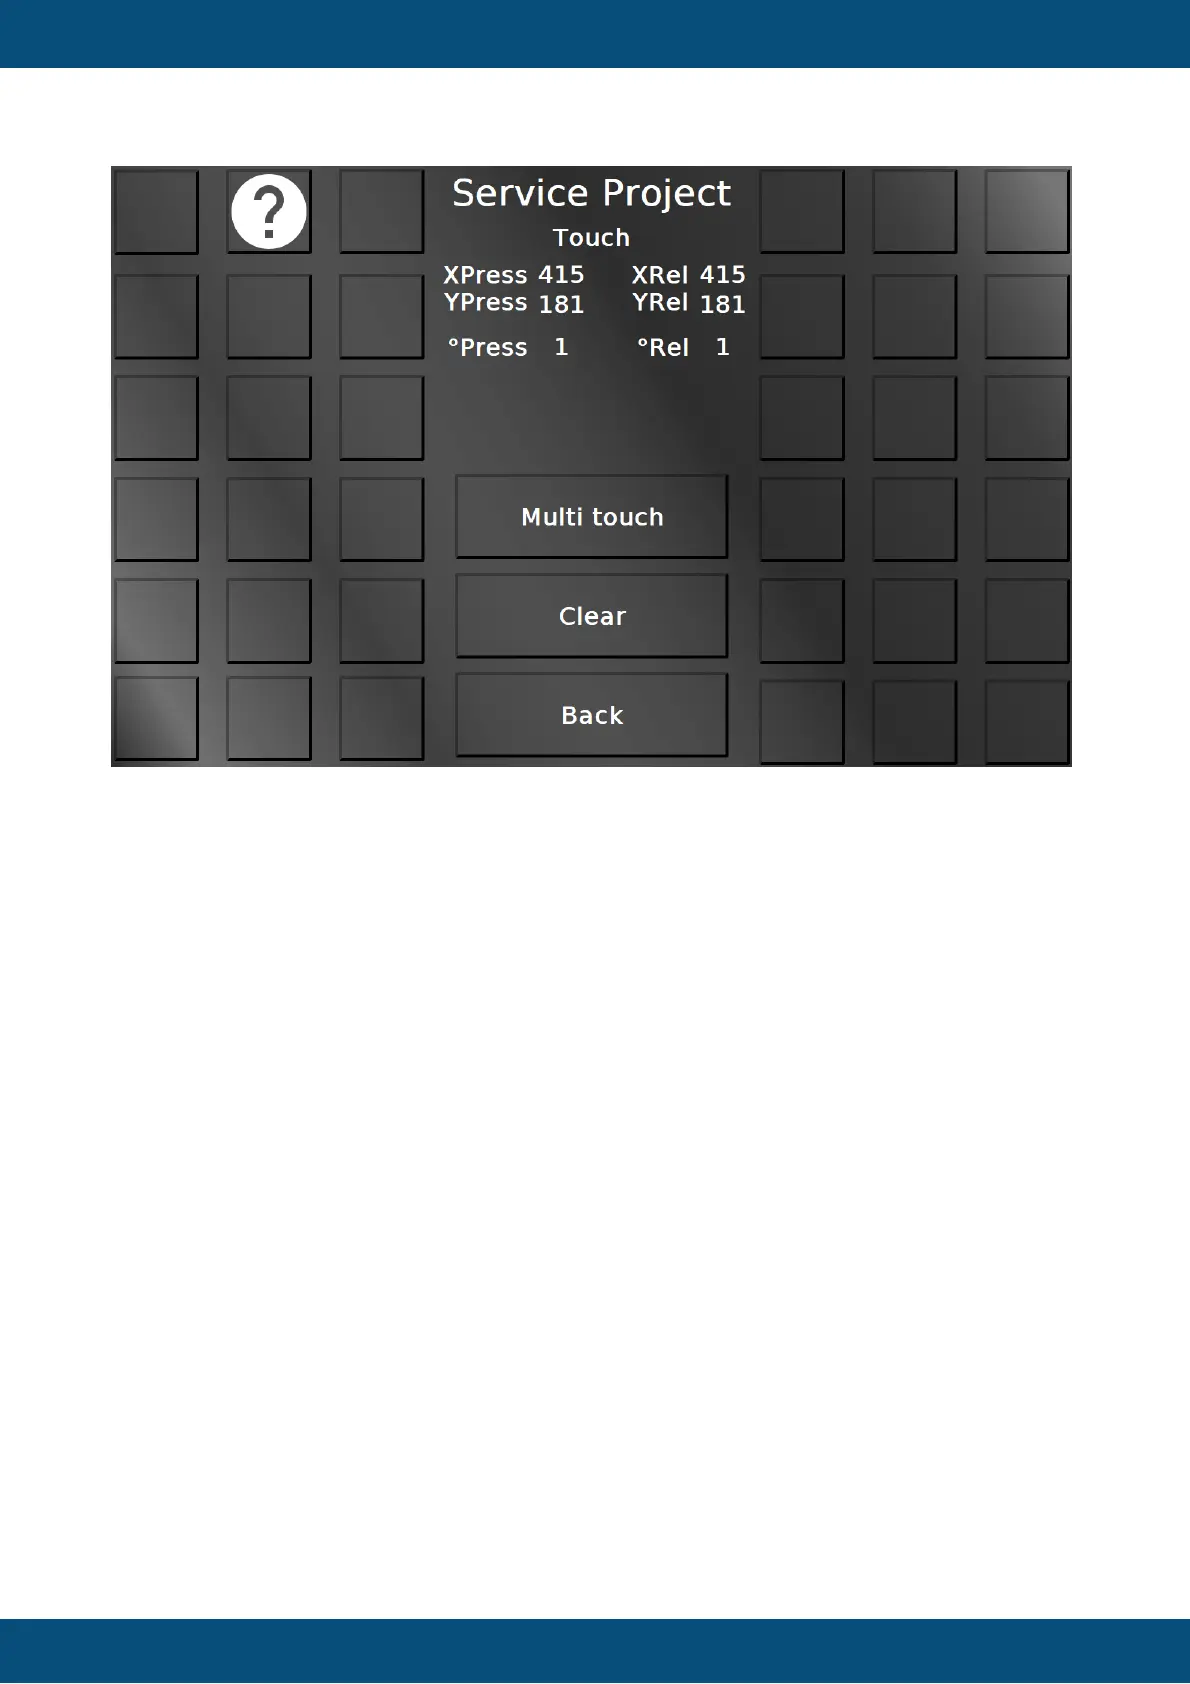
In this screen the touch input can be tested. Each squared button will be colored green if it has
been touched, so a well-working screen should be able to color all buttons, and a button
should only be colored green if it actually has been touched.
Additionally, the touch coordinates for X and Y both for pressing and releasing are displayed,
as well as a counter number for the presses and releases of the touch.
With the button Touch calibration the touch screen calibration can be started. 5 cross hairs will
appear one after another (top left, top right, bottom right, bottom left, center). Press the cross
hairs to calibrate the screen.
Please note that the PClient stays on during this operation, so the cross hairs will be painted
over this screen.
Please note that the calibration button is available only for resistive touch screens. Devices
with capacitive touch screens do not need a calibration.
The button Multi touch leads to the multi touch test page. Please note that the multi touch
functionality is not available on OPUS A3 and OPUS A6 G1.
Back returns to the main menu.
Service Project -> Touch -> Multi Touch