5 USING THE EDITING FUNCTIONS
186 SHEET INSERTION
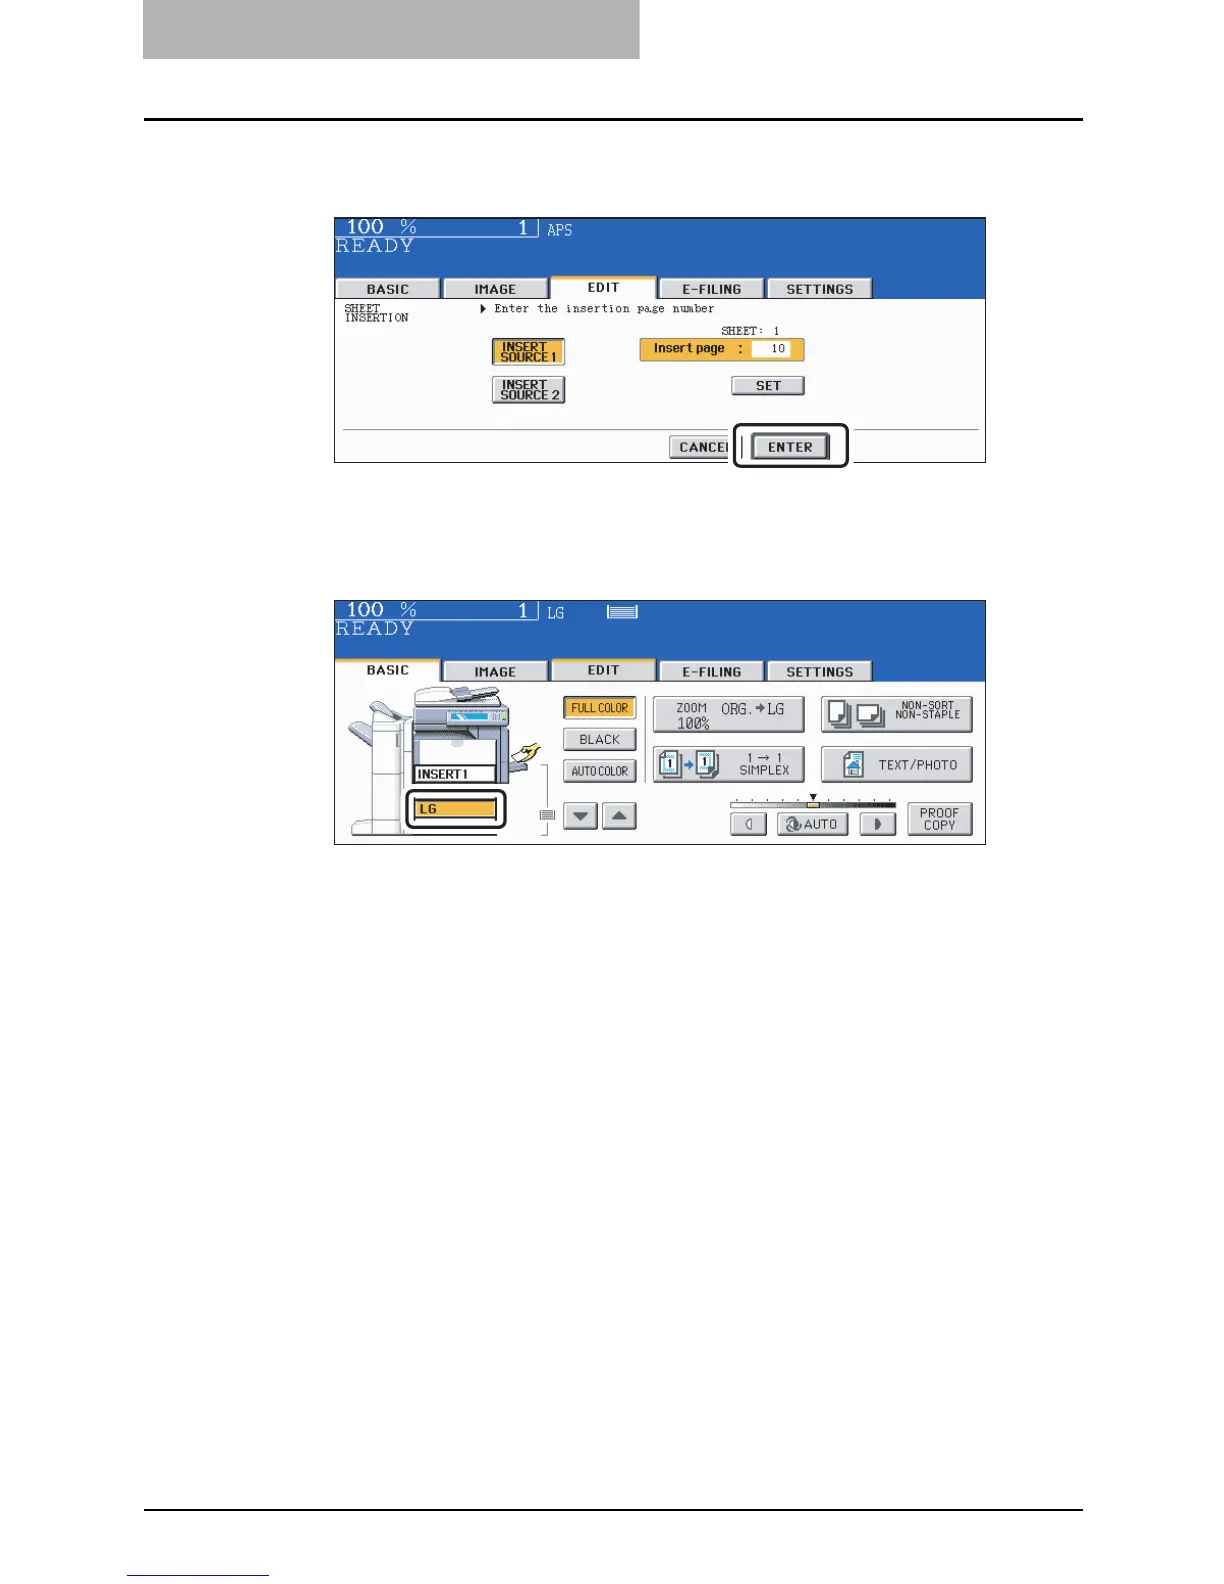
8
After the specifying of all insertion pages is finished, press the
[ENTER] button.
9
Press the [BASIC] button to enter the basic menu, and then select a
paper source of the same size and direction as the sheet insertion.
Select other copy modes as required.
10
Press the [START] button.
y When the Reversing Automatic Document Feeder (optional) is used, the original is
scanned and copying starts.
y When the original is placed on the original glass, perform steps 11 and 12.
11
Place the next original, and press the [START] button.
y Data scanning of this original starts.
y The next original will also be scanned in the same manner when you press the [YES]
button on the touch panel, and then press the [START] button on the control panel.
y Repeat this step until all the originals have finished being scanned.
12
After all the originals have finished being scanned, press the [FIN-
ISHED] button.
Copying starts.

 Loading...


