TIME STAMP 187
TIME STAMP
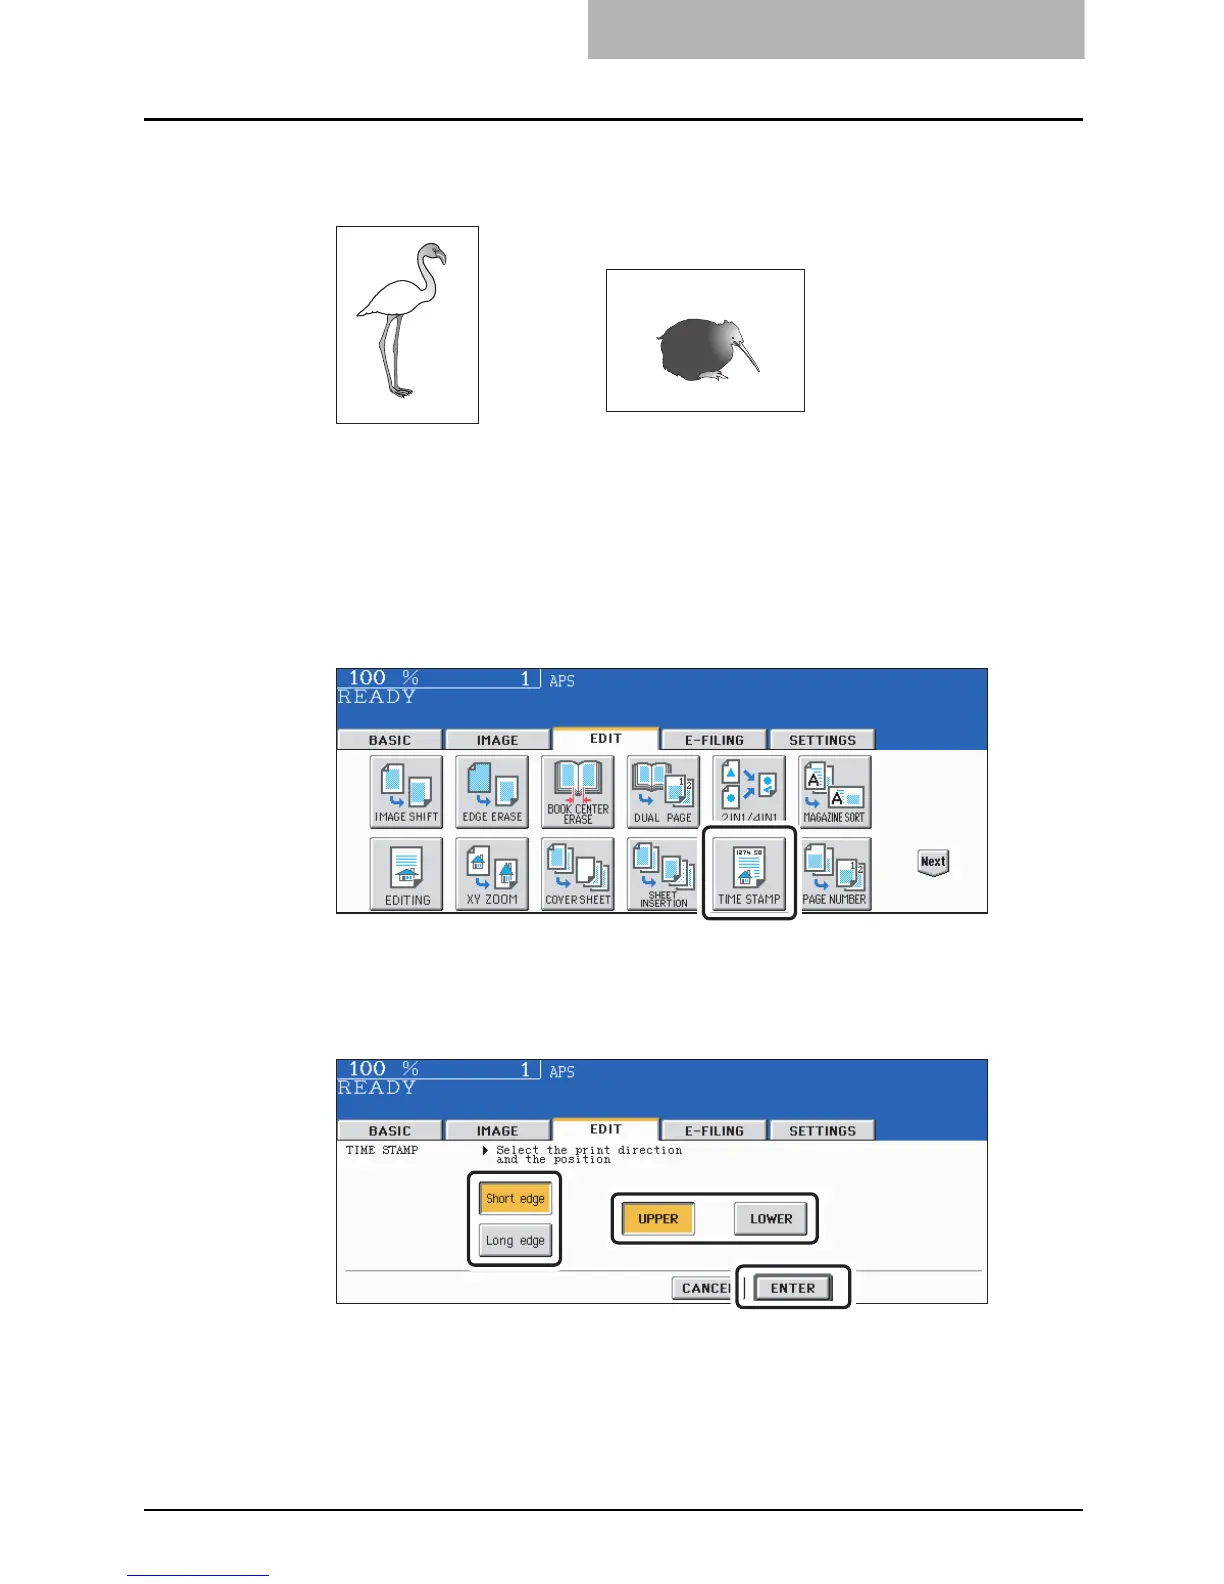
This function allows you to add the time and date of the scanning to the copies.
1. Printed at the bottom of a portrait copy
2. Printed at the top of a landscape copy
1
Place paper in the drawer(s).
2
Place the original(s).
3
Press the [EDIT] button to enter the edit menu, and then press the
[TIME STAMP] button.
4
Select the orientation ([Short edge] or [Long edge]) and position
([UPPER] or [LOWER]) of the date and time to be printed, and then
press the [ENTER] button.
Select other copy modes as required.
5
Press the [START] button.
MM.DD.YYYY 14:54
MM.DD.YYYY 14:54
1
2

 Loading...


