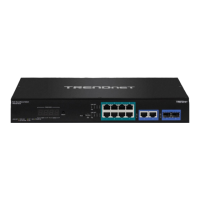
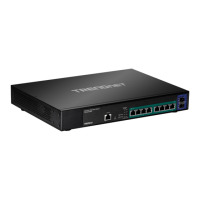
Surveillance Settings
Surveillance Settings
This section will allow users to configure switch settings such as switch IPv4 address
settings, DNS server settings, SNMPT host settings, syslog server, and admin password.
1. Log into your switch management page (see “Access your switch management page”
on page 11).
2. Click on Surveillance Settings.
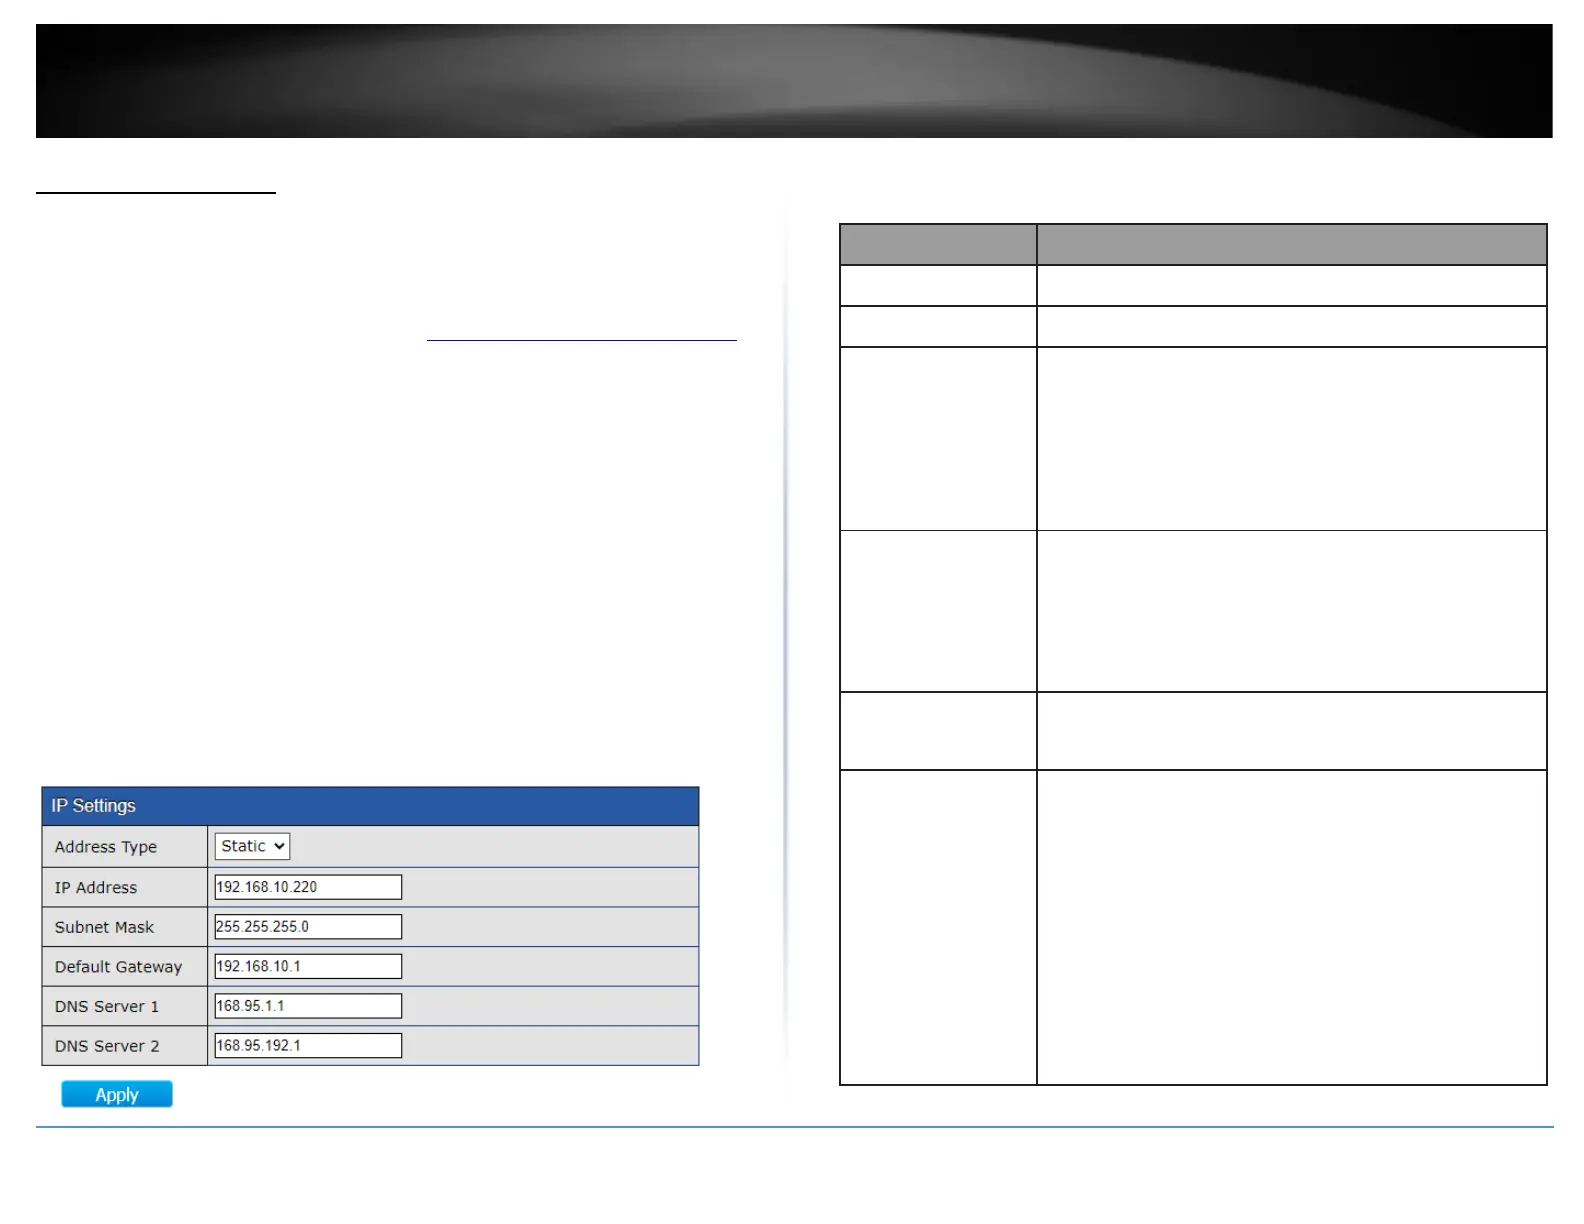
IP Settings
After you have completed configuration, click Apply and click Save.
Note: After changing IP address settings, you may need to log into the switch with the
new IP address settings. Please also make sure to click Save.
• Address Type: Select Static to manually specify your IP address settings or
Dynamic to allow your switch to obtain IP address settings automatically from a
DHCP server on your network.
• IP Address: Enter the new switch IP address. (e.g. 192.168.200.200)
• Subnet Mask: Enter the new switch subnet mask. (e.g. 255.255.255.0)
• Default Gateway: Enter the default gateway IP address. (e.g. 192.168.200.1 or
typically your router/gateway to the Internet).
• DNS Server 1: Enter the primary IPv4 DNS server address.
• DNS Server 2: Enter the secondary IPv4 DNS server address.
SNMP Host Settings
After you have completed configuration, click Add, Apply, and click Save.
Specify SNMP notification version
•
SNMPv1: SNMP Version 1 notification.
•
SNMPv2: SNMP Version 2 notification.
•
SNMPv3: SNMP Version 3 notification.
SNMP notification packet security level, the security
level must less than or equal to the community/user
name
•
No Security: Specify that no packet authentication is
performed.
•
Authentication: Specify that no packet authentication
without encryption is performed.
•
Authentication and Privacy: Specify that no packet
authentication with encryption is performed.