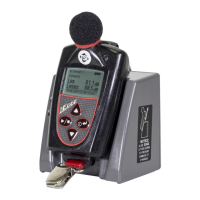
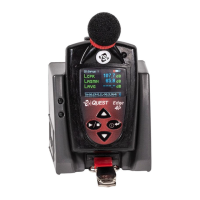
Overview
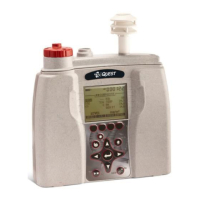
Removing and Installing PID Sensor
EVM Series User Manual
Removing and Installing PID Sensor
If you ordered a PID sensor with your instrument, it will be shipped with an installed PID sensor that was
factory calibrated. The following procedures explain how to remove and install the PID sensor.
1. Verify the EVM is powered off and the external power supply is unplugged.
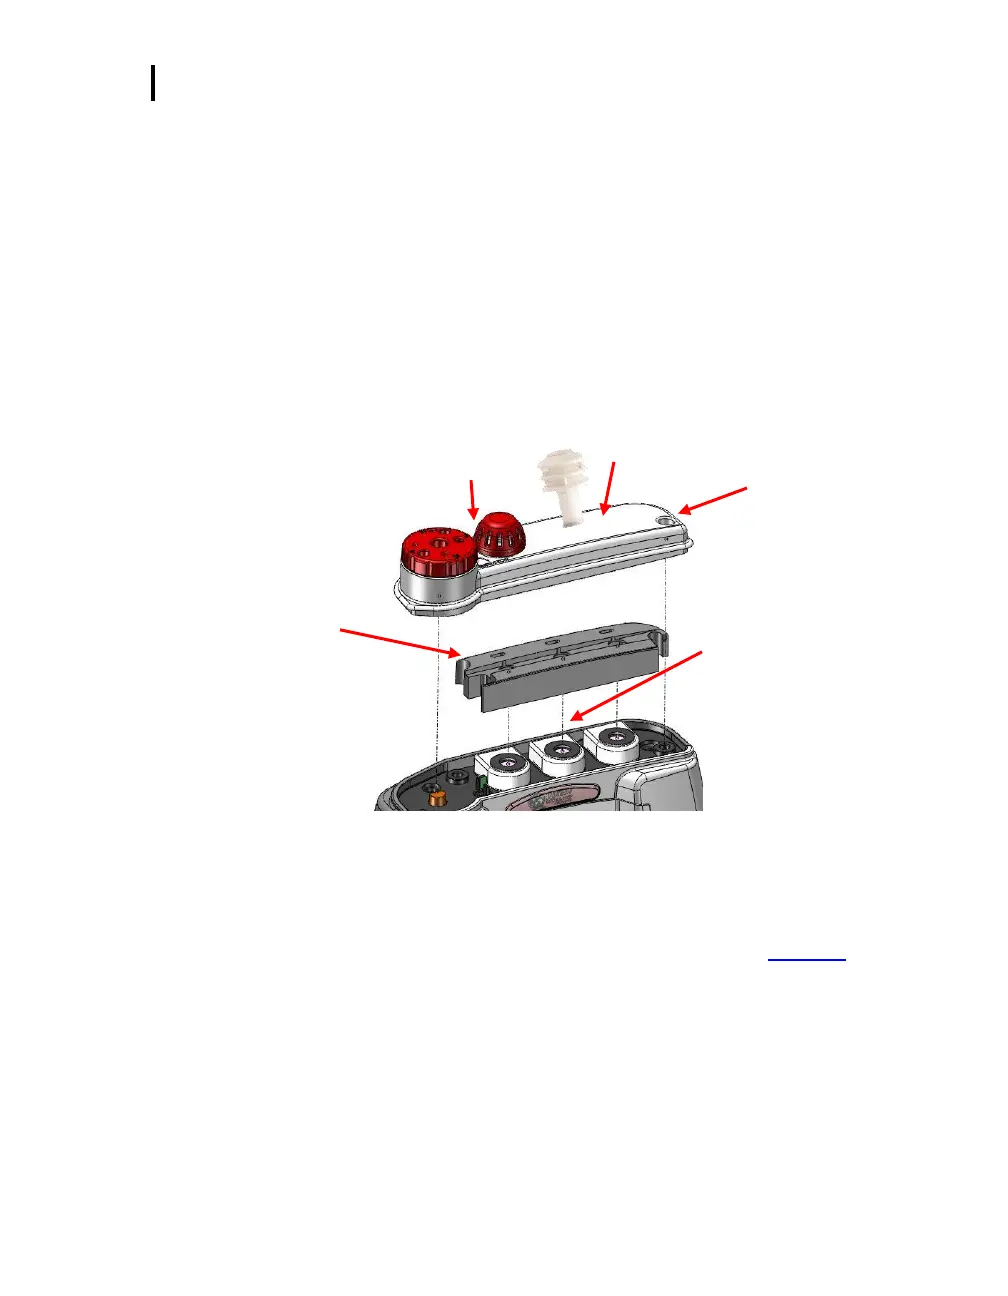
2. Remove the sensor bar by unscrewing the two screws. Next, gently remove the sensor bar, by
titling the front and lifting up. (The rubber gasket may stick a little as you lift the sensor bar off.)
Place the sensor bar to the side.
3. A black bar (called the manifold) will be placed over the sensors. Remove this by pulling it out of
the housing and set aside.
4. Placing your fingers on the middle sensor (PID sensor), gently tilt the front of sensor up as you pull
the sensor out with your thumb and index finger. Place to the side.
Figure 7-1: Removing and inserting PID sensor
5. To insert the PID sensor, line the pins up to the circuit board and lower it vertically down and gently
push it into the sensor cavity. It will fit snug.
6. To reassemble, place the manifold over the sensor housing and then place the sensor bar on top
of the manifold and sensor housing. Tighten down the two screws. (See the Calibration section to
perform a calibration with the newly installed sensor).
PID sensor (located in the middle of
the sensor housing)
 Loading...