Air Velocity Meaursurement Screen
Composite Screens
EVM Series User Manual
Air Velocity Meaursurement Screen
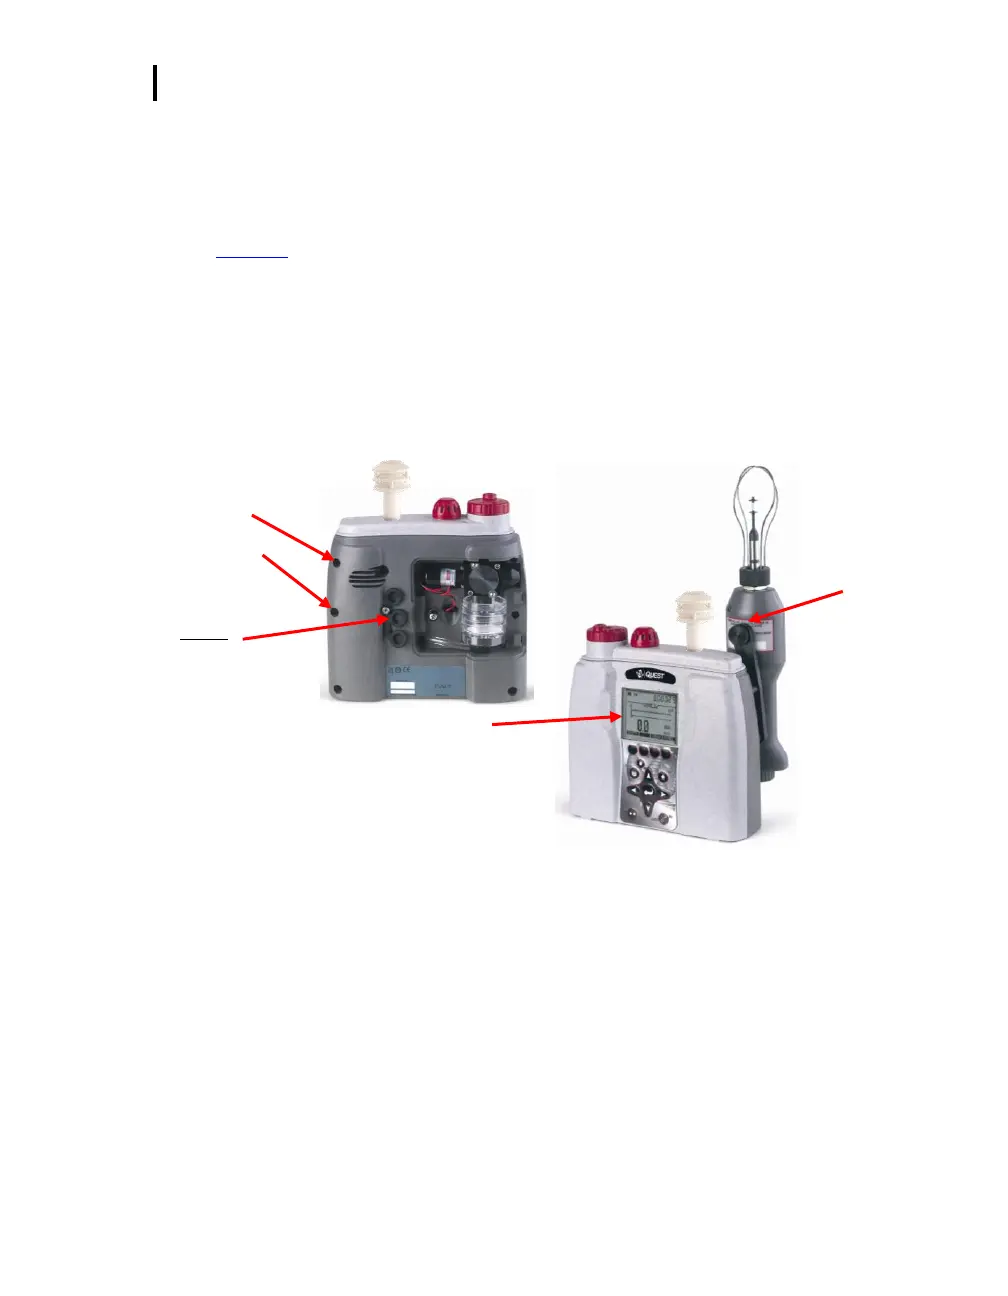
There are a couple quick steps to ensure air velocity is setup and that the Air Probe is attached before
measuring.
1. The air velocity setting is enabled in Setup /AUX/Air Velocity screen (see “Air Velocity” Setup in
Chapter 3 for more details).
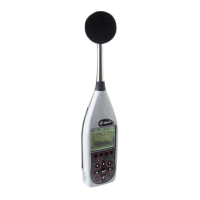
2. Connect the Air Probe bracket attachment to the backside of the EVM. Attach the Air Probe to the
bracket. Next, plug in Air Probe plug from the Air Probe to the digital output on the instrument.
(See Air Probe output below.)
NOTE: It is optional to attach the Air Probe to the bracket on the instrument.
3. Turn Air Probe switch to On.
4. Navigate to the Air Velocity measurement screen using the ◄/► Arrows.
5. To log air velocity data, press the Run/Stop key.
Air Probe
bracket
attachment
Output
*Pull back rubber
covering in order
to plug in cable.
Air velocity measurement
screen
Connect
Air Probe to the
back housing
(two inlets located
near the air flow
outlet. See air
flow diagram on
previous page. )
Figure 5-11: Attaching Air Probe and measuring Air velocity