Placement and Calibration of Sensors
Performing a Gravimetric Calibration
EVM Series User Manual
Performing a Gravimetric Calibration
Ensure the gravimetric cassette is new before beginning.
1. Place the instrument in the appropriate environment.
2. Turn on by pressing On/Off/Esc .
3. In the Start screen, select the Setup menu and press Enter
. Next, select Particulates by
pressing the Down arrow repeatedly and once selected, press Enter
.
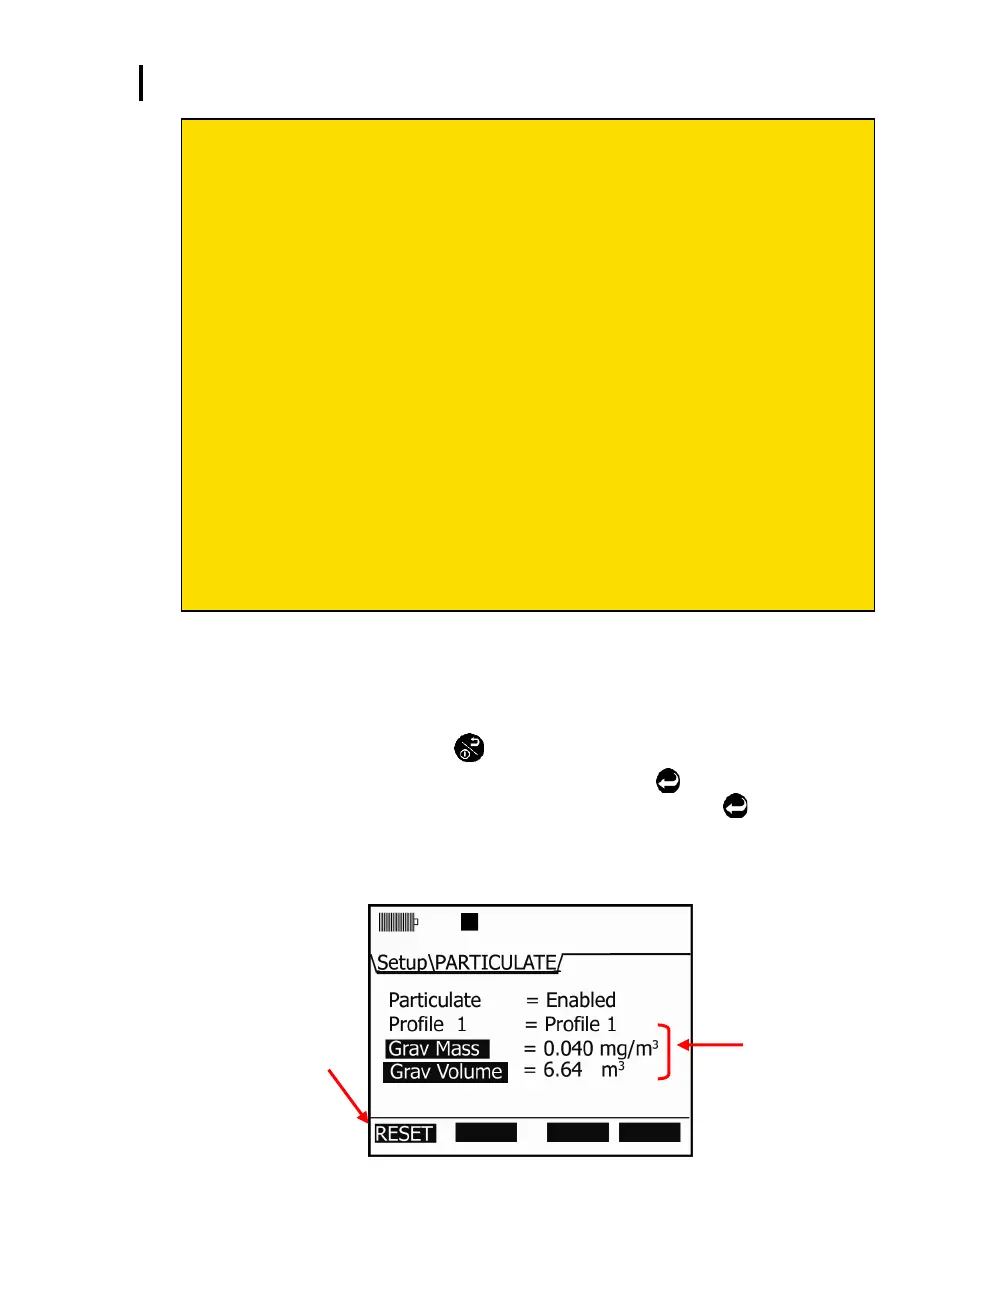
4. In the particulate screen, the reset gravimetric accumulator fields will display either a value of the
collected dust or it will display zero (if already reset). When beginning a gravimetric calibration,
ensure this is set to zero.
Reset Gravimetric fields
to “0”
Figure 4-13: Reset gravimetric setting
Gravimetric Calibration Overview
1. Reset the gravimetric and volume accumulators.
2. Insert a new (sealed) gravimetric cassette.
3. Measure in the specific location for approximately four to eight hours.
4. Proceeding the measurement, the gravimetric accumulator on the EVM will display
the amount of dust that has accumulated based on the active profile. (This value is
used in conjunction with the weight of the measured dust in the cassette.)
5. To determine the weight of particulates in the gravimetric filter, remove the
gravimetric cassette and weigh the contents. (Typically, sent to a lab for results.) Do
not include the weight of the cassette.
6. To determine the correction factor, calculate the ratio between the particulate mass
value and the weight from the gravimetric filter lab analysis.
For example, let’s say that you measured for 8 hours in a wood shop and the
PM mass accumulator displays 10 mg. Next, you measured the dust in the
gravimetric filter/cassette and determined the weight as 20 mg. To calculate the
correction factor, you divided 20 mg by 10 mg and determined the value as 2.
Lastly, the correction factor of “2” is multiplied by the existing active profile
correction factor, and is entered as the new correction factor (Setup\PM\EDIT
PROFILE).
 Loading...