Chapter 6 Installation and connection 40058725 BTA Alpha HSM
Version: 12.19.17 Page 42 of 112 GB
Prerequisites
Label liner is inserted.
No product transport
The labeler is turned off.
Instruction
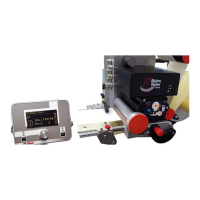
How to position the sensor.
Loosen the clamping screw (pos. 1, Fig. 6-6) and move the sensor on the
axis so that it can detect the gap between the labels. Tighten the clamping
screws again.
During the calibration process, the labeler advances several labels that
have to be removed manually. Stuck-together labels may cause system
faults.
Entanglement hazard! Keep away from moving system parts.
Perform a label calibration (see page59).
Adjustment of the standard label sensor
Only perform this function if the labels do not constantly stop at the same position. To ad-
just the label, only press the teach button for 2 seconds. (If you press the teach button for
longer than 6 seconds, the light-dark recognition (NO/NC) is switched on the sensor).
Prerequisites
Label liner is inserted.
No product transport
Labeling machine is ready for operation.
Instruction
How to adjust the label sensor to the label stock.
Press the teach button (pos. 5, Fig. 6-6) for 2 seconds, until the LED display
is continuously.
In the next 2-8 seconds, guide the label liner through the fork with at least 2
labels. The status LED signals the teach event by means of a fast flashing
frequency.
After the teach event, the status LED informs about the result through an
appropriate flashing.
2x flashing Teach procedure was completed successfully.
4x flashing Teach operation was not completed successfully, repeat the
teach operation.
During the calibration process, the labeler advances several labels that have
to be removed manually. Stuck-together labels may cause system faults.
Entanglement hazard! Keep away from moving system parts.
Perform a label calibration (see page59).