System Calibration and Test: Nozzle Flush
Issue 2
33
Part No. 306-0430-102
Nozzle Flush
1
Slacken the knurled screw on top of the printhead and remove the front cover. Support the printhead in a
suitable stand and place a container underneath to catch any surplus solvent.
2
From the
System
menu select
Nozzle Flush
.
3
Press
enter
.
4
The nozzle orifice should be irrigated with washdown to clear
any blockages.
The nozzle flush remains operational for 2 minutes but can be aborted at any time by pressing
f1
, Abort Flush.
Strobe LED Check
Check that the red strobe LED (situated behind the charge electrode) is illuminated.
Ink Jet Alignment
1
Press
f1
to start the jet.
2
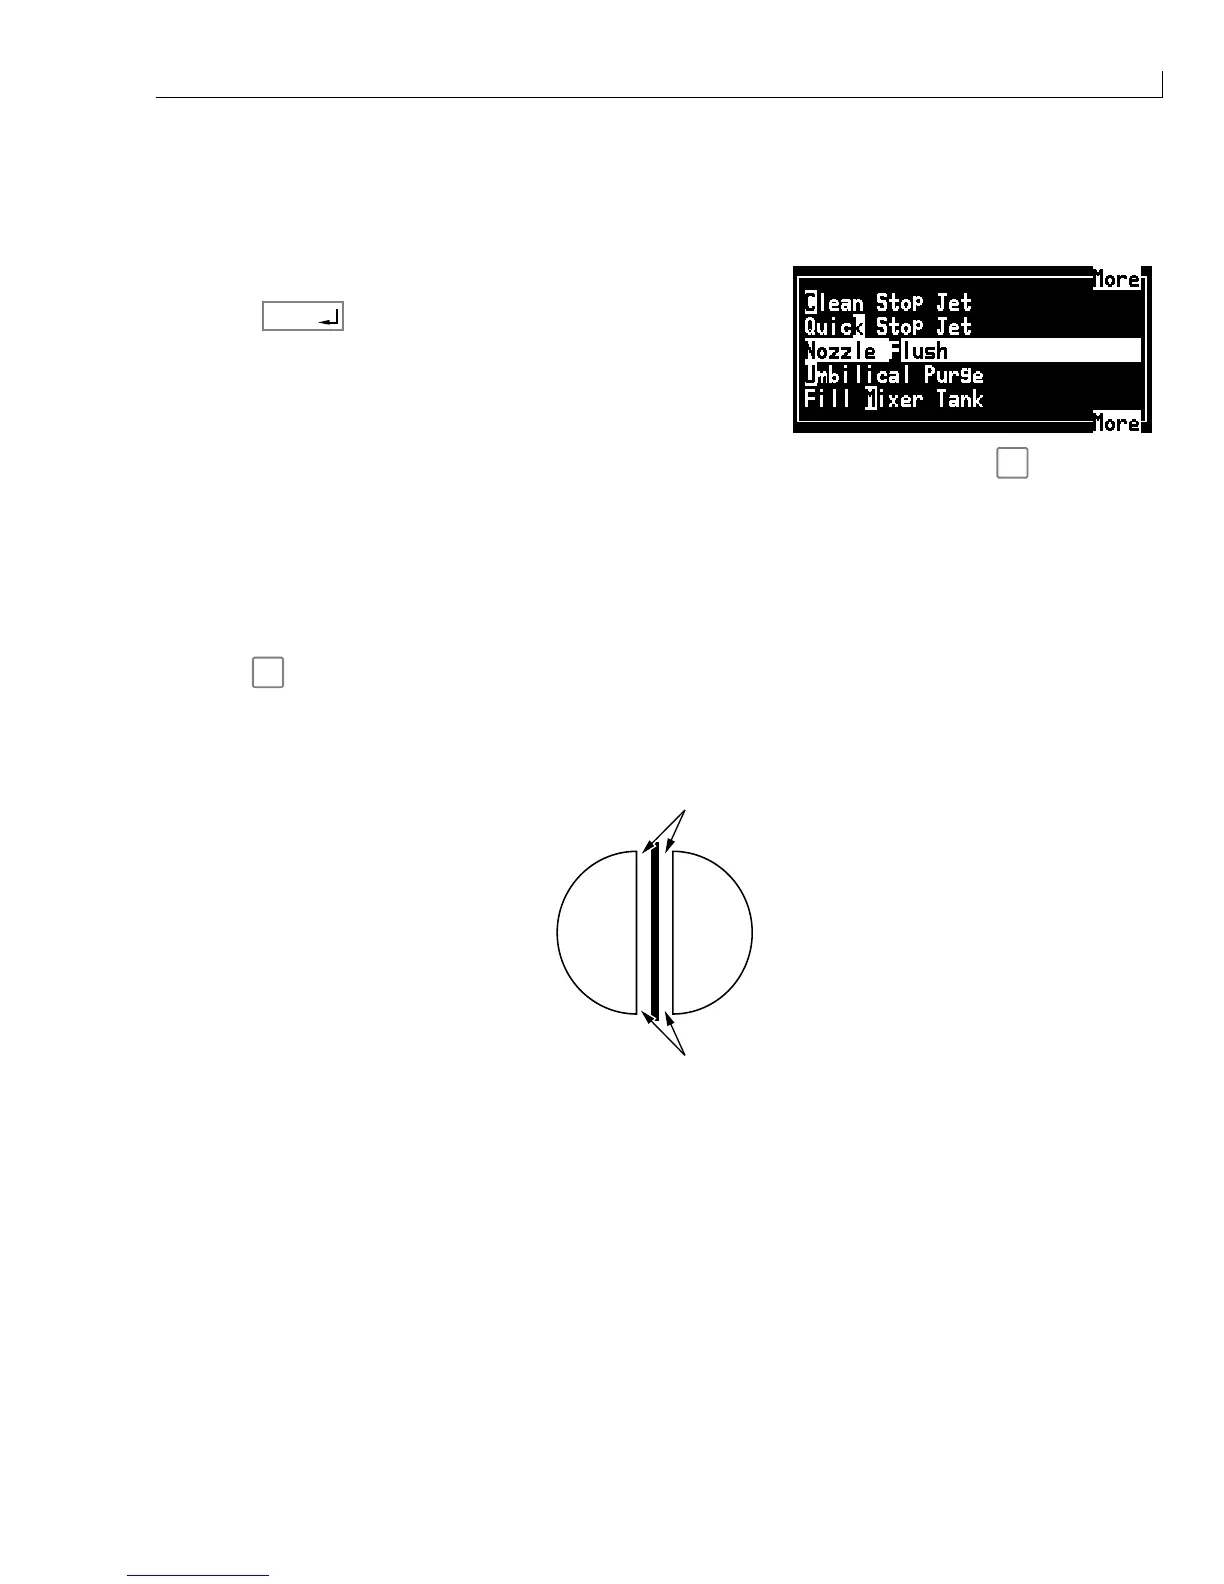
Ensure that the jet is in the correct position with the charge electrode (see Figure 15) and is passing through
the centre of the charge electrode slot with an equidistant gap (
1
) either side. Check also that the jet is
parallel to the sides of the charge electrode slot.
1
1
Figure 15 Ink Jet Alignment
3
If the inkjet alignment is not correct set up the printhead alignment as described in
Printhead
Alignment
,
page 161.