3.5 SERVOPACK Installation
3.5.2 Mounting and Securing SERVOPACKs
3-10
3.5.2
Mounting and Securing SERVOPACKs
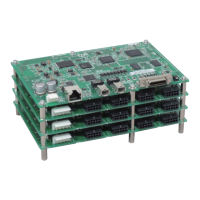
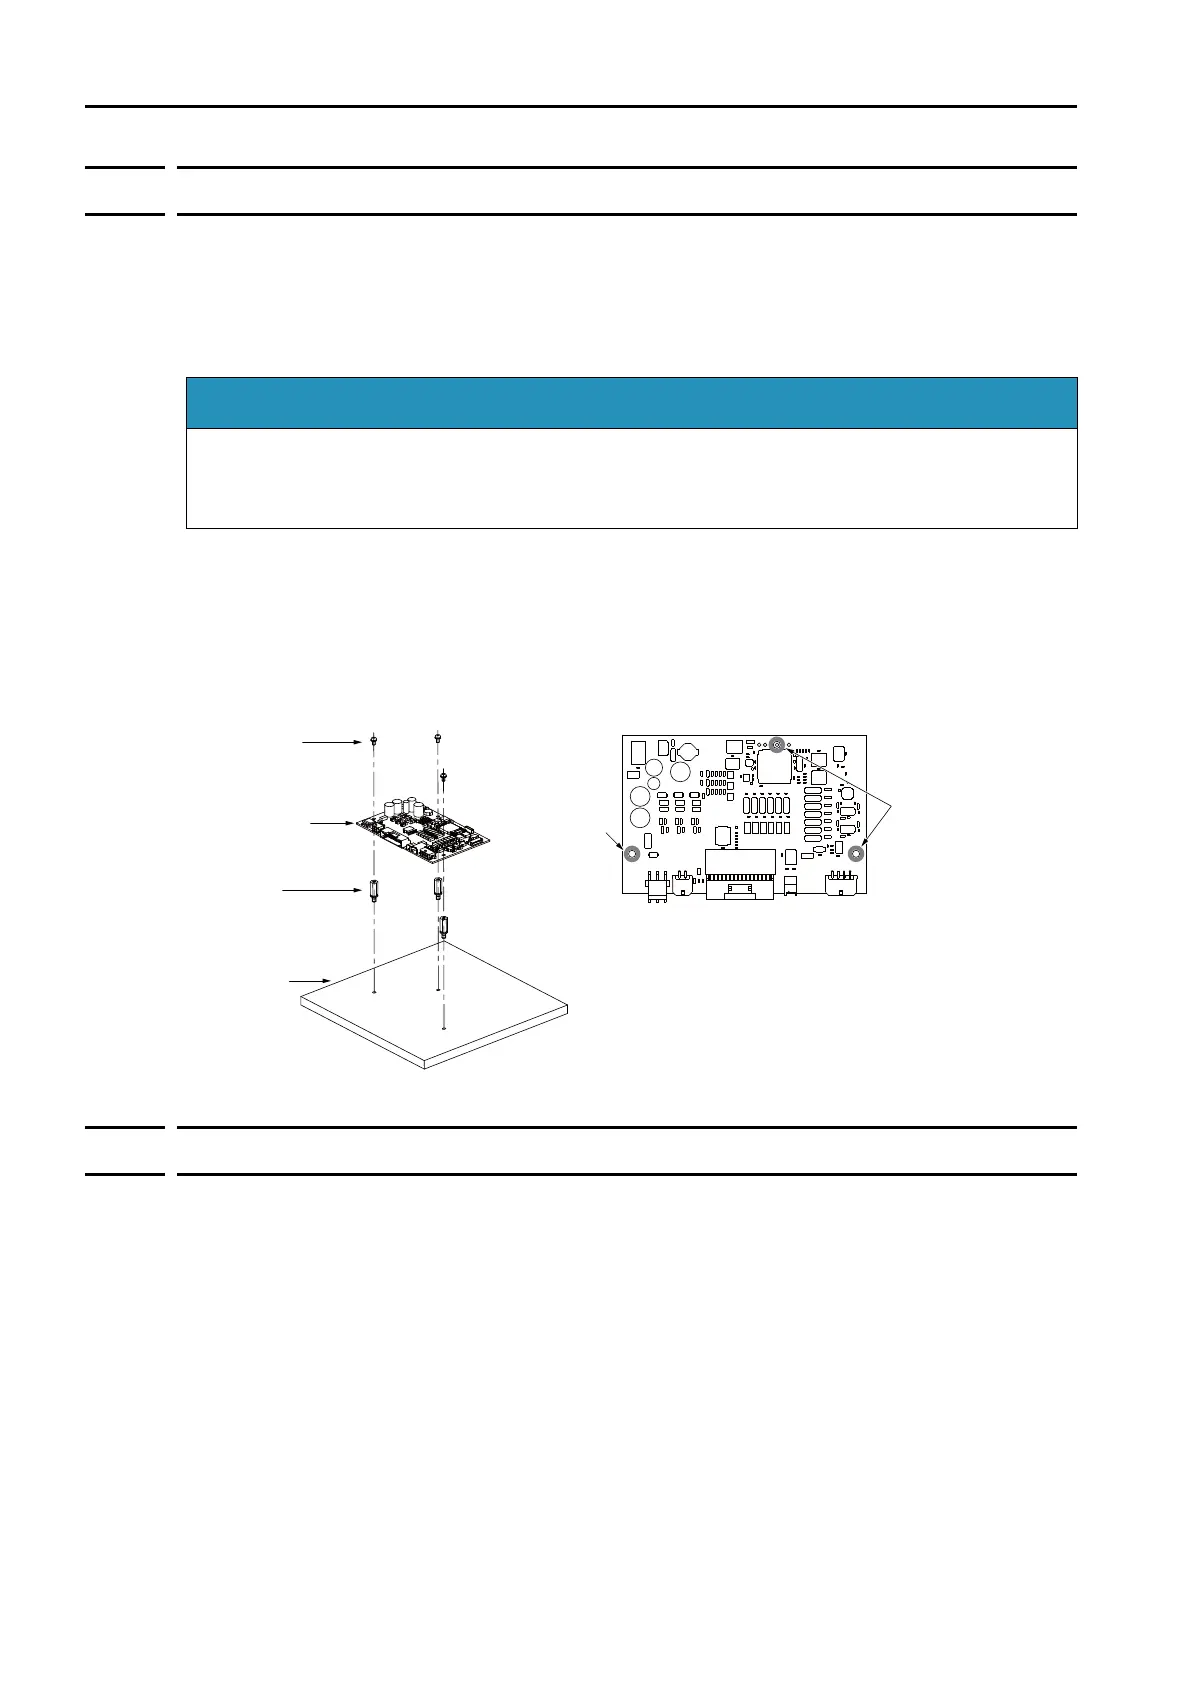
The Σ-S-Series SERVOPACKs are PCBs, so they are secured to the equipment with studs or
other mounting fixtures. This section describes the installation procedure.
Required Item
• Mounting fixtures (mounting screws, studs, etc.): M3 × 3 (made of metal)
• Screwdriver
1.
Prepare studs on the equipment that match the three mounting holes on the SERVO-
PACK.
2.
Place the SERVOPACK on the prepared studs and secure it to the studs with screws.
(Tightening torque: 0.49 N⋅cm)
This concludes the SERVOPACK installation procedure.
3.5.3
Installation Orientation
You can install the SERVOPACK either horizontally or vertically.
Note: Secure the cables on the equipment so that they do not place a load on the SERVOPACK.
Remove all static electricity from your body before you install a PCB. Never touch the elec-
tronic components mounted to a PCB with your bare hands.
There is a risk of equipment damage.
Mounting holes
Mounting
holes
Device
mounting
surface
Studs
SERVOPACK
(PCB)
Mounting
screws
SERVOPACK (PCB)
 Loading...