The SDH Access Tester application
Page 82 Acterna ANT-5
File > Open >
Results
Select this option to load a set of test results from a previous test
into the ANT-5, which has previously been saved either to a card
or to the ANT-5 RAM. The file window will list all valid results files
on either the card if it is inserted, or in the ANT-5 RAM, along with
their date and time of creation and a brief description. The results
file also includes the corresponding configuration from the time of
the saved test, and will change the configuration of the instrument
when the results file is loaded.
File > Save >
Configuration
Select this option to save an instrument configuration from the
ANT-5 either to a card or to the ANT-5 RAM. A configuration can
either be saved to an existing file, or a new file can be created. If
a new file is required, the new file name and a brief description
can be manually entered using the ANT-5 keyboard. Assuming
the ANT-5 is networked the configuration can also be saved and
transferred to other units using FTP.
File > Save >
Results
Select this option to save a set of test results from the ANT-5
either to a card or to the ANT-5 RAM. The set of results can either
be saved to an existing file, or a new file can be created. If a new
file is required, the new file name and a brief description can be
manually entered using the ANT-5 keyboard. Results saved using
this option can only be read back into the ANT-5 instrument.
File > Export >
Configuration
Select this option to export an instrument configuration to a card
in CSV (comma separated values) format. Results exported using
this option can be read by other PC applications, but cannot be
imported back into the ANT-5 instrument.
File > Export >
Results
Select this option to export a summary of the test results to a card
in CSV (comma separated values) format. Results exported using
this option can be read by other PC applications, but cannot be
imported back into the ANT-5 instrument.
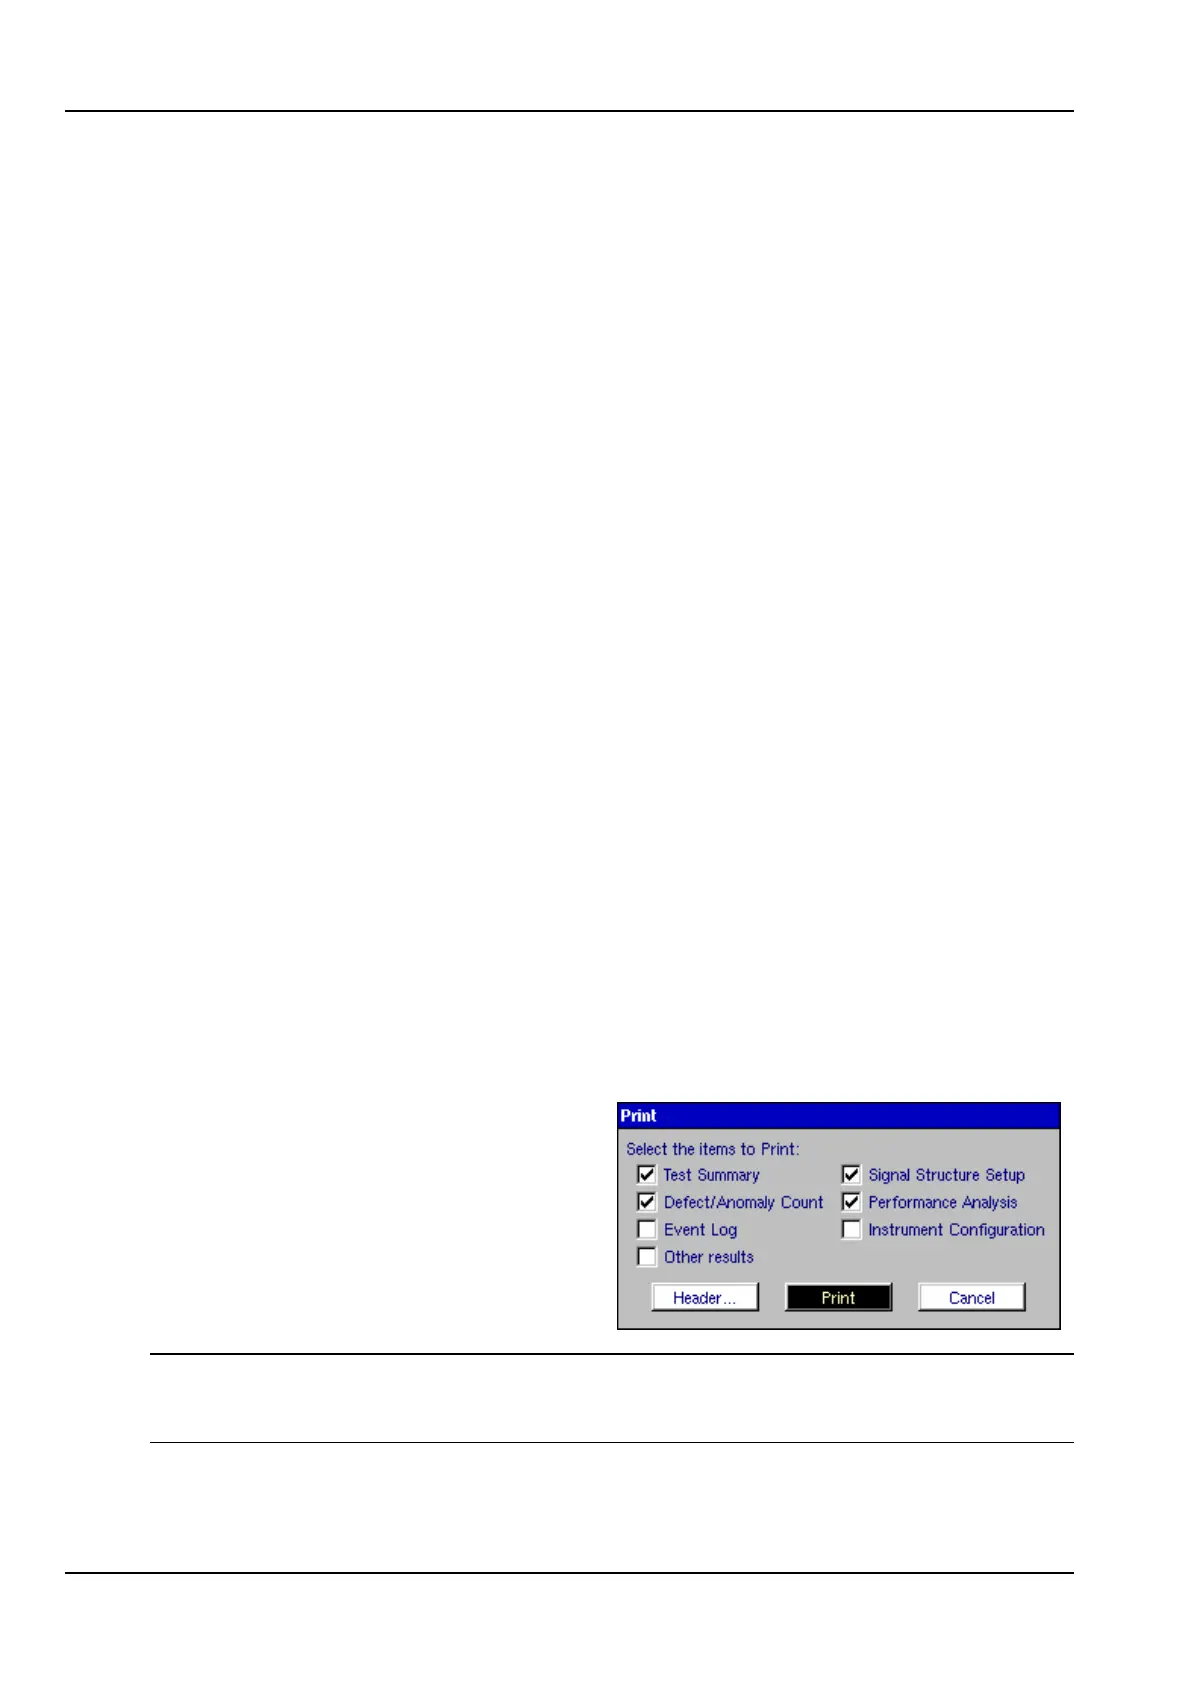
File > Print > Select this option to
print the test results to
the serial port. A
typical printout is
shown on the next
page.
Note1: To use the Print Results feature successfully, it is important to have the
correct Printer Driver and Serial Port settings rather than relying on the simple serial
port tests mentioned in Sections 2.7.1 and 2.8.