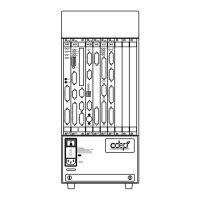
Chapter 2 - Installation
52 AdeptModules Instruction Handbook, Volume 1: Adept MV Controller Interface, Rev. A
Installing Signal Cables: AdeptModules to Signal Interface Box
The cable between the AdeptModule and the Signal Interface Box as well as the Amp
Breakout cable is called the AdeptModule Interface cable. The AdeptModules end has a
barrel-type connector. The Signal Interface Box end has a 25-pin D-connector. (See Figure
2-13 for wire connections.)
1. Connect the Encoder signal barrel connector to the main connector on the
AdeptModule and tighten it securely.
2. Connect the 25-pin D-sub connector to the appropriate axis connector on the
Signal Interface Box. Tighten the two captive screws securely.
WARNING: Verify that all connectors are fully inserted and secured.
Loose connectors could cause unexpected AdeptModules motion.
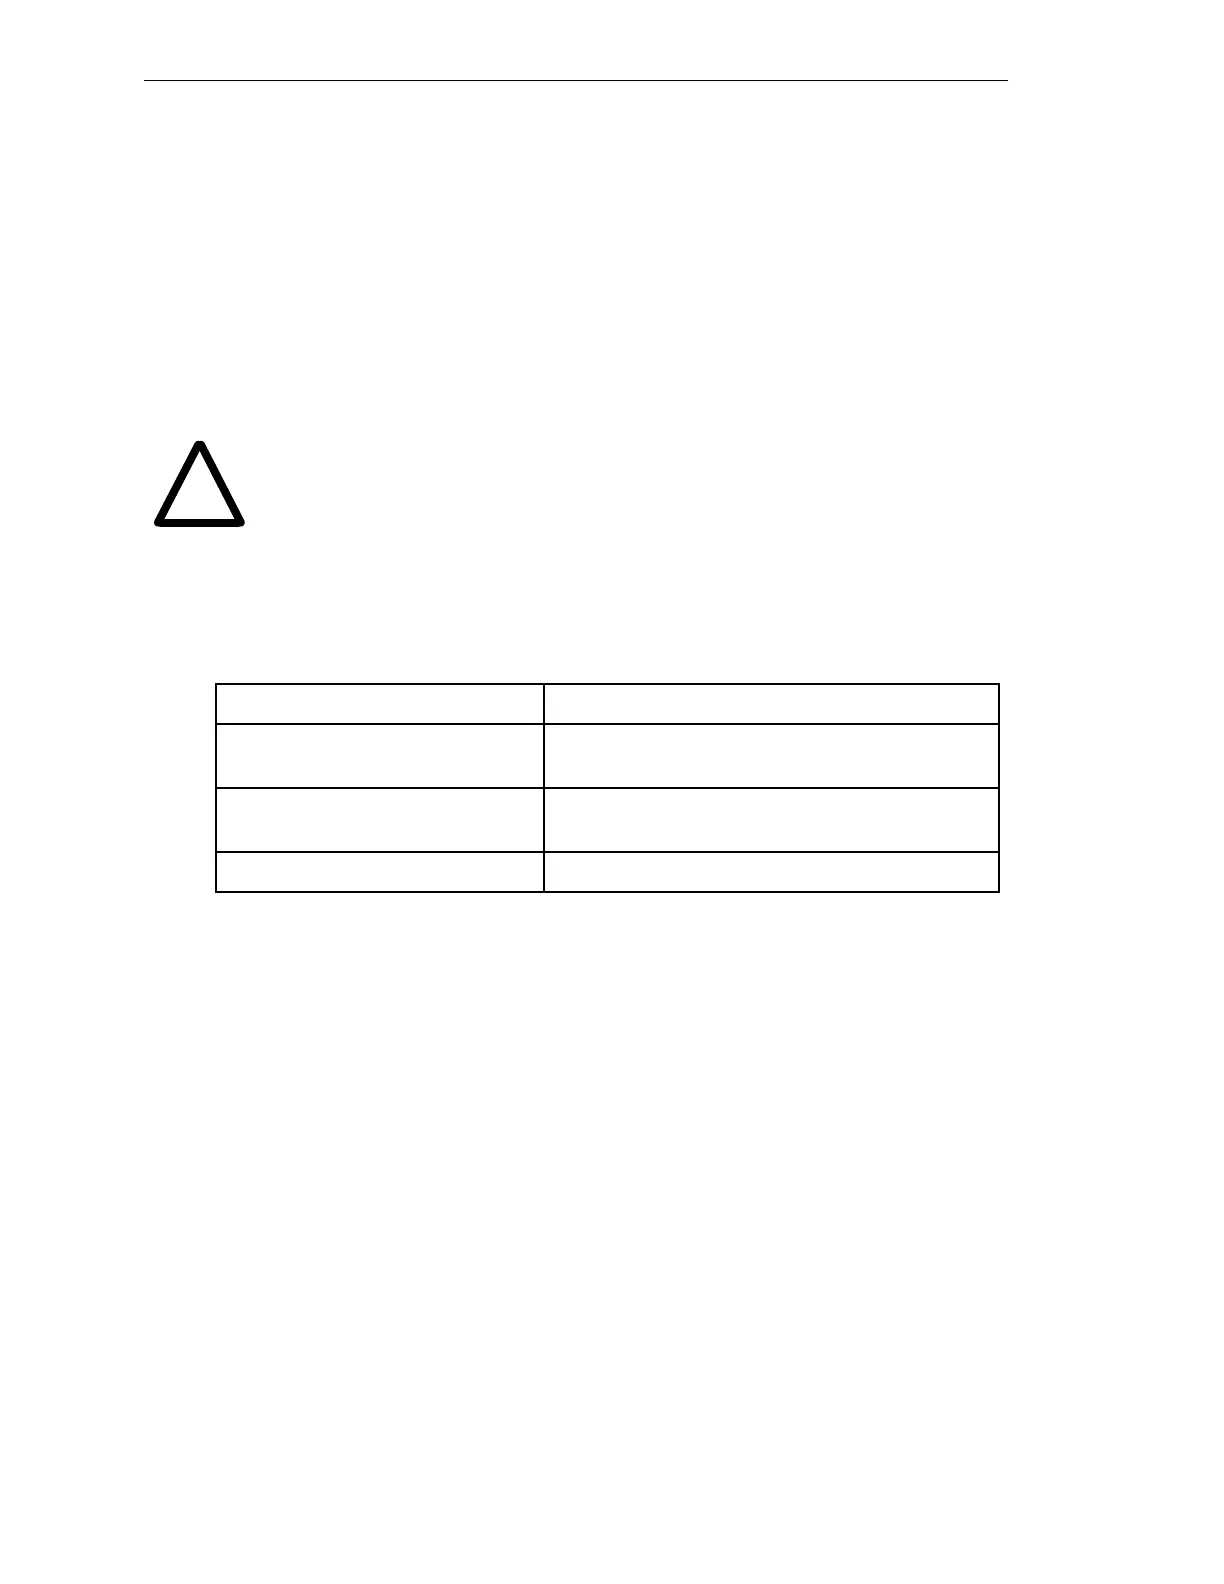
Table 2-7. EJI specifications
Installing Signal Cables: MV Controller to Power Chassis
The EJI-to-Amp cable is the interconnect between the controller and the power chassis.
This cable assembly has a single plug on the controller end (for the EJI see Figure 2-14)
and four plugs on the amplifier end (for the amplifiers).
1. Connect the cable end with the single connector to the connector marked
Amplifier Signal on the EJI module (see Figure 2-14).
2. The other end of the cable with four plugs must be connected in the following
pattern:
a. Connect the plug labeled Amplifier Crtl 1 to the B1 Control Signal connector
on B
+
Amp #1. Tighten the two captive screws securely.
b. Connect the plug labeled Amplifier Crtl 2 to the B2 Control Signal connector
on B
+
Amp #1. Tighten the two captive screws securely.
Maximum EJIs per controller 3
Number of axes of control (maxi-
mum)
4 axes of robot joint control per EJI module
Number of belt encoders (maxi-
mum)
2 conveyor belts per EJI module
Width Occupies one backplane slot
!
Artisan Technology Group - Quality Instrumentation ... Guaranteed | (888) 88-SOURCE | www.artisantg.com