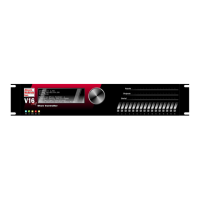
New Media: This button creates a new media event for any existing device that has a command with media
file support. Once a device is selected, the media files dialog will allow a file to be added or selected to be
placed onto the timeline.
Delete: This button deletes the selected event.
Display Options
These options allow you to customize the Timeline view so that it is more comfortable to use.
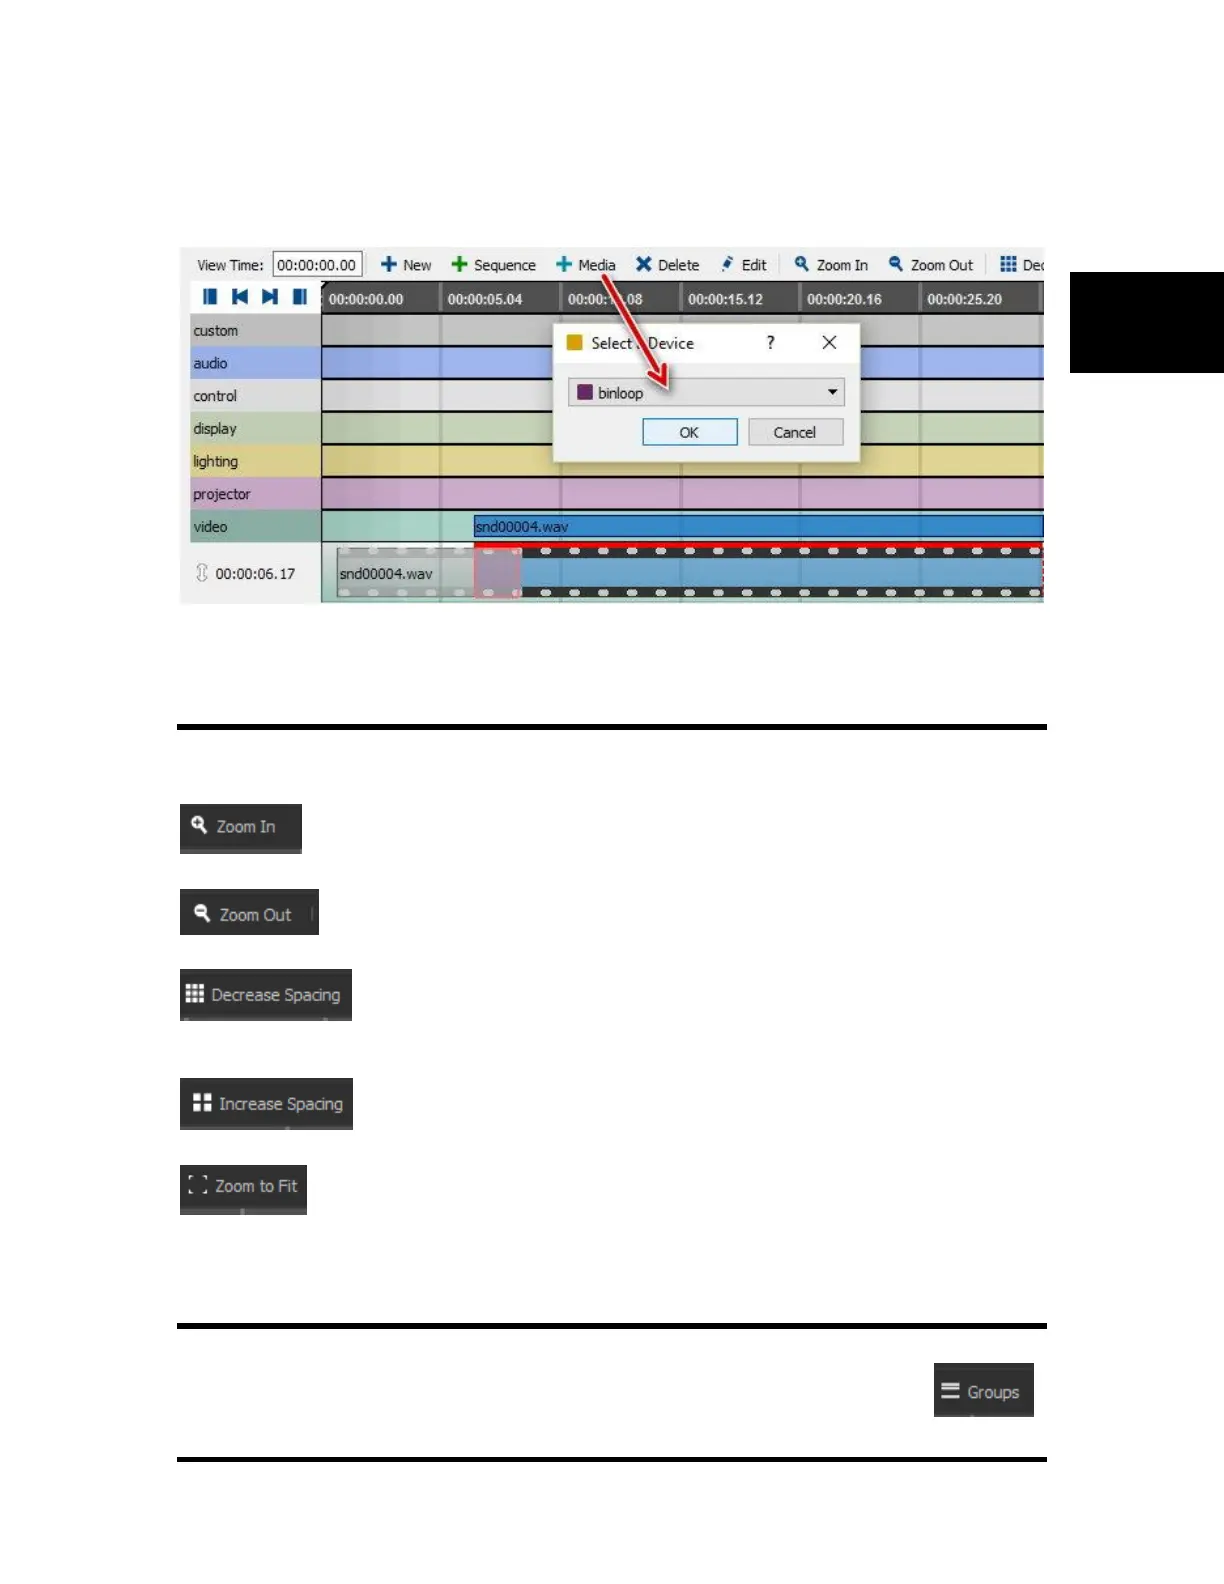
Zoom In: This button allows you to zoom into the Timeline to configure any small details.
The maximum zoom-in level is one frame.
Zoom Out: This button allows you to zoom out of the Timeline to see the bigger picture.
The maximum zoom-out level is twenty two hours.
Decrease Spacing: This button allows you to decrease the spacing between the
different groups (rows). This is useful for when multiple rows and events are added as more rows will fit on
the screen.
Increase Spacing: This button allows you to increase the spacing between the
different groups (rows). This is useful for having a clearer view of the Timeline.
Zoom to Fit: This button allows you to fit all of the events on the screen. Zooms-in or out
automatically to allow you to see all the events. The page will now start displaying at the time when the
first event occurs and end when the last event is done.
Groups
In Timeline each group is represented by a row. These can be customized using the Groups button on the
tool bar. This menu can also be accessed by clicking the View menu and clicking on Groups.