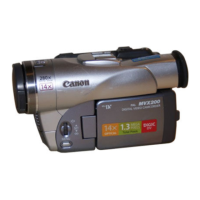
MVX250i E, MVX200i E, MVX200 E
DISASSEMBLING
27
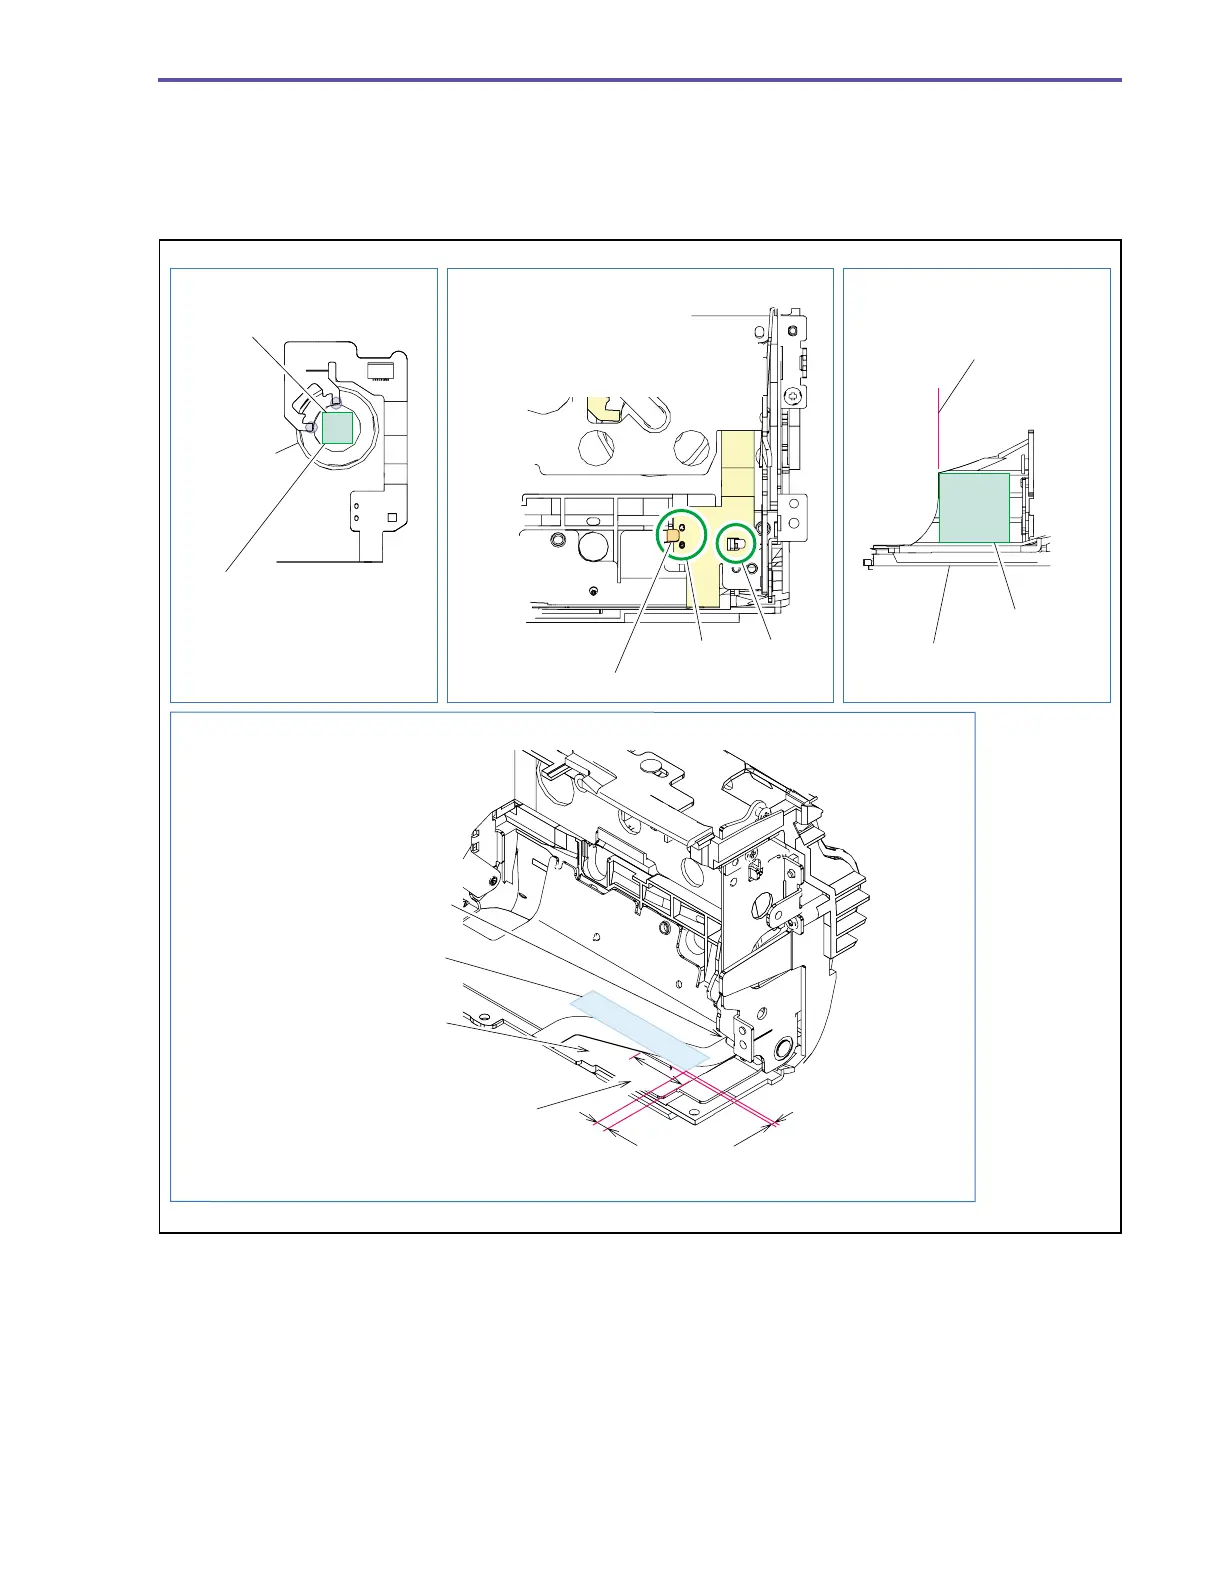
<Note on Reassembling>
(1) Attach the Speaker Cushion to the position indicated in the figure below.
(2) Attach the SPEAKER FPC to the position indicated in the figure below, and secure it with the claw C of the Left Cover Shield.
(3) Attach the L Cover Cushion as illustrated below.
(4) Attach the UL Tape as illustrated below.
Note on Reassembling (4)
Note on Reassembling (3)
Note on Reassembling (1) Note on Reassembling (2)
Left Cover
L Cover Cushion
Attachment
reference
Attach the Speaker Cushion
along the outline of the metallic
part of the Speaker.
Allowable deviation in
attachment : ±0.5mm
Dowel A Claw B
When attaching the SPEAKER
FPC, engage the dowels A and
claw B.
Speaker Cushion
Speaker
Secure with the claw C.
0 ∼ 5.0mm
0 ∼ 5.0mm
The root of the flexible cable
shall be attached to meet
the internal radius of the cover.
After attaching the UL tape,
make sure that the FPC is
not kinky.
(To prevent deviation of the
outward position of the FPC)
In the range D, the dimensions indicated
in the figure shall be satisfied.
D
UL Tape (9 × 30)
Fig. 24