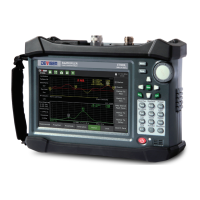
7. Dual Alphanumeric Keypad
The keypad can be used to input numerical entries or type words (e.g., for naming files). Press the green
Back key to erase the last entry, if you entered an unintended value.
8. Arrow Keys
The arrow keys above and below the rotary knob are used to adjust settings or move markers. Press the top
arrow to increase the selected value and the bottom arrow to decrease it.
9. Rotary Knob
This spinning knob can be used to change the parameter to control, or to move marker lines. Place a finger
in the round depression (or along the protruding lip on the right side) and turn the knob clockwise to move
right, or counter-clockwise to move left. Push the knob in, like a button, to confirm the entry.
10. Esc Button
Press the Esc button to cancel an entry or return to the previous application or menu.
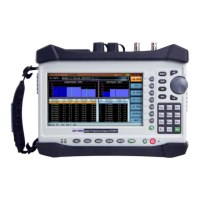
11. Touchscreen
The DS2831 features a capacitive LCD touchscreen as an alternate means of operating the unit. Tap the
screen to select icons, explore menus, and more.
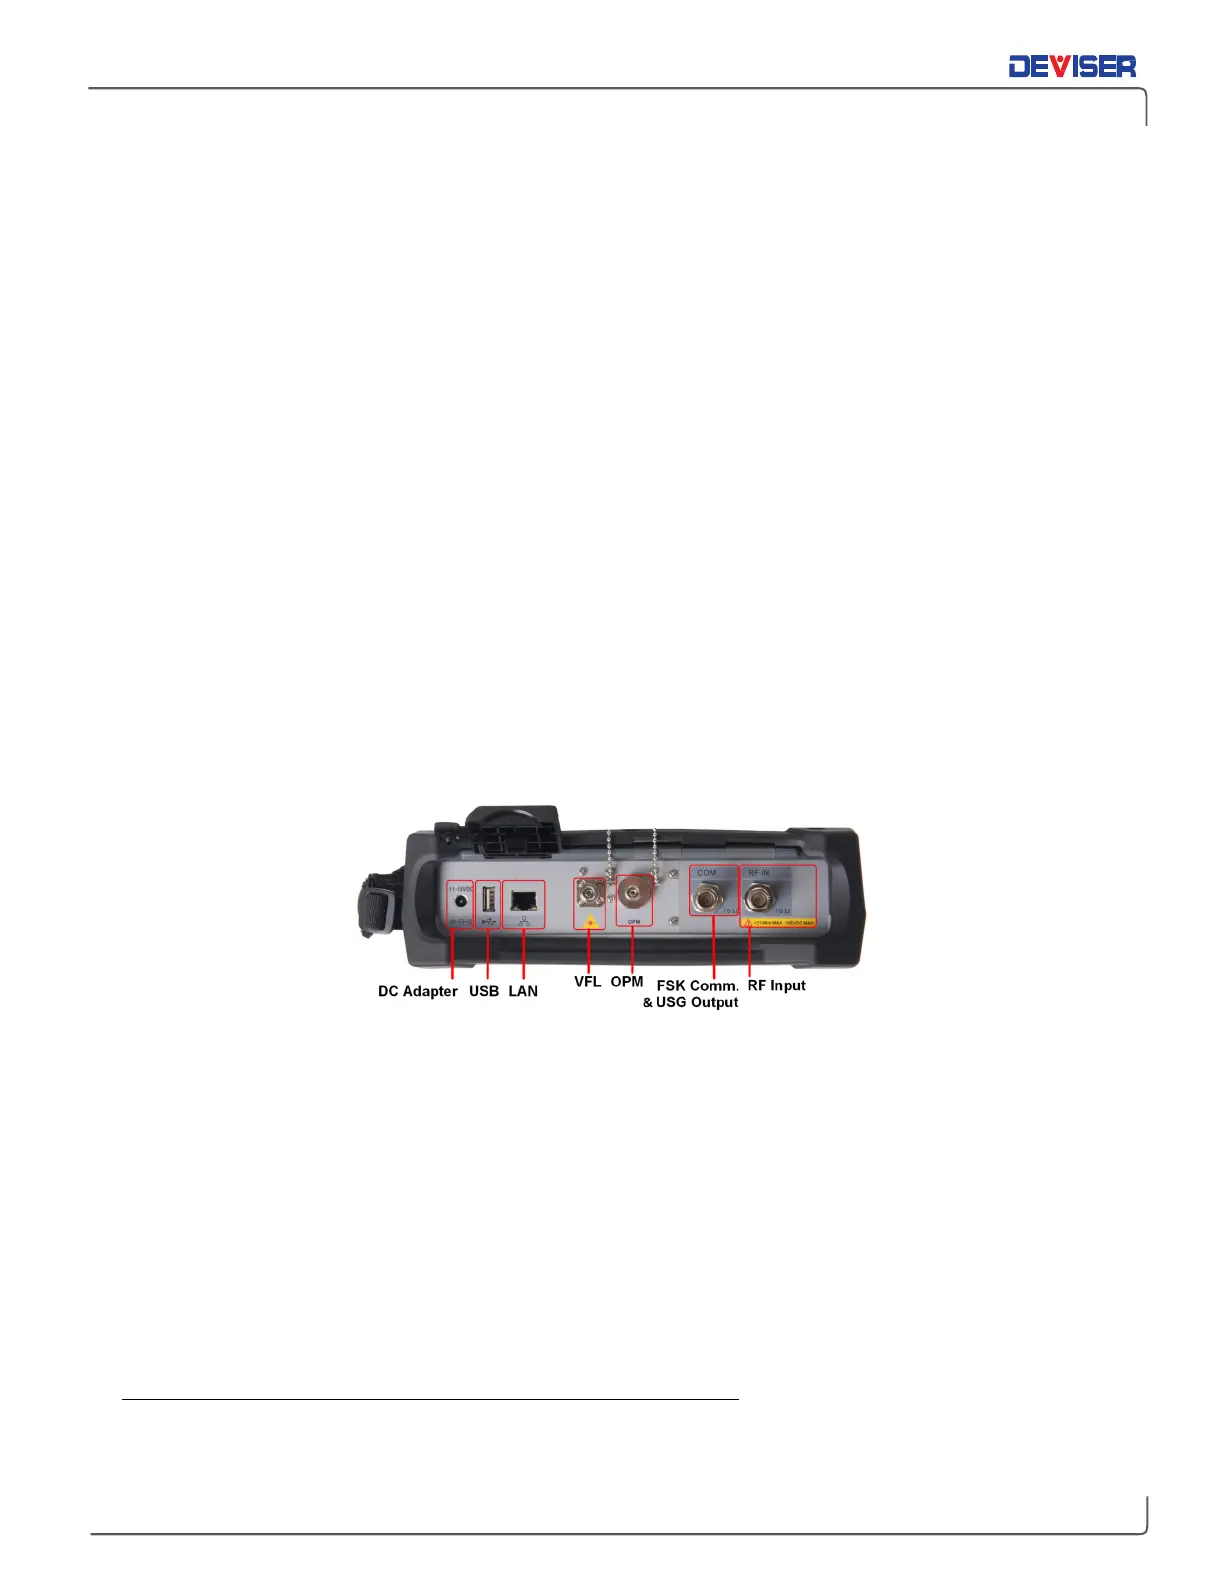
2-4 Top Panel Overview
The test instrument’s top panel contains connectors and ports used to transfer data, charge the instrument,
display data on a PC, and other functions. See the diagram and descriptions below.
Adapter
Used to supply the DS2831 with electricity and charge the battery. Connect to a wall outlet using the power
supply included.
USB Type-A port
The DS2831 has a Type-A USB 2.0 port that accepts USB storage devices for transferring measurements,
setup files, screen images, GPS dongle option, and other data.
LAN port
The LAN port is used to connect the device to a PC. The Deviser EDGE platform provides an easy method to
manage, archive, analyze, and print measurement data.
VFL port
Generates a red beam that highlights faults, stresses, and bends in an optical fiber connected to the port.
For safety, do not look directly into the VFL port when the light is on.