OPM port
Measures magnitude of optical signal transmitted through a fiber connected to this port. Has FC/SC/ST
replaceable adapter.
FSK Communication (COM) port / USG Output
Used to facilitate FSK (Frequency Shift Keying) communications in some applications. For details, see
Chapter 13: Reverse Path Sweep and Chapter 14: Upstream Signal Generator.
RF Input
75 Ω, N-Type female connector. Maximum input is +21 dBm at 100 VDC.
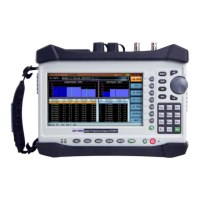
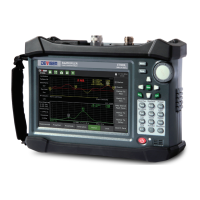
2-5 Control Overview
The DS2831 employs a 7”, 800x480 capacitive color touchscreen that is configured for ease of use. You can
quickly and easily change measurement functions by tapping the screen with a finger or the included stylus
pen; or by pressing the function softkeys (F1–F7) located off the right side of the screen. Each measurement
application has its own menu structure. In Part II, Settings and Measurements, we discuss each application’s
display and controls in detail.
In any given application, submenus will appear along the righthand side of the screen (marked with a “>”).
You can expand a submenu to view the individual settings and tools within by tapping it, or by pressing the
function key
(F1-F7) next to it. These tools can be edited with the function keys.
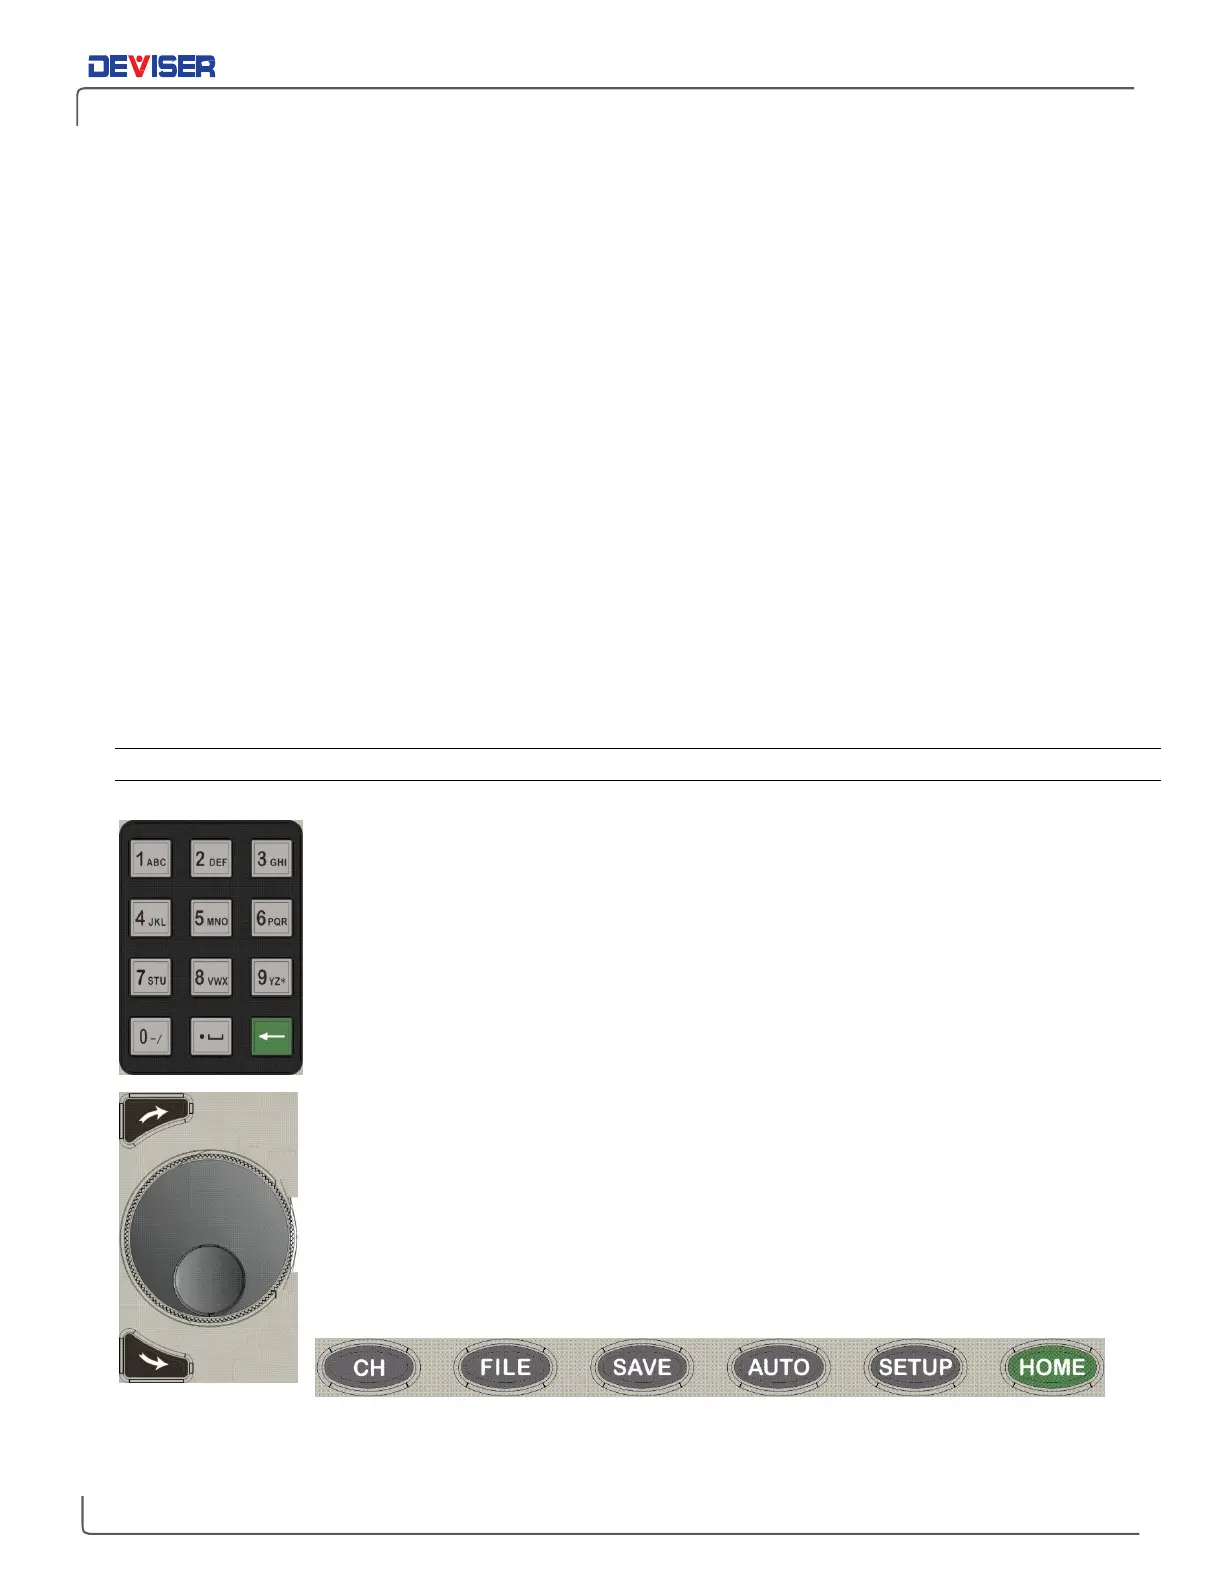
2-5.1 Selection Types
Inside brackets
, e.g.
[DATA]
: Press the related function key repeatedly (or tap the
desired submenu) to cycle through a list of available settings.
Numerical entry:
e.g. setting a frequency range: Use the alphanumeric keypad to
enter a value, or adjust the current value with the arrow keys and rotary knob.
Alphanumeric entry
, e.g. choosing a filename: Press a key (shown left) to cycle
through the characters printed on it. Uppercase letters come after lowercase. Ex.: hit
7 repeatedly to cycle through 7, s, t, u, S, T, U, 7. (A USB keyboard may be connected
for easier data entry.)
Toggling between 2 settings
, e.g. either Auto or Manual but never both: Use the
function keys to choose. The setting highlighted in orange is the active one.
When multiple settings are available for you to control
: Press the rotary knob once and
turn it to select a parameter, then press the knob again to confirm. You can then
begin editing the value.
Jump to specific measurement modes using the
SPECT, SLM, CM,
and
AUX
buttons, or
access system tools like file management and setup with the row of hardkeys located
along the bottom edge of the display.
Function-specific menu structures and controls will be discussed later in this guide.