Setup
114 Operating Instructions 867 - 04.0 - 03/2018
7.12.2 Assembling and connecting the sewing lamp
and sewing lamp transformer
Information
The sewing lamp is an additional component that is not part of the
standard delivery package.
Assembling the sewing lamp
To assemble the sewing lamp:
1. Unscrew the valve cover and upper machine cover ( p. 108).
The upper machine cover has pre-drilled holes for attaching
the sewing lamp.
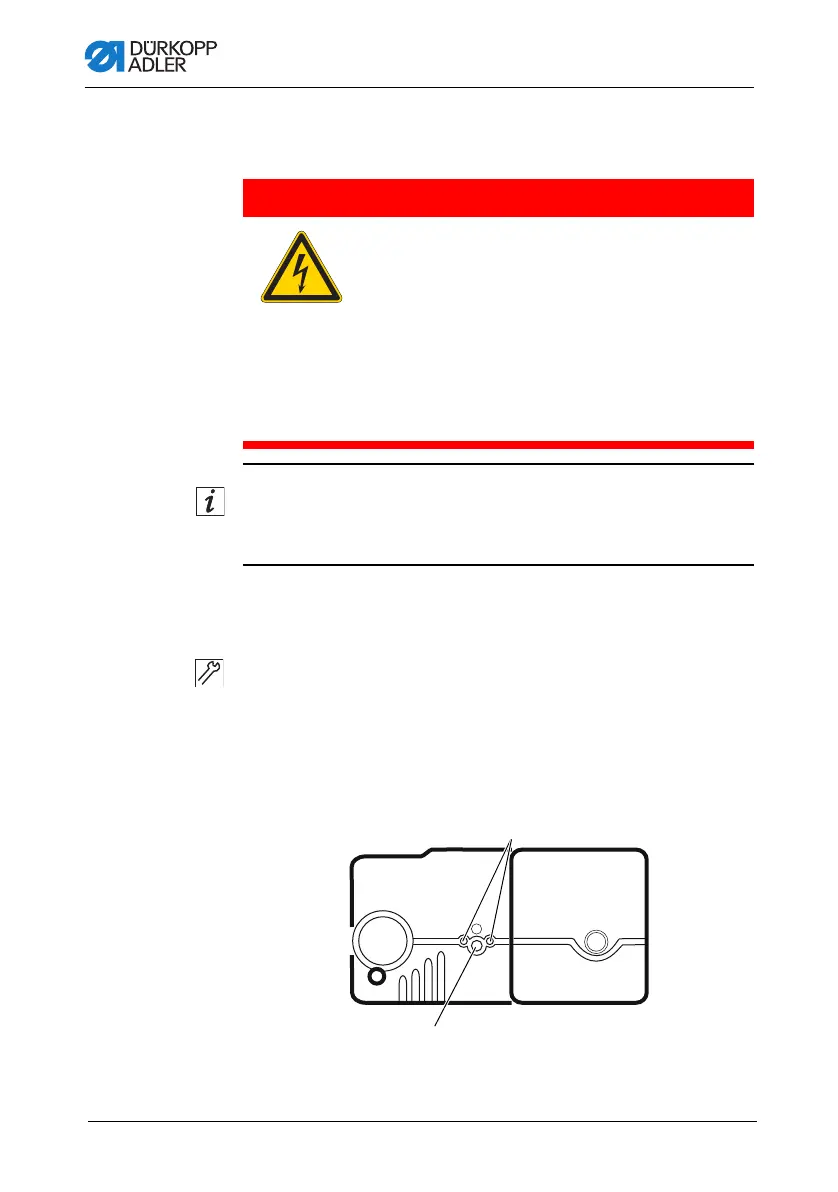
Fig. 66: Assembling the sewing lamp
DANGER
Risk of death from electric shock!
When the machine is switched off and, thus,
powered off (switch set to position 0), the supply
voltage to the sewing lamp remains switched on.
Disconnect the power plug before assembling
and connecting the sewing lamp to the sewing
lamp transformer.
Ensure the power plug cannot be unintentionally
reinserted.
(1) - Large hole (2) - Small holes

 Loading...


