EPSON Stylus Pro 9000
Disassembly & Assembly 86
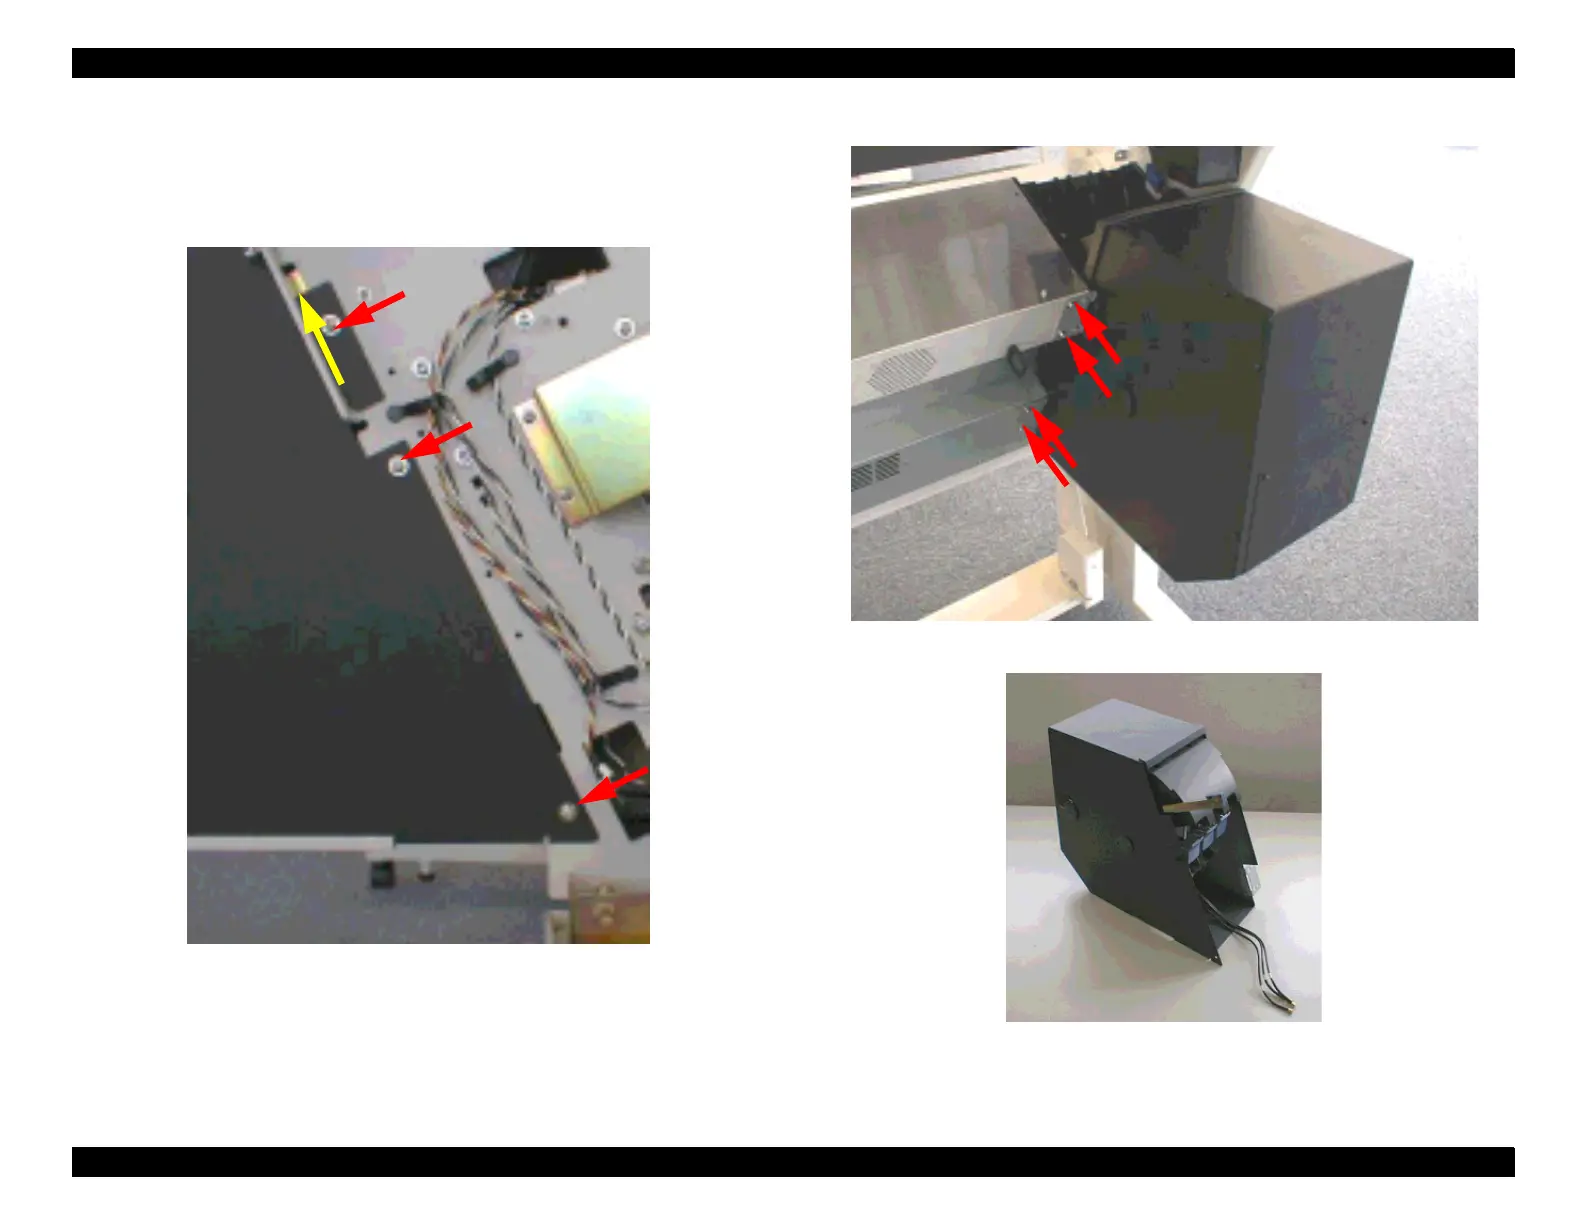
7. Remove the seven screws (CP(W2) M4x6) securing the I/H assembly to
the printer mechanism, and slightly push it up as to unhook the assembly
from the side frame of the printer mechanism.
Figure 4-50. Removing the screws (3 pcs)
Figure 4-51. Removing the screws (4 pcs)
Figure 4-52. I/H Assembly
Push to unhook