TX1310 M3 Upgrade and Maintenance Manual 171
12.3.3 Replacing a backup drive
12.3.3.1 Preliminary steps
Ê "Suspending BitLocker functionality" on page 61
Ê "Removing backup and optical disk media" on page 63
Ê "Verifying and configuring the backup software solution" on page 63
Ê "Shutting down the server" on page 44
Ê "Disconnecting the power cord" on page 45
Ê "Getting access to the component" on page 46
Ê "Extending the HDD cage out of the chassis" on page 47
12.3.3.2 Replacing a backup drive
Ê Remove the defective backup drive, see section "Removing a backup drive"
on page 170.
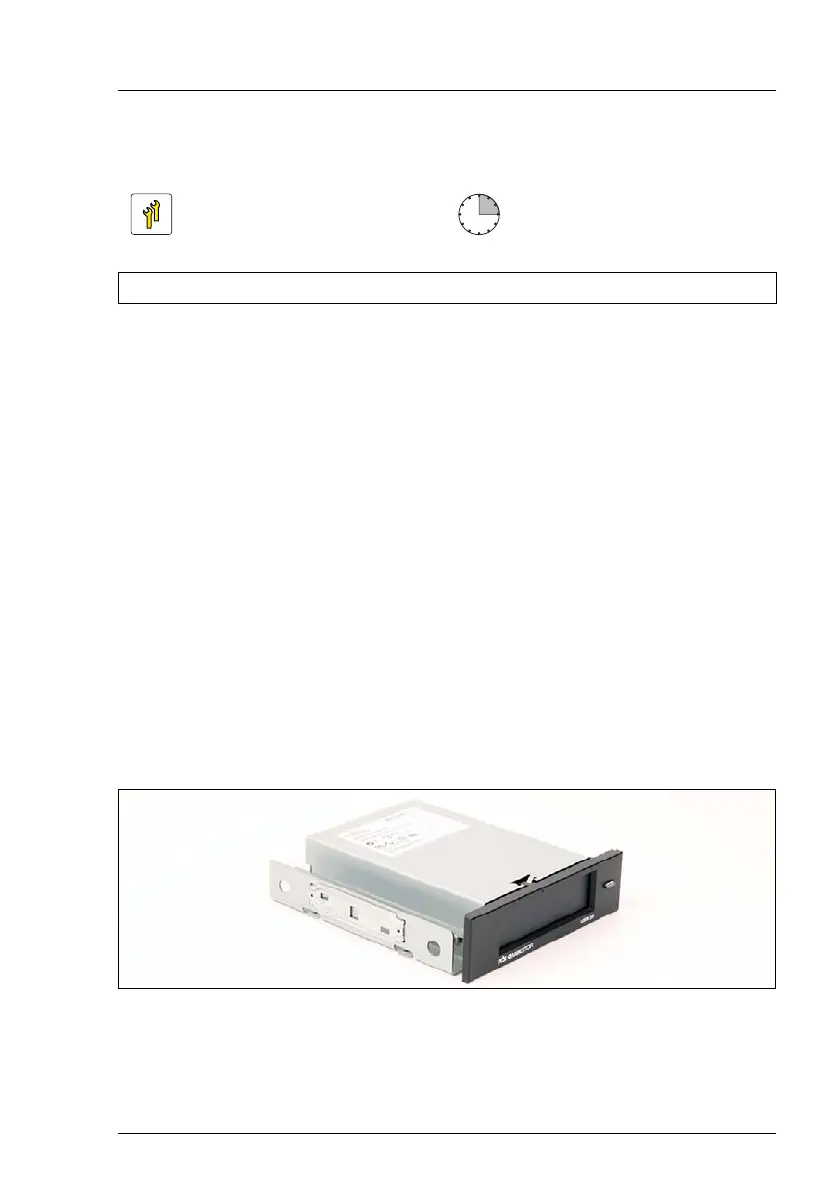
Ê Remove the fixation plate from the left side of the defective backup drive.
Figure 105: Attaching the fixation plate to the backup drive
Ê Align the four pins on the fixation plate with the screw holes in the new
backup drive.
Upgrade and Repair Unit
(URU)
Hardware: 15 minutes
Tools: Phillips PH2 / (+) No. 2 screw driver (for removing the PSU)

 Loading...