3.1 Setting the Test-Conditions
32
Set a test-voltage value. When the test is started, the pre-set voltage will be sup-
plied to the tested object from the voltage output terminal via the test lead.
The test will not start if the load is large and the output voltage does not reach
±30 V of the set test-voltage. ( flashes.)
If the output voltage fails to reach ±30 V of the test-voltage within approximately
5 seconds after completion of the ramp-up time, the instrument will change to the
FAIL state and the test will be terminated.Also, if the output voltage deviates
from test-voltage and does not return to ±30 V of the set value within 5 seconds,
the test is terminated.
3.1.1 Setting the Test-Voltage Value
1.
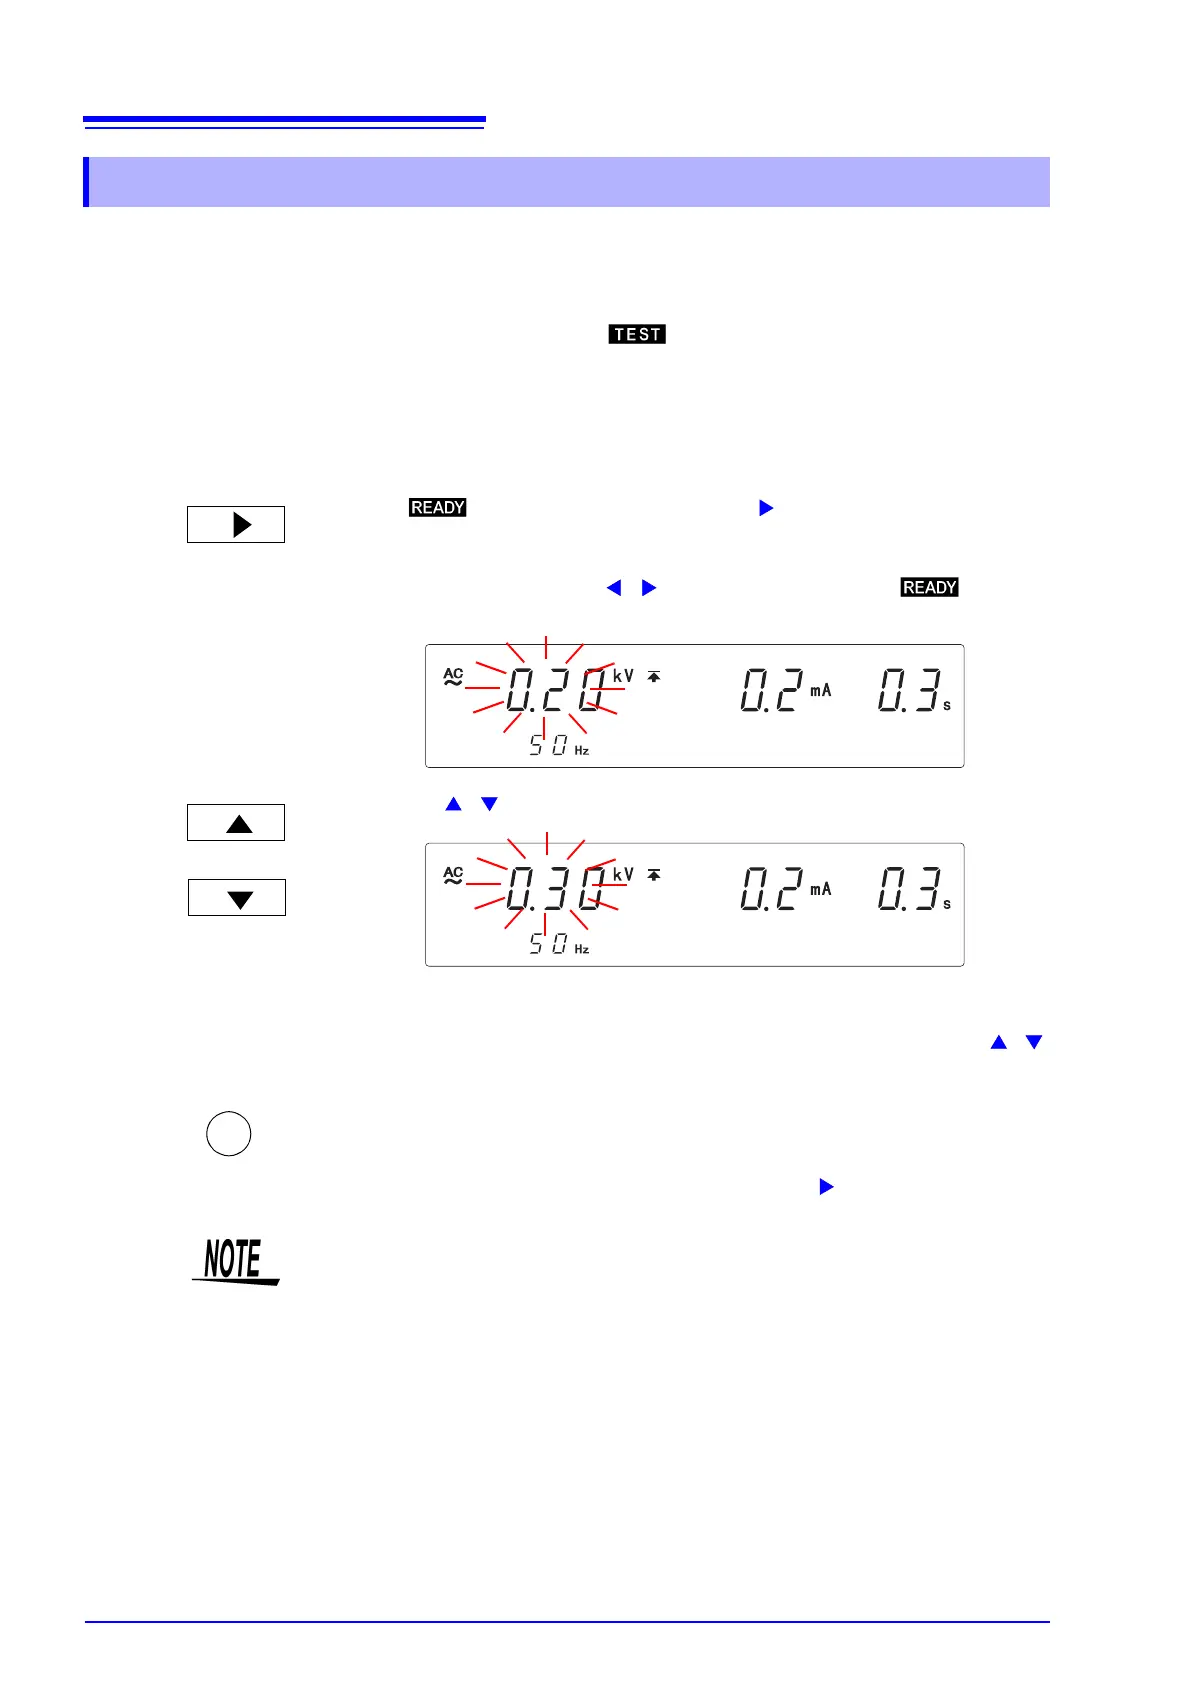
When is lit on the screen, press the key to get to the test condi-
tions mode.
* When Double Action is set, / key is enabled even when is not lit.
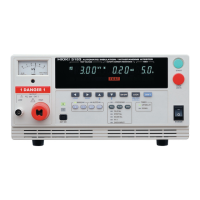
2.
Press the / keys to set the test-voltage value.
Setting range: 0.20 to 5.00 kV (The value changes by 0.01 kV.)
To change the value by 0.1 kV, while holding down the SHIFT key, press /
keys.
3.
Press the STOP key to complete the setting value.
The instrument reverts to the READY state.
To continue to the setting for the next item, press the key.
or
<Ex.> Set to 0.3 kV.
STOP
• The output voltage can be restricted to prevent accidents caused by improper
settings. (When the default is set to 5.00 kV.)
See"6.1.5 Output-Voltage Restricting" (p. 83)
• Note that the instrument does not start test if the test-voltage value is greater
than the output-voltage restricting value.
See"6.1.5 Output-Voltage Restricting" (p. 83)
• The tested object may damage if a voltage higher than necessary is supplied.
Be careful when setting the output voltage to ensure that the tested object
does not receive a voltage higher than necessary.
• The tested object may damage if a voltage is supplied longer than necessary.
Be careful when setting the test time.
• Refer to relevant safety regulations and laws when setting the test voltage
value.