3.1 Setting the Test-Conditions
38
Confirmation Voltage used for upper and lower-limits for Contact Check.
Contact Check can be carried out by measuring the terminal voltage of the
tested object. When this function is pre-set, test abnormalities can be detected
whenever the output voltage deviates from the pre-set ranges. The setting for
the upper or lower limit voltage confirmation is the same as that used for the H
side terminal Contact Check, but setting either the upper limit or the lower limit
will also automatically allow for Contact Checks on the L side terminals.
By measuring the voltage on the H side terminals of the tested object, checks on
whether an accurate voltage is supplied to the test terminals or not (whether the
test lead is properly connected or not: Contact Check) can be carried out. When
a value outside the range of the pre-set terminal voltage is achieved, an error
number will show and the test will terminate.
When Contact Check Function is not in use, press the ON/OFF key to set to
"OFF".
3.1.7 Setting the Confirmation Voltage used for upper
and lower-limits for Contact Check
1.
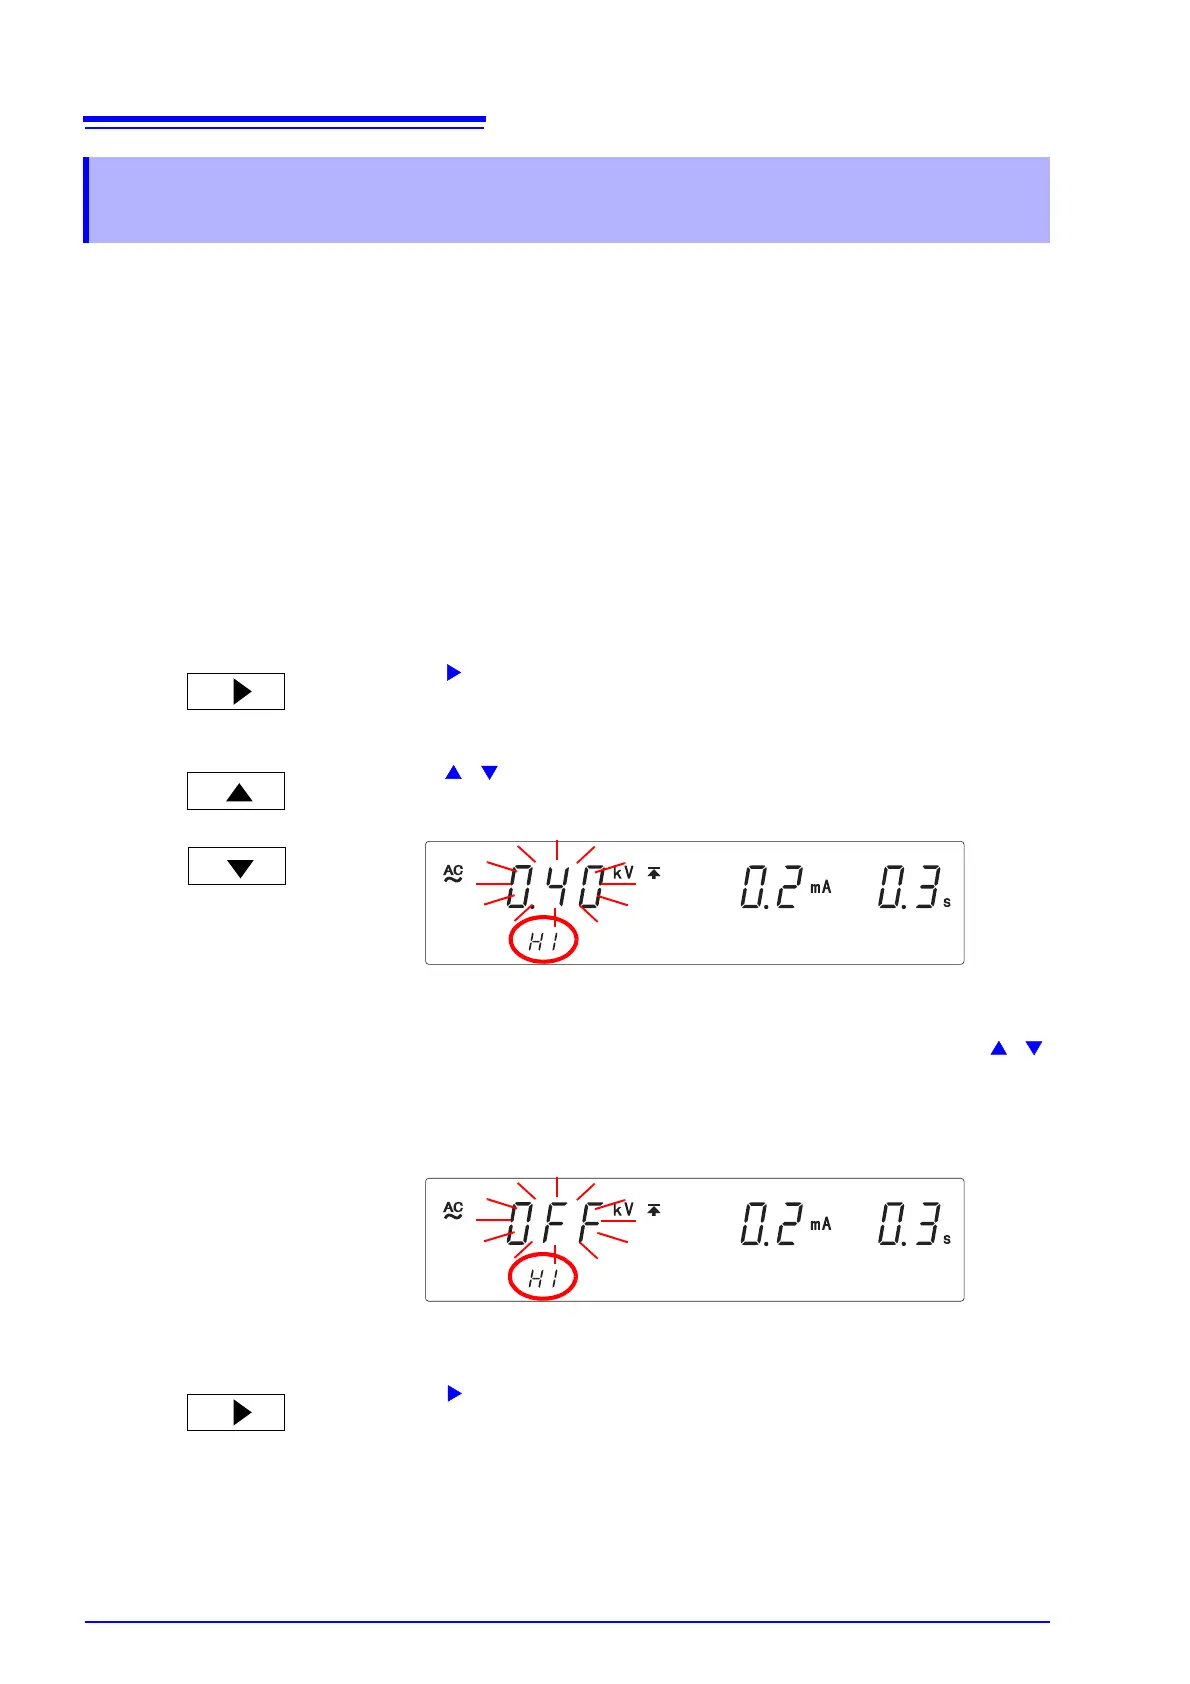
Press the key to move the flashing cursor to the upper-limit confirma-
tion voltage for Contact Check.
2.
Press the / keys to set the upper-limit confirmation voltage for Con-
tact Check.
Setting range: 0.20 to 5.00 kV (The value changes by 0.01 kV.)
To change the value by 0.1 kV, while holding down the SHIFT key, press /
keys.
If no upper-limit confirmation voltage for Contact Check is required, set it to
“OFF” using the ON/OFF key.
3.
Press the key to move the flashing cursor to the lower-limit confirma-
tion voltage for Contact Check.
or
<Ex.> Set to 0.4 kV