3.2 Starting a Test
41
3
1.
Double action state
will not be displayed because the default factory setting for this
instrument is Double Action.
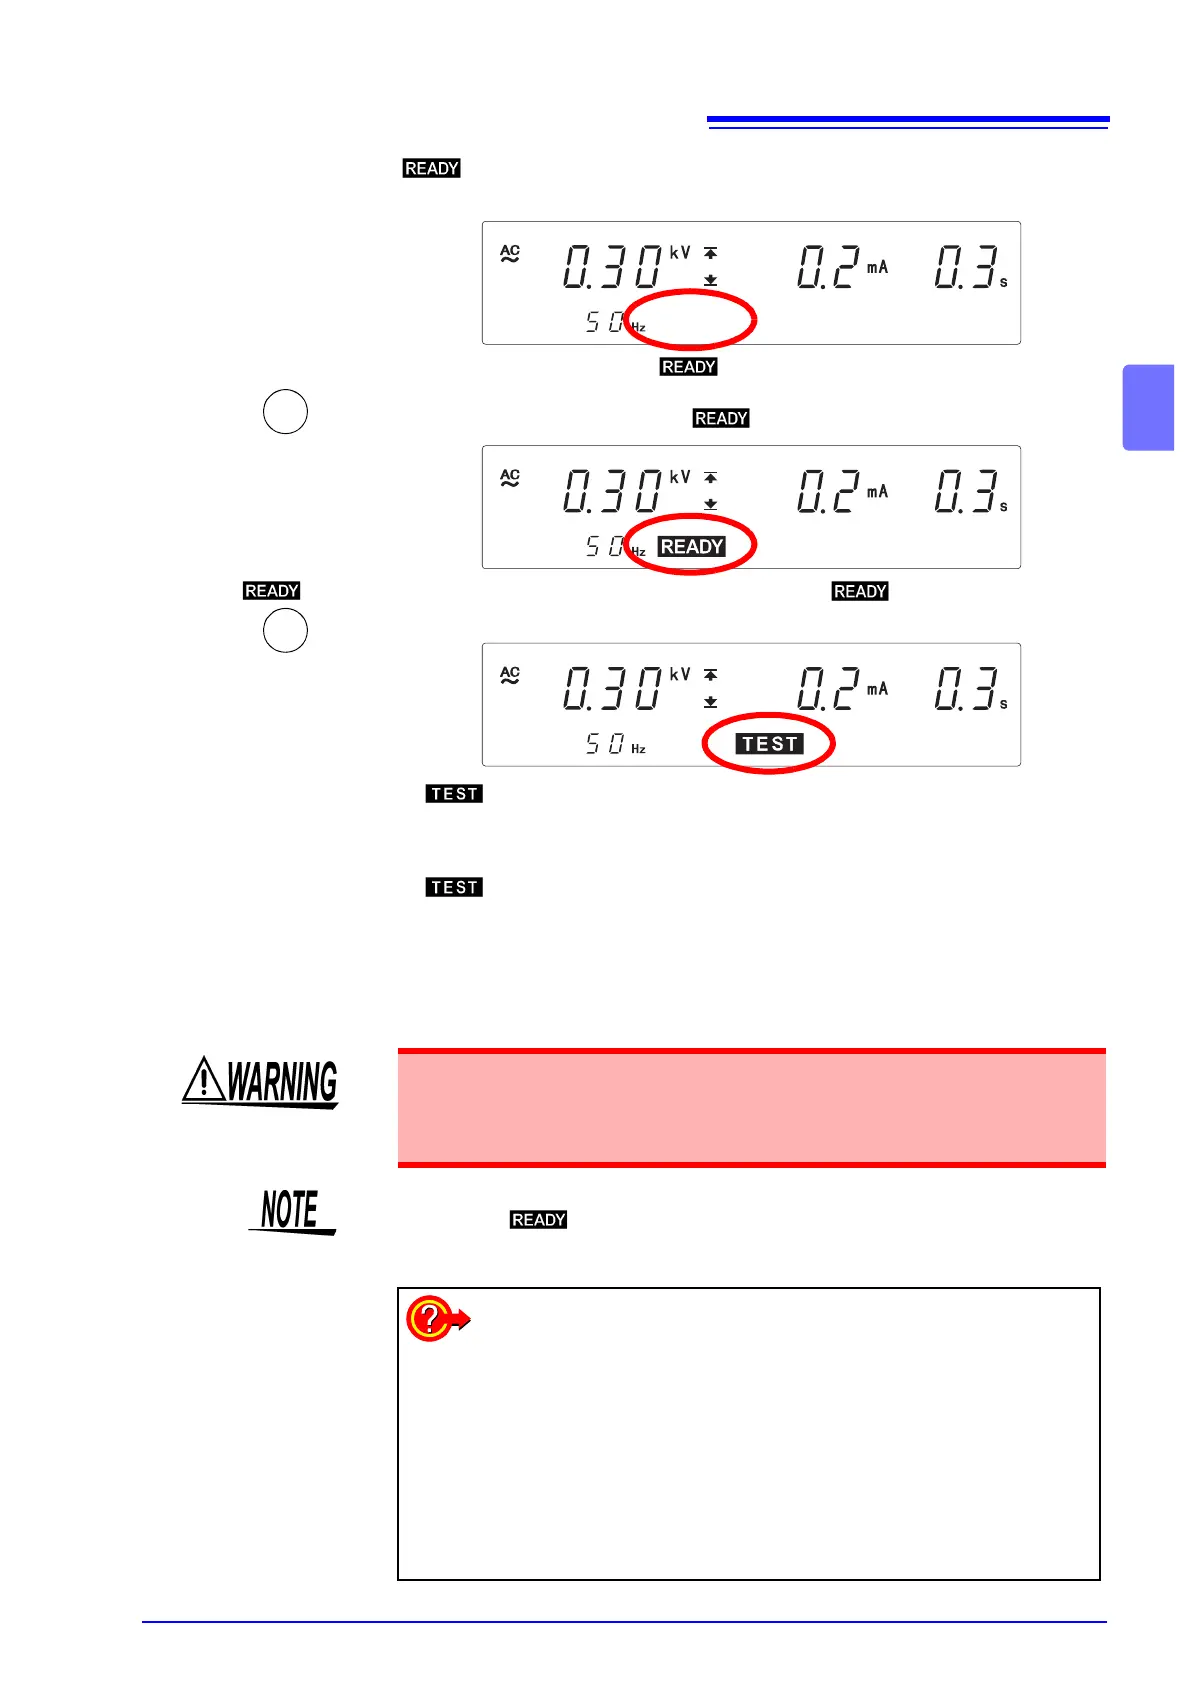
2.
Press the STOP key once in the beginning.
When the STOP key is pressed, will be shown for 0.5 seconds.
3.
( is lit)
To start the test, press the START key when is shown.
The DANGER lamp on the front panel of instrument is lit.
• flashing on screen : Output voltage rising (within time shown on
ramp-up timer). (FAIL will display if the current
measurement value is higher than the upper-limit
test value.)
• lit up on screen : Output voltage has reached the test voltage. Test
starts.
•“UP”
display : ramping up
•“dn”
display : ramping down
• To forcibly terminate the test, press the STOP key.
The instrument will immediately stop outputting a
voltage and switch to the READY state.
is not lit.
STOP
START
If the DANGER lamp does not go off even after the test has finished, this
could mean that some voltage stronger than the safe voltage (about AC 30
V or DC 60 V) still remains in the voltage output terminal. To prevent elec-
tric shock, never touch the voltage output terminals.
Double Action can be released with the Option Setting.
In this case, will be displayed, and the test can be started by just pressing
the START key.
See "6.1.3 Double Action" (p. 81)
Test does not start
• When lower-limit test value ≥ upper-limit test value,
unable to get
out of setting screen
.
• When the output-voltage restricting value (optional function) < test
voltage value, the test will not start.
See"6.1.5 Output-Voltage Restricting" (p. 83)
To change the output voltage during a test
See "6.6 Changing the Output Voltage during the withstanding test" (p. 91)
To set the upper-limit test voltage for safety reasons
(initial setting at 5.00 kV)
See "6.1.5 Output-Voltage Restricting" (p. 83)