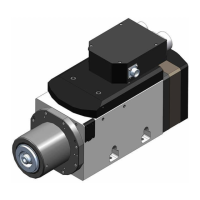
9 Replacing components
172
HSD S.p.A. © - h0108k01a.fm120718
9.3.2 Replacing the sensor unit
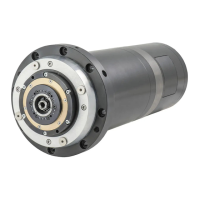
To replace and adjust the sensors described in this paragraph and the next ones, refer
again to figures
10 and 11.
1. Remove the screw
9 that holds the bracket 7 of the sensor unit 8 you want to replace.
2. Remove the faulty sensor unit from its seat.
3. Electrically disconnect the electric connector
1 of the sensor.
4. Electrically connect the new sensor unit.
5. Check the new sensor works properly by placing it in contact with a metal object.
6. Insert the new sensor unit in the empty seat.
7. Reposition the bracket
7 and tighten the screw 9 but not fully, so that the sensor unit can
rotate.
8. for HSK versions only:
before adjusting the sensor, check and, if necessary, adjust the ejection position as described
in paragraph
7.4.1 “Checking and adjusting the HSK collet ejection position”;
9. Rotate the sensor unit by a few degrees at a time, until the outputs required in the following
paragraphs are obtained.
10. Use an open-end spanner to tighten the screw 9 that holds the sensor unit, in order to
maintain the calibration.