9 Replacing components
HSD S.p.A. © - h0108k01a.fm120718
177
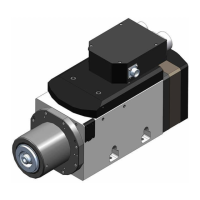
9.3.5 Adjusting sensor S2 for ISO versions
After replacing the sensor as described in paragraph 9.3.2 “Replacing the sensor unit”, calibrate it
as follows:
1. attach a tool-holder properly before proceeding with the calibration of the sensor.
2. check that the output of S2 is
"OFF"; if the output is "ON" rotate the sensor unit until it turns to
"OFF".
3. feed the cylinder by means of a unidirectional pressure regulator, set initially at 0 bar (0 PSI).
4. increase the feed pressure in increments of 0.1 bar (1.5 PSI), to slowly advance the piston,
and at the same time check that the output of S2 is
“OFF”;
5. as long as the tool holder is firmly blocked, the S2 output must be "OFF";
if the output changes during the advance of the piston, rotate the sensor unit slightly until the
output returns to "OFF";
6. when the tool holder begins to loosen, but is not yet free to fall, the S2 output must still remain
"OFF" (if necessary rotate the sensor unit);
7. when the supply pressure at which the tool holder is finally free to fall is reached, increase the
pressure further by 0.2 bar (3 psi), and block the pressure regulator;
8. rotate the sensor unit so that in this condition the S2 output is
“ON”;
9. tighten the screw that fastens the sensor completely;
10. perform a cycle of 10 tool changes;
11. at the end of the cycle, check that steps [
1] to [8] have been met,
without ever needing to
turn the sensor;
12. if the requested output have not been verified, repeat the entire procedure from the
beginning;
13. if the requested output are verified, make the machine perform a cycle of 100 tool changes,
using the largest possible number of different tool holders;
14. at the end of the cycle, check that steps [
1] to [8] have been met, without ever needing to
turn the sensor;
15. if the requested output have not been verified, repeat the entire procedure from the
beginning;
16. if the requested output have verified, the adjustment procedure of S2 is finished.