DVR Settings
Entering/Changing the Wireless Options
Flashback3 & Flashback HD User’s Guide
L3 Mobile-Vision 6.23.2017 Page 149
8 T
o enter/change the first segment of the IP address, proceed to the next step.
Otherwise use the button to advance to the first segment you wish to change.
9 I
f the current value of this IP segment is 0, proceed to the next step.
– OR –
If the current value of this IP segment is 1 – 255, use the or
buttons to move
the numeric display higher or lower, respectively. Next, skip to step 11.
10 P
ress . The number 255 displays. Keep pressing the button until the desired
number displays. (If you overshoot the number, press to back up.)
11 U
se the button to advance to the next segment you wish to enter/change.
12 R
epeat steps 9 – 11 until all four segments of the IP address are entered/updated.
13 P
ress four times to save your changes and exit this option.
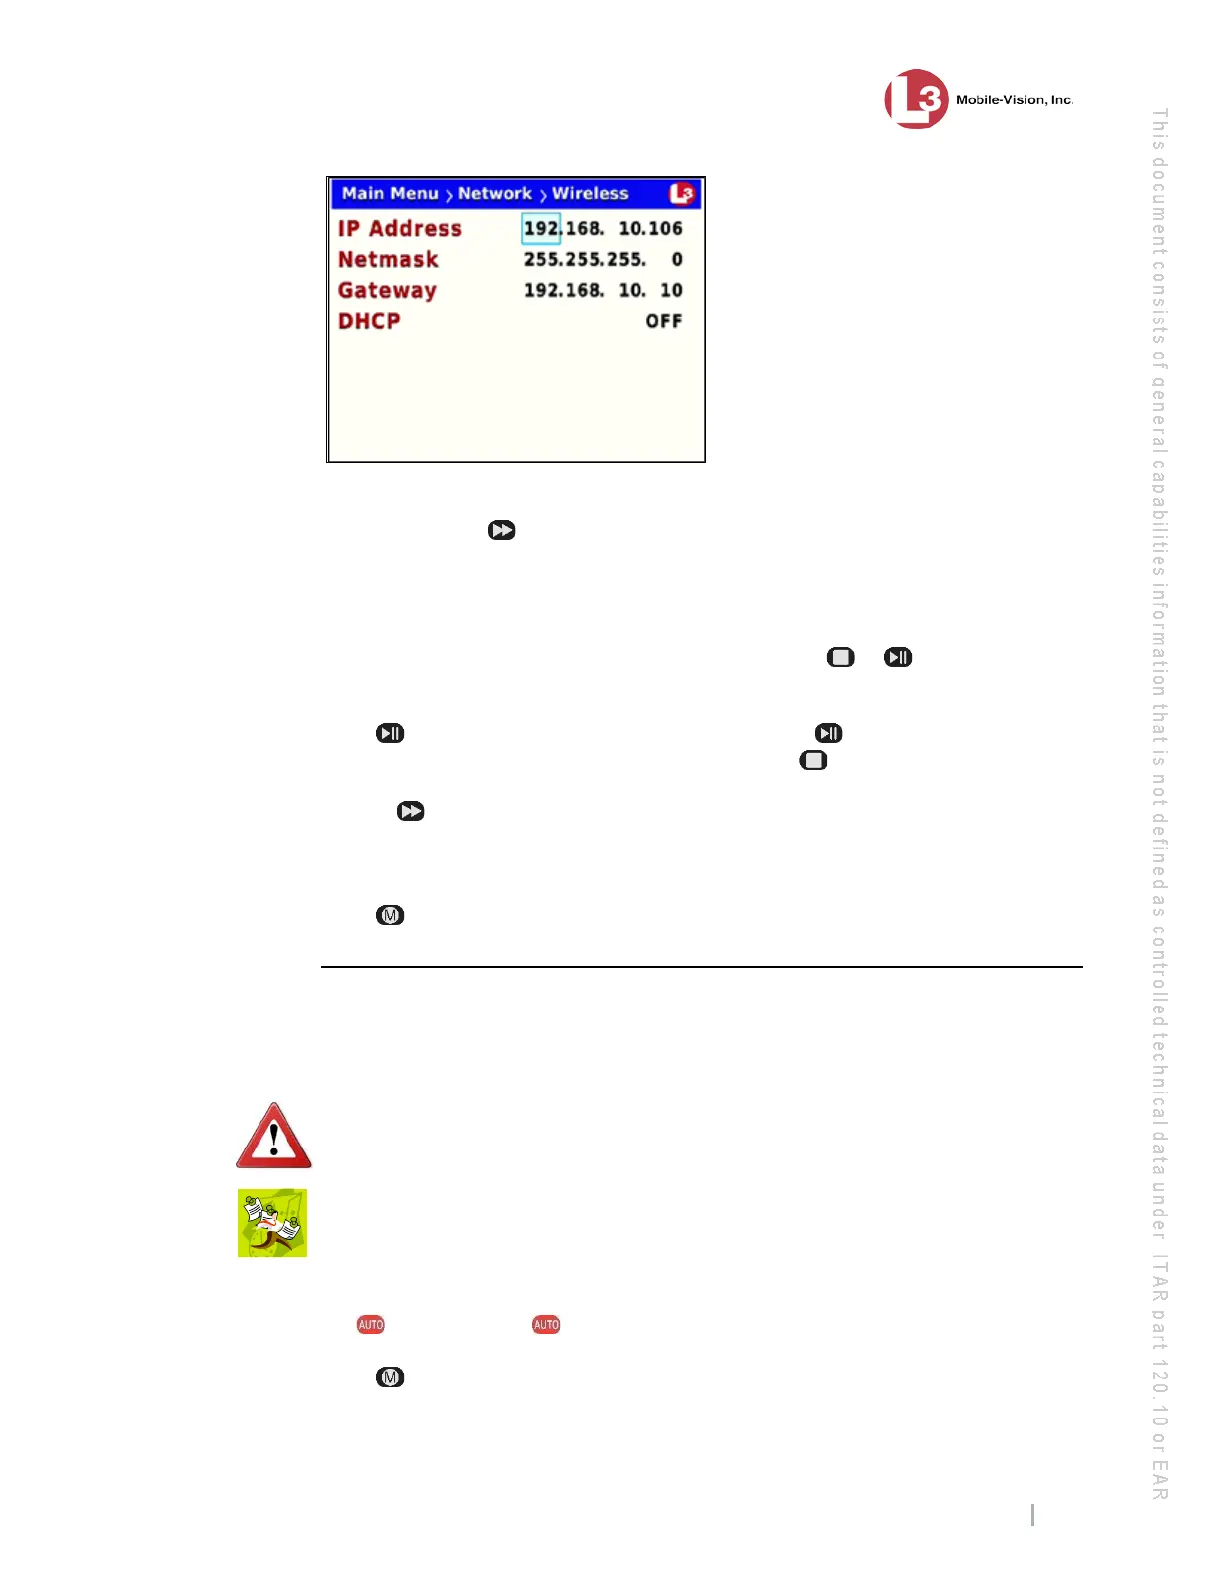
Entering/Changing the Wireless NetMask
This section describes how to enter or change the IP address for the subnet mask of
the DVR’s wireless network interface controller (NIC). If you are using the default
192.168.10.X network, the value of this field will be 255.255.255.0.
W
ARNING: If you are using both a wireless network and an Ethernet network, each
Subnet must be unique. You cannot use the same Subnet for both networks!
N
OTE: If you want your DHCP server to automatically provide the wireless IP
addresses to this DVR, do not enter this field. Instead, turn the Wireless DHCP
option on, as described in “Turning the Wireless DHCP Option On/Off” on page 155.
1 M
ake sure the door to your DVR is open and Auto mode is off. (If necessary, press
the button until the light turns off.)
2 P
ress . The Main Menu displays.