Changing the Flashback Monitor Settings
Adjusting the Monitor Saturation Setting
Flashback3 & Flashback HD User’s Guide
L3 Mobile-Vision 6.23.2017 Page 237
3 Use the button to increase this setting in increments of five.
– OR –
Use the button to decrease this setting in increments of five.
A
fter several seconds of inactivity, the system will automatically exit Monitor
Setup Mode.
Adjusting the Monitor Saturation Setting
This section describes how to adjust the saturation setting for your Flashback
monitor. Levels range from 0 – 100. You can adjust this setting up or down in
increments of five (i.e., 5, 10, 15, etc.).
O
nce you change the saturation level, it will remain at that setting until you or
another user changes it again.
Before you change this setting, it’s recommended that you turn the GPS monitor
display off, as it will make it difficult for you to see the Saturation bar. For
instructions, see “Turning the ‘GPS’ Display On/Off” on page 138.
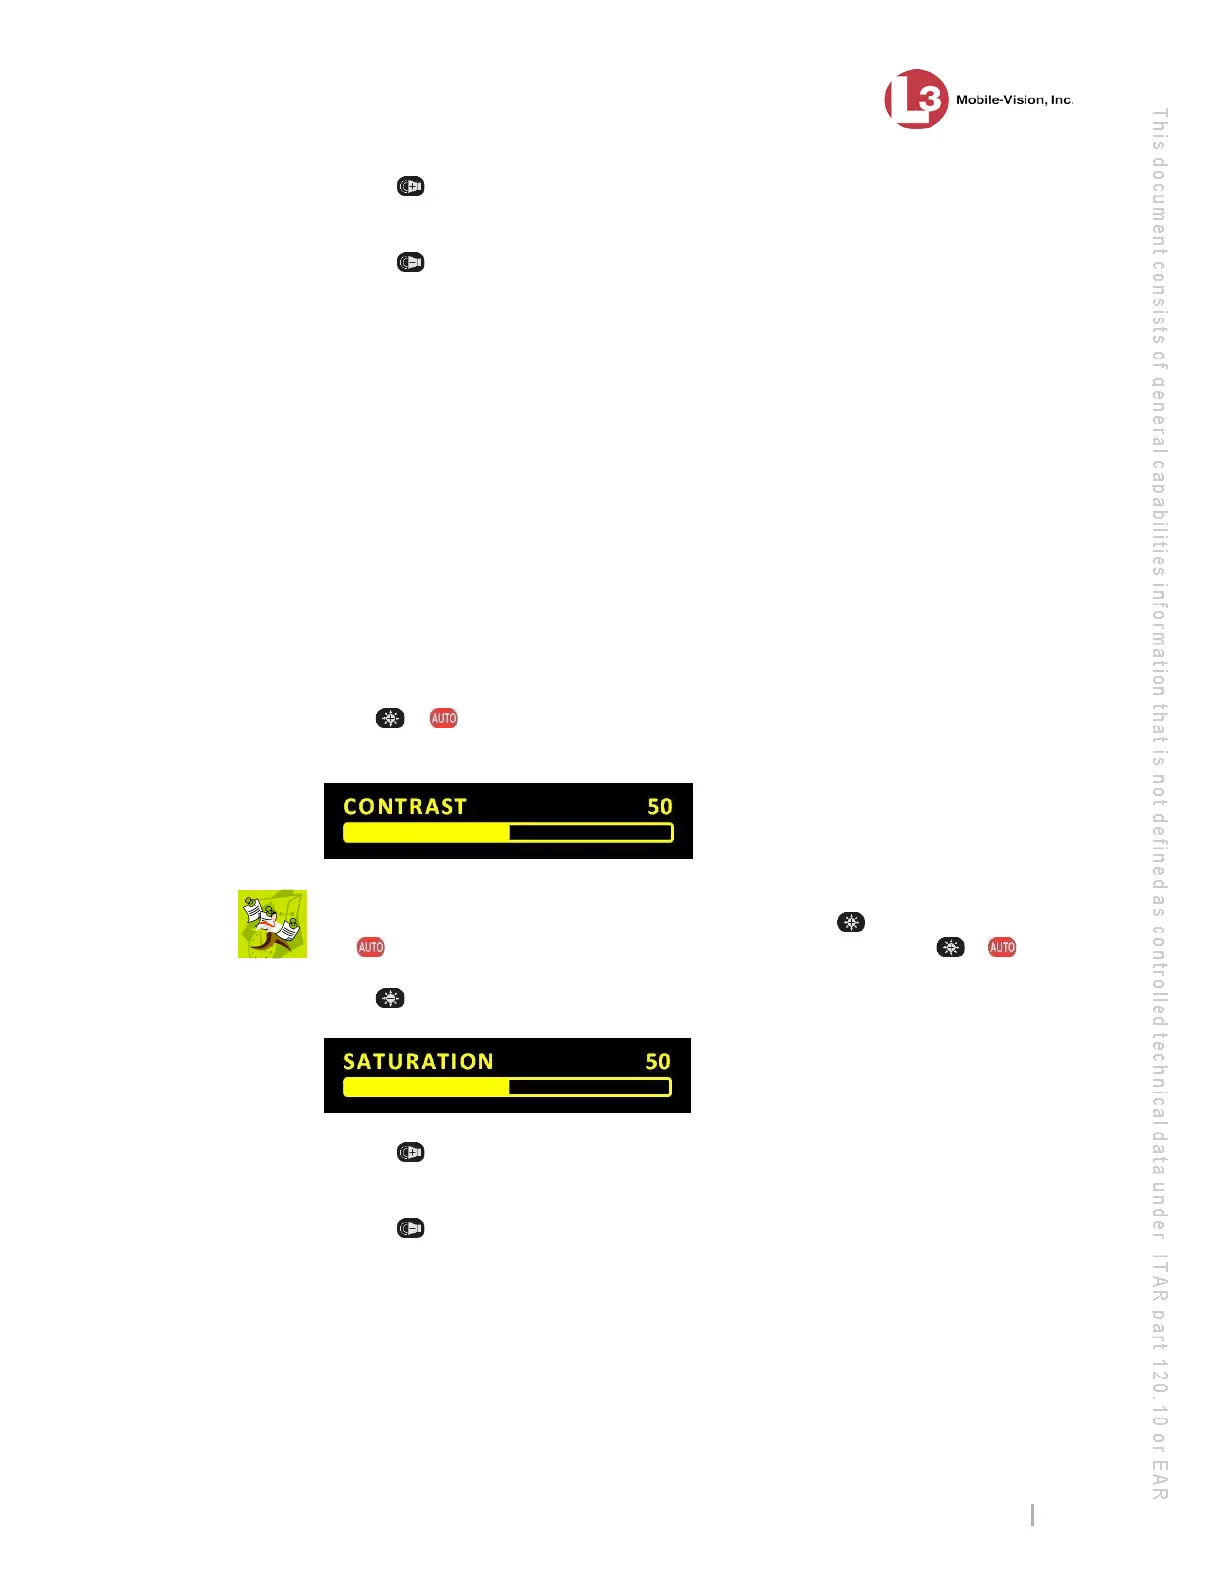
1 P
ress + simultaneously to enter Monitor Setup Mode. The yellow Contrast
bar displays at the bottom of your monitor.
N
OTE: If the red DIMMER display appears rather than the CONTRAST display
pictured above, it means that you accidentally pressed the button slightly ahead of
the
button. Wait until the display disappears, then trying pressing + again.
2 P
ress twice to advance to the Saturation bar.
3 U
se the button to increase this setting in increments of five.
– OR –
Use the button to decrease this setting in increments of five.
After several seconds of inactivity, the system will automatically exit Monitor
Setup Mode.