DVR Operation
Stopping a Recording & Assigning a Video Category
Flashback3 & Flashback HD User’s Guide
Page 28 L3 Mobile-Vision 6.23.2017
Background Record. In addition to Regular recordings, there is a Background
Record function that you can engage if you are interested in recording continu-
ously whenever your vehicle is turned on. For more information on this feature,
see “Turning Background Record On/Off” on page 54.
When
ever a regular recording is in progress, a red dot will blink on your monitor.
Stopping a Recording & Assigning a Video Category
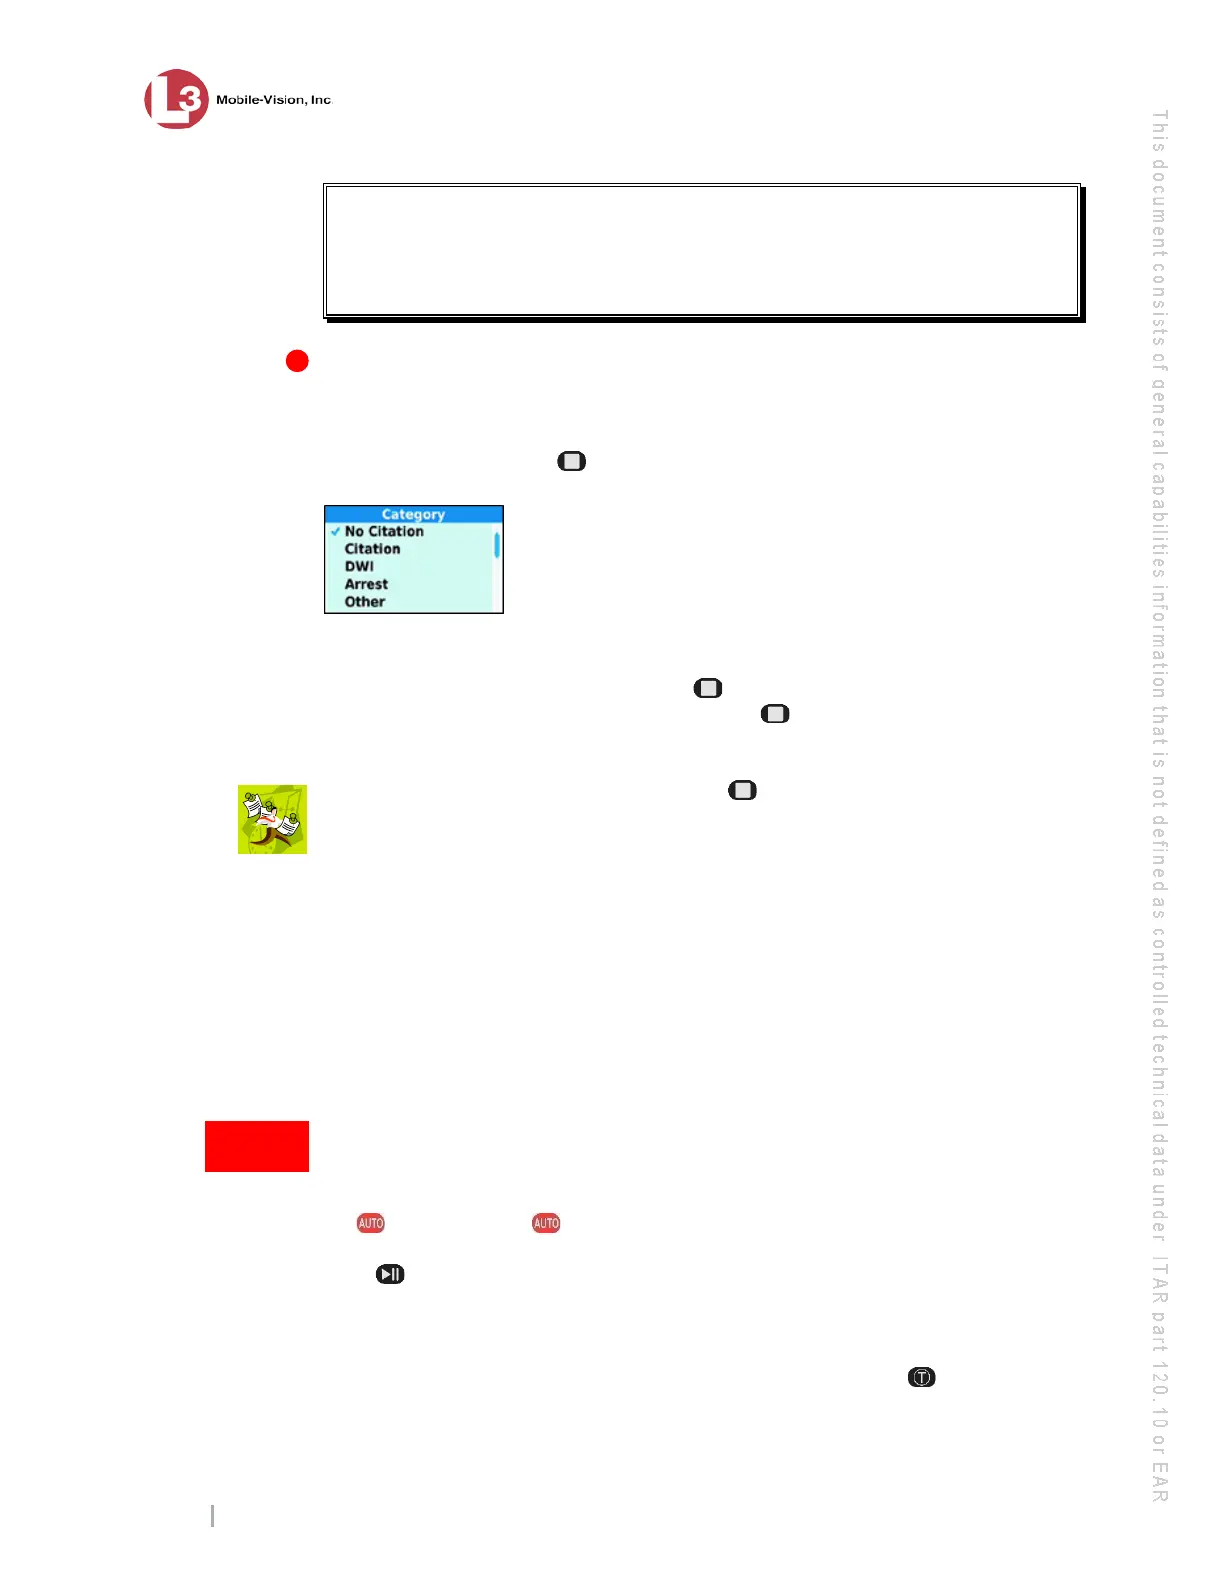
To stop a recording, press . A list of video categories displays.
To as
sign the highlighted category to your video, do nothing. To assign a different
category to your video, continue pressing until the desired category displays.
Once five seconds have elapsed without pressing , the system will link the
displayed category to your video.
NO
TE: Do not hesitate too long after pressing for the first time. If you want
to scroll through the category list, you only have five seconds to begin doing so,
otherwise the first category will automatically be assigned to your video. If this
occurs, however, you can still change the video’s category from within the Flashback
application. For more information, see “Changing a Video’s Category” in chapter 2
of your DES User’s Guide or Administrator’s Guide.
Playing Back a Video
This section describes how to view a video on your Flashback monitor after it is
recorded but before it is transferred to your agency’s storage server. If the video you
wish to view has already been transferred, see “Playing a Video” in chapter 2 of the
DEP User’s Guide or DEP Administrator’s Guide instead.
You c
an now play back a video while a recording is in progress.
1 Ma
ke sure the door to your DVR is locked and Auto mode is off. (If necessary, press
the button until the light turns off.)
2 Press
. A list of video files will display in either image view or list view, as
pictured on the next page. These are all the files that have been recorded since your
last transmission.
3 To
toggle back and forth between image view and list view, press .
NEW in
v3.1+