L-Gate User Manual 115 LOYTEC
Version 3.2 LOYTEC electronics GmbH
3. Change to the Attachments tab.
Note: Of course, you can also change directly to the Attachments tab when creating an E-Mail
template.
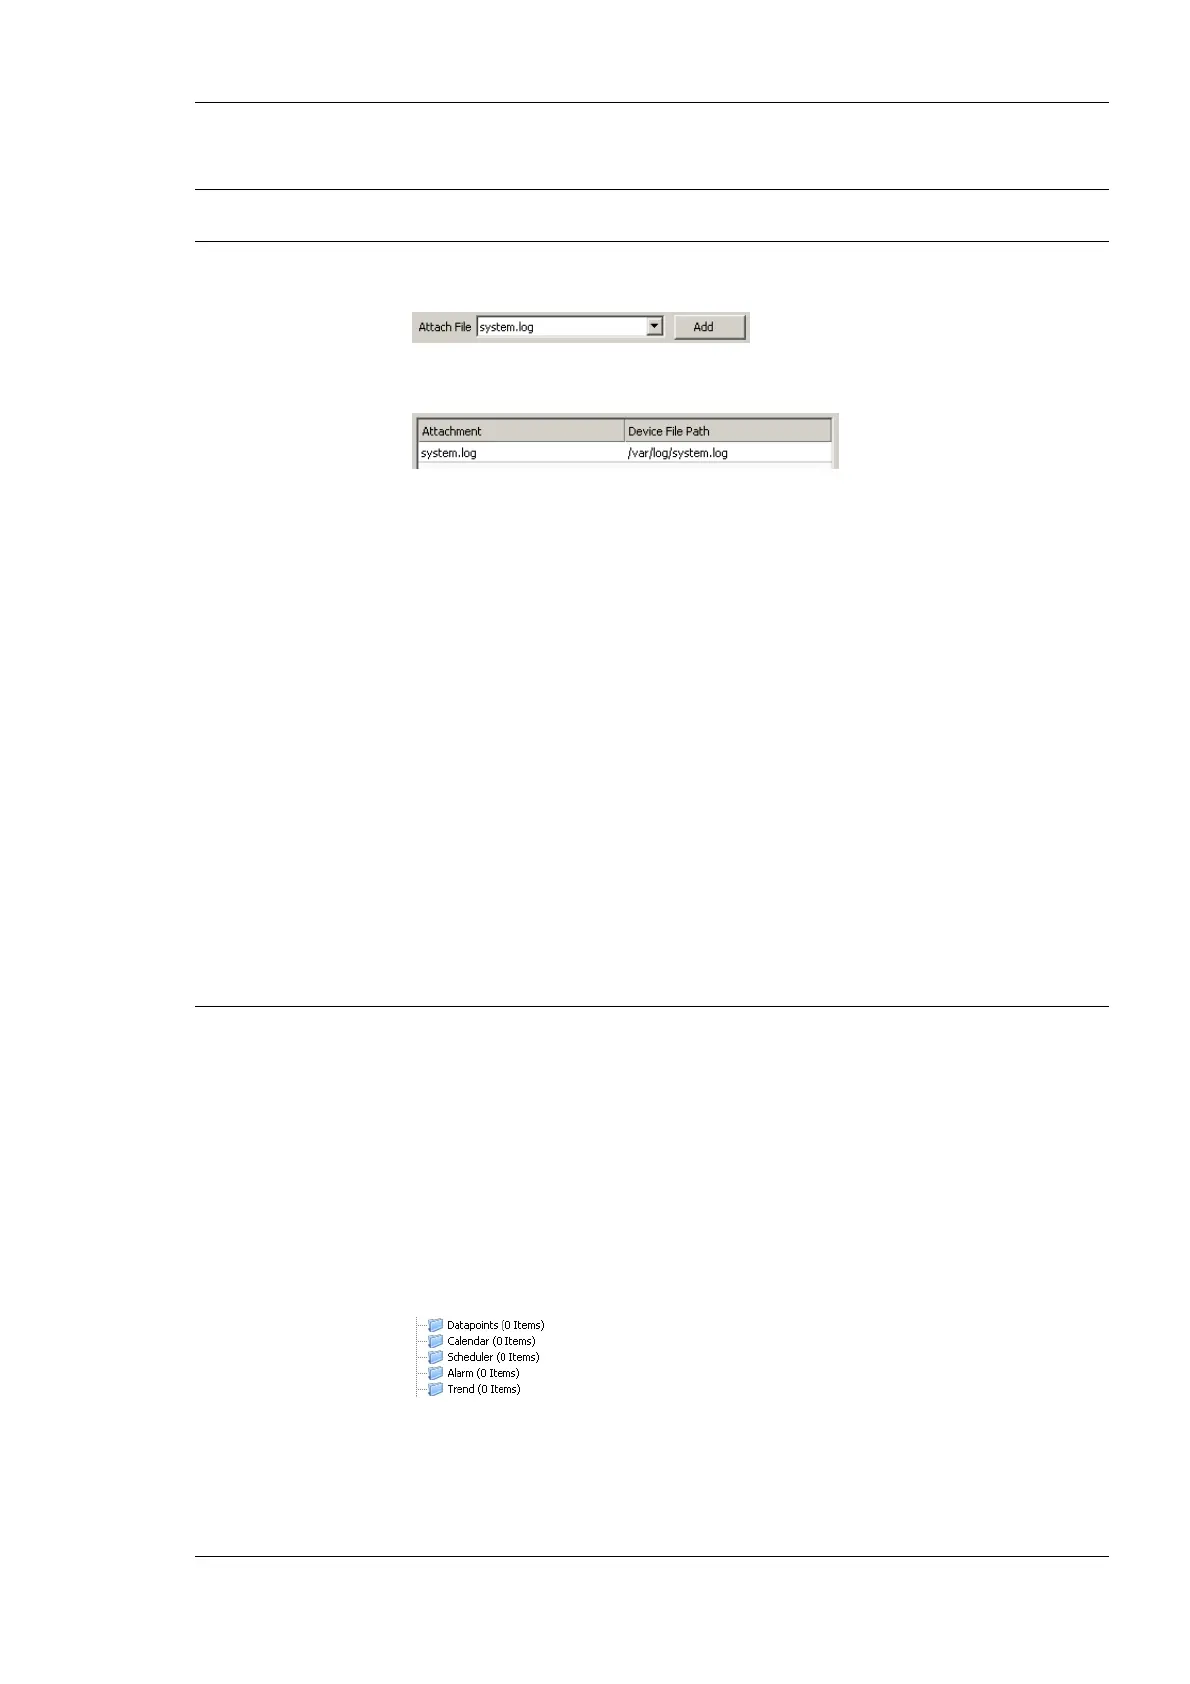
4. Select an available file from the Attach File drop-down box.
5. Click the Add button. The file appears in the Attachments list.
6. To remove an attachment, select the attachment file in the Attachments list and click
the button Remove.
6.11.4 Limit E-Mail Send Rate
The transmission of E-Mails is triggered by the configured trigger conditions. It is not
predictable, how often the trigger condition will cause the transmission of an E-Mail. The
E-Mail template can be configured to limit the number of transmitted E-Mails. This is done
in the Configure E-Mail Template dialog.
To configure an E-Mail Rate Limit, configure the settings:
• Max. E-Mails per day: This setting defines how many e-mails can be sent on average
per day. The actual number of transmitted e-mails on a specific day may be slightly
higher than this setting, depending on burst rates. The default is 100 e-mails per day.
This results in an average interval of one e-mail per 14 minutes.
• Send burst count: This setting defines how many e-mails may be transmitted shortly
after each other not limited by the above average interval. After the burst count, the
average mails per day limit takes effect. The default is a maximum of 20 e-mails in a
row.
6.12 Local Schedule and Calendar
6.12.1 Create a Calendar
As the first step, the required data points must be created. A calendar must be created, if the
schedules shall work with exception days, such as “Holidays”. If it suffices for schedules to
define daily schedules for normal weekdays only, no calendar needs to be created. On each
port, one calendar can be created.
To Create a Calendar
1. Under the port folder, select the Calendar sub-folder.
2. Right-click in the data point list view and select New local Calendar ….
3. In the Create New Calendar dialog box (as shown in Figure 102) enter Name and
Description of the calendar.