L-Gate User Manual 137 LOYTEC
Version 3.2 LOYTEC electronics GmbH
8. Create a second new connection. Give it a descriptive name, e.g., cal_conn.
Important: If there already exists a calendar connection, don’t create a new connection and add the
exposed calendar as a target to the existing connection! There can only be one calendar
connection that contains all exposed calendars.
9. Select the CEA-709 calendar as the hub. When exposing a remote schedule, select the
calendar from the same remote device folder where the schedule was selected from.
10. Select the created BACnet calendar as the target.
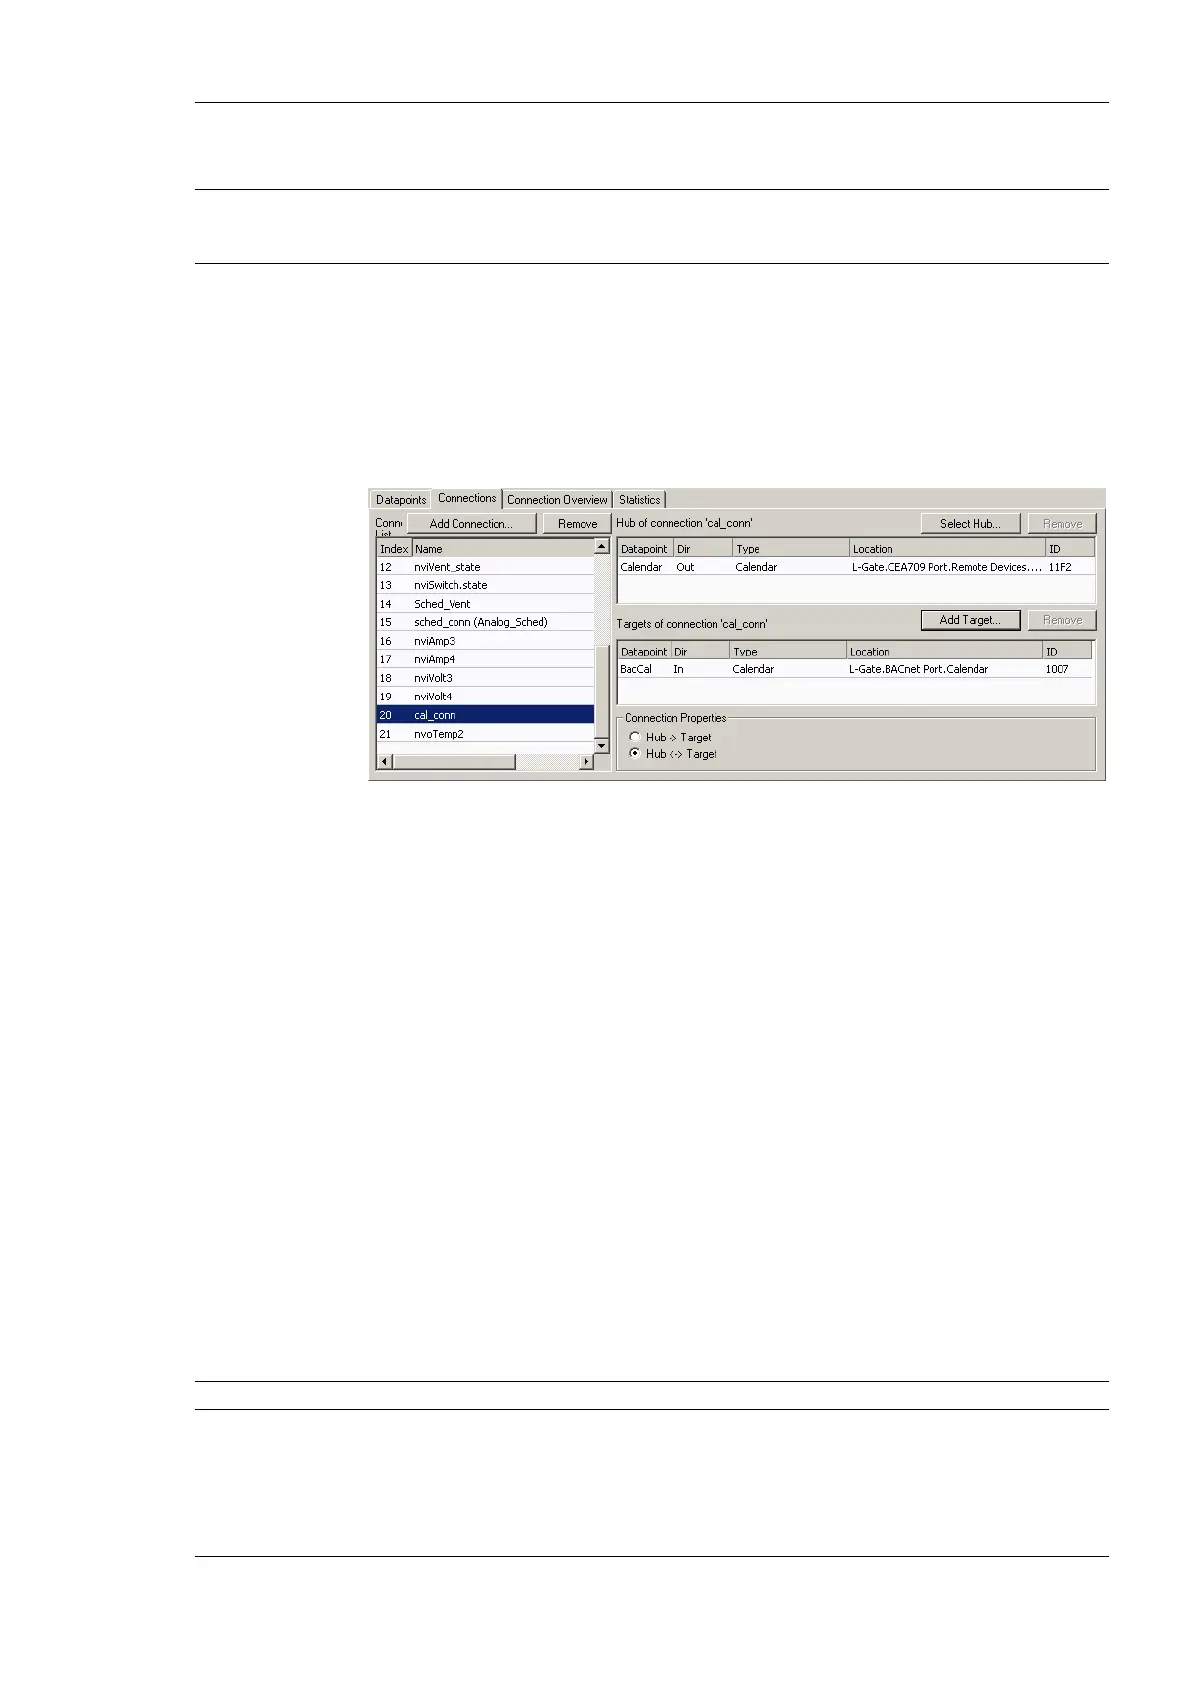
11. Click Save. Now a calendar connection appears in the connections list as shown in
Figure 111.
Figure 111: Calendar connection CEA-709 to BACnet.
6.17.3 Map from BACnet to CEA-709
This section describes how to expose a BACnet scheduler and calendar to a CEA-709
network. It is assumed that the BACnet scheduler is either local or remote. That BACnet
scheduler must be the hub.
To Expose a BACnet Schedule to CEA-709
1. Prepare a BACnet schedule object to be exposed (local as in Section 6.12 or a remote
scheduler as in Section 6.15.1 from the Remote Devices folder)
2. Create a local CEA-709 scheduler as in Section 6.12. Do not attach data points to that
scheduler.
3. Create a new connection (see Section 6.9.1). Give it a descriptive name, e.g.
sched_conn.
4. Select the BACnet schedule object as the hub.
5. Select the CEA-709 scheduler as the target.
6. Click Save. Now a scheduler connection appears in the connections list.
Important: Once a scheduler is in a connection, do not change the scheduled data points!
7. Create a local CEA-709 calendar object, if not existing yet. Do not add any calendar
patterns.