2 - R - 3
CONVEYANCE SECTION
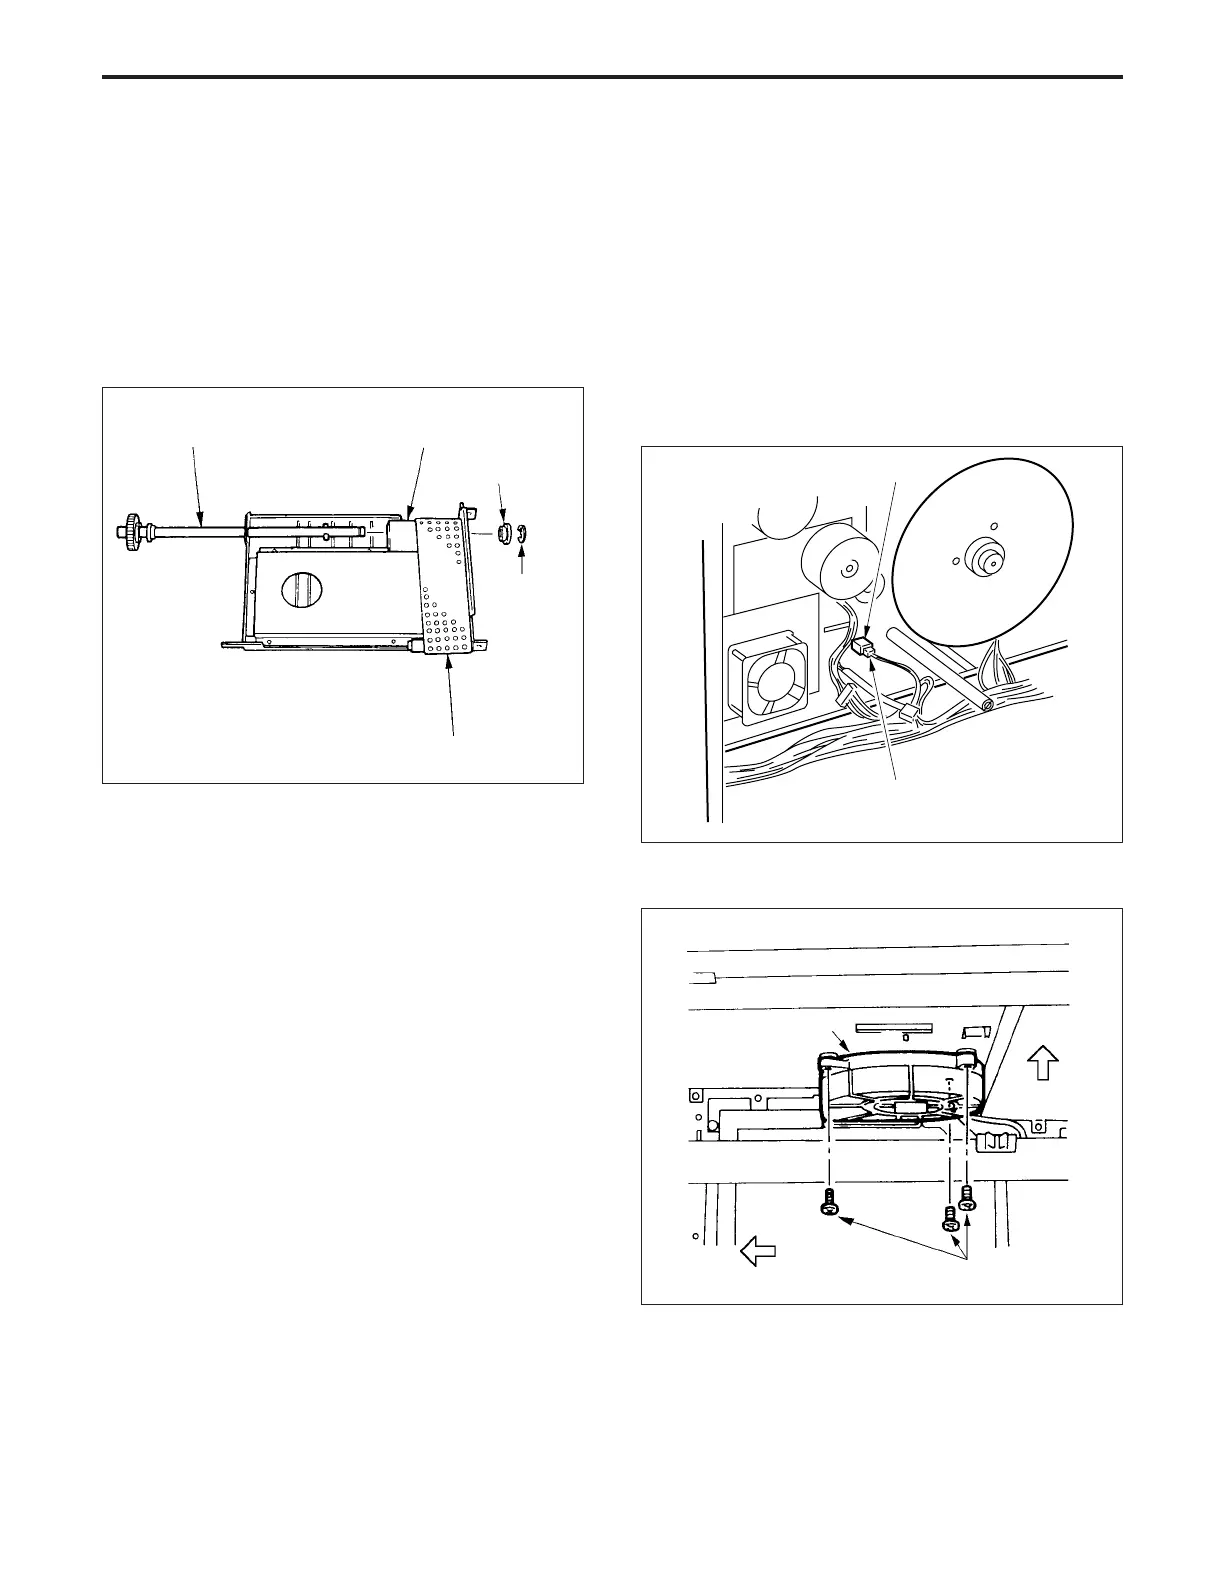
2. Replacing the conveyance belt
Caution: When removing the conveyance belt, take care not
to damage it on the edge of the conveyance unit.
a. Procedure
(1) Remove the conveyance unit.
(2) Remove the E ring, then remove the shaft bearing
(front).
(3) Pull out the conveyance drive shaft from the convey-
ance unit, then remove the conveyance belt.
Shaft bearing (front)
(4) Re-install the conveyance unit in the opposite se-
quence to removal.
Conveyance drive shaft Conveyance roller
E ring
Conveyance belt
3. Replacing the Conveyance Suction Motor
(FM14)
Caution: Be sure that the power cord has been unplugged
from the power outlet.
a. Procedure
(1) Open the front door, then remove the upper/lower tray
and the paper feed unit.
(2) Remove the rear cover.
(3) Disconnect the connector (CN15) at the rear, then
grasp the hook of connector with radio pliers and push
it out to the front.
Connector latch
Connector (CN15)
(4) Remove the three set screws, then remove the con-
veyance suction motor.
(5) Re-install the suction motor in the opposite sequence
to removal.
Set screws
Conveyance suction
motor (FM14)
Front
Up
< Bottom view of conveyance section from paper feed side>