2 - G - 2
DRUM UNIT
[3] Disassembly and Re-assembly
1. Removing and Re-installing the Drum Unit
Caution: Be sure that the power cord has been unplugged
from the power outlet.
Caution:
1. The drum in this machine is much more sensitive than
the drums used in previous machines. Before pulling
out the drum unit, therefore, be sure to place the drum
cover over it and store the drum carriage in a dark
place.
2. Be careful not to rotate the drum when installing or
removing the drum unit. if you rotate the drum in the
direction opposite to the direction in which it rotates
during a copy operation, you risk damaging the clean-
ing blade.
3. Do not touch the separation claw when installing or
removing the drum unit.
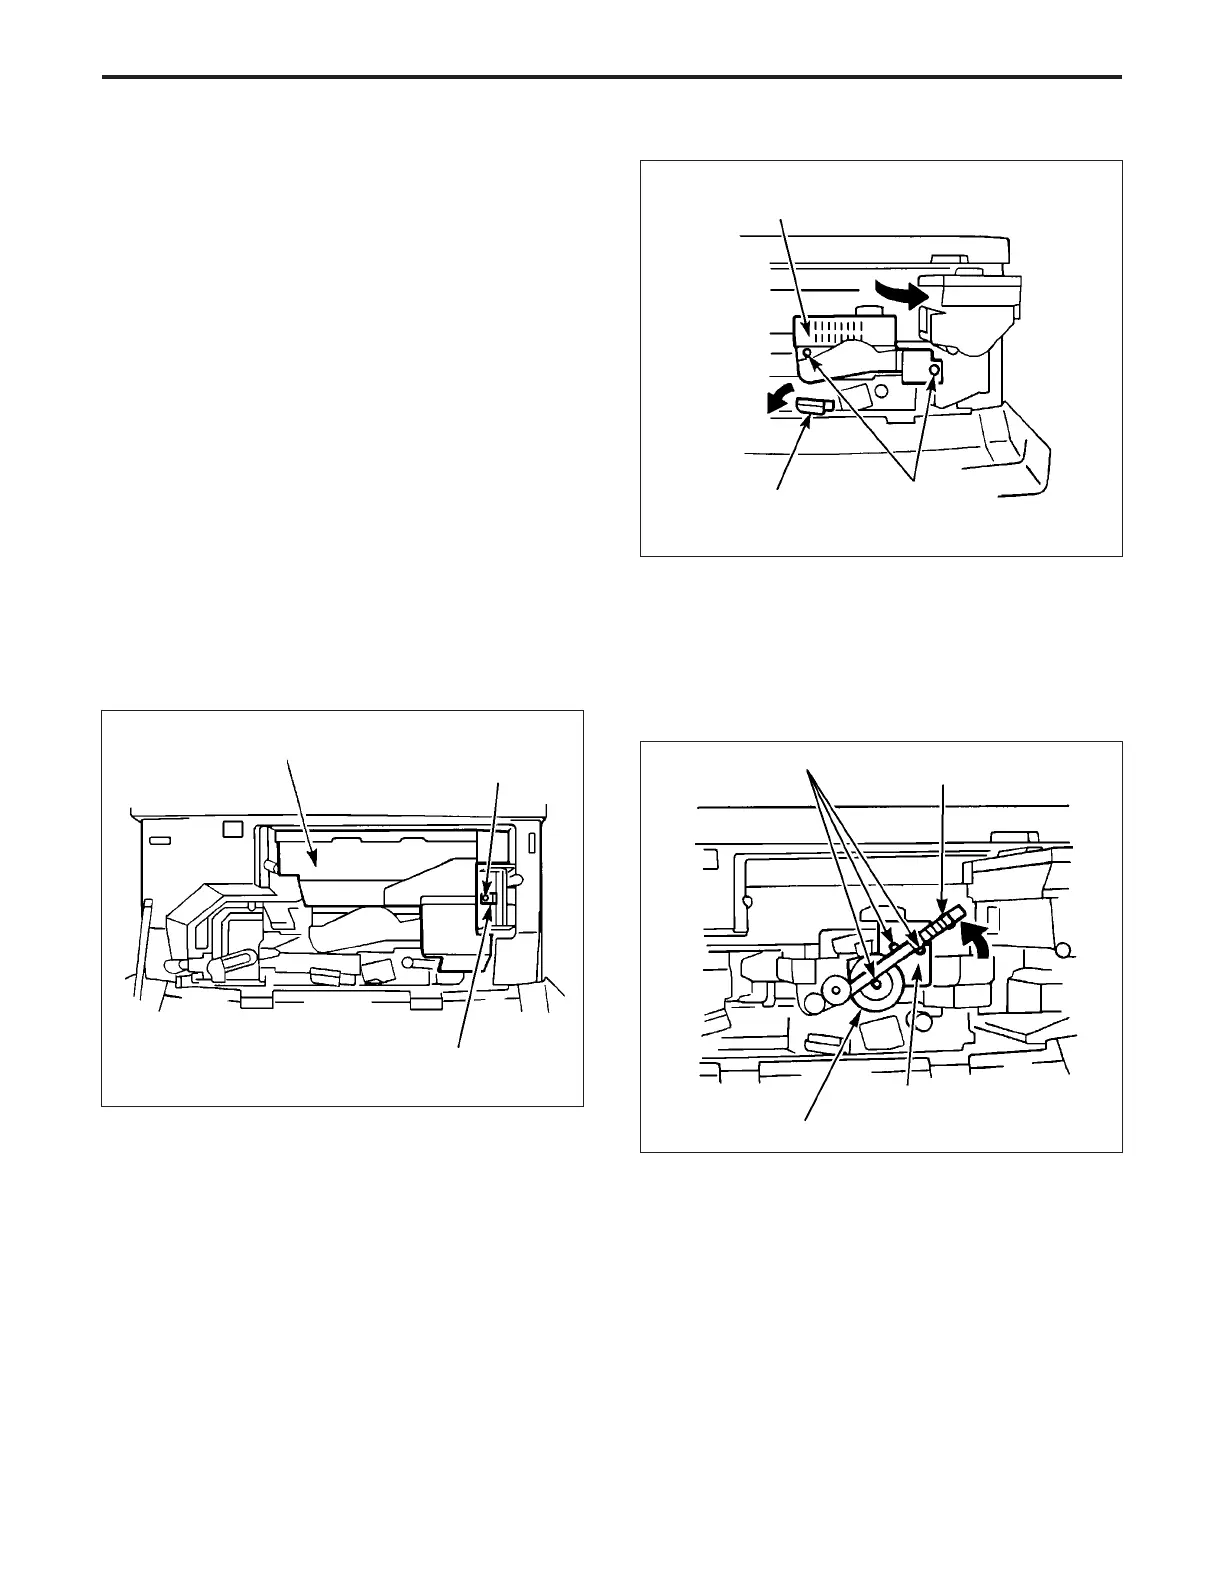
a. Procedure
(1) Open the front door, slacken the set screw, release the
lock plate of the toner supply unit, then pull forward the
toner supply unit and fix it in place.
(4) Remove the three set screws, then slowly pull the
drum unit forward.
(Raise the toner recycle unit then
remove the set screw at the center of the drum.)
Caution: There is a possibility of the drum rotating in reverse,
so retain the cleaner idler gear to prevent the drum
from rotating.
(2) Release the conveyance lever.
(3) Remove the two set screws, then remove the drum
cover.
Set screws
Toner recycle unit
Drum unit
Cleaner idler gear
(5) Re-install the drum carriage in the opposite sequence
to removal.
Drum cover
Set screws
Conveyance lever
Toner supply unit
Set screw
Lock plate
DRUM UNIT-1