ADJUSTMENT
4 - 20
1. Copy count reset by parts to be replaced
<Count Reset Selection>
Select
5
Copy count by parts to be replaced in the 25 Mode
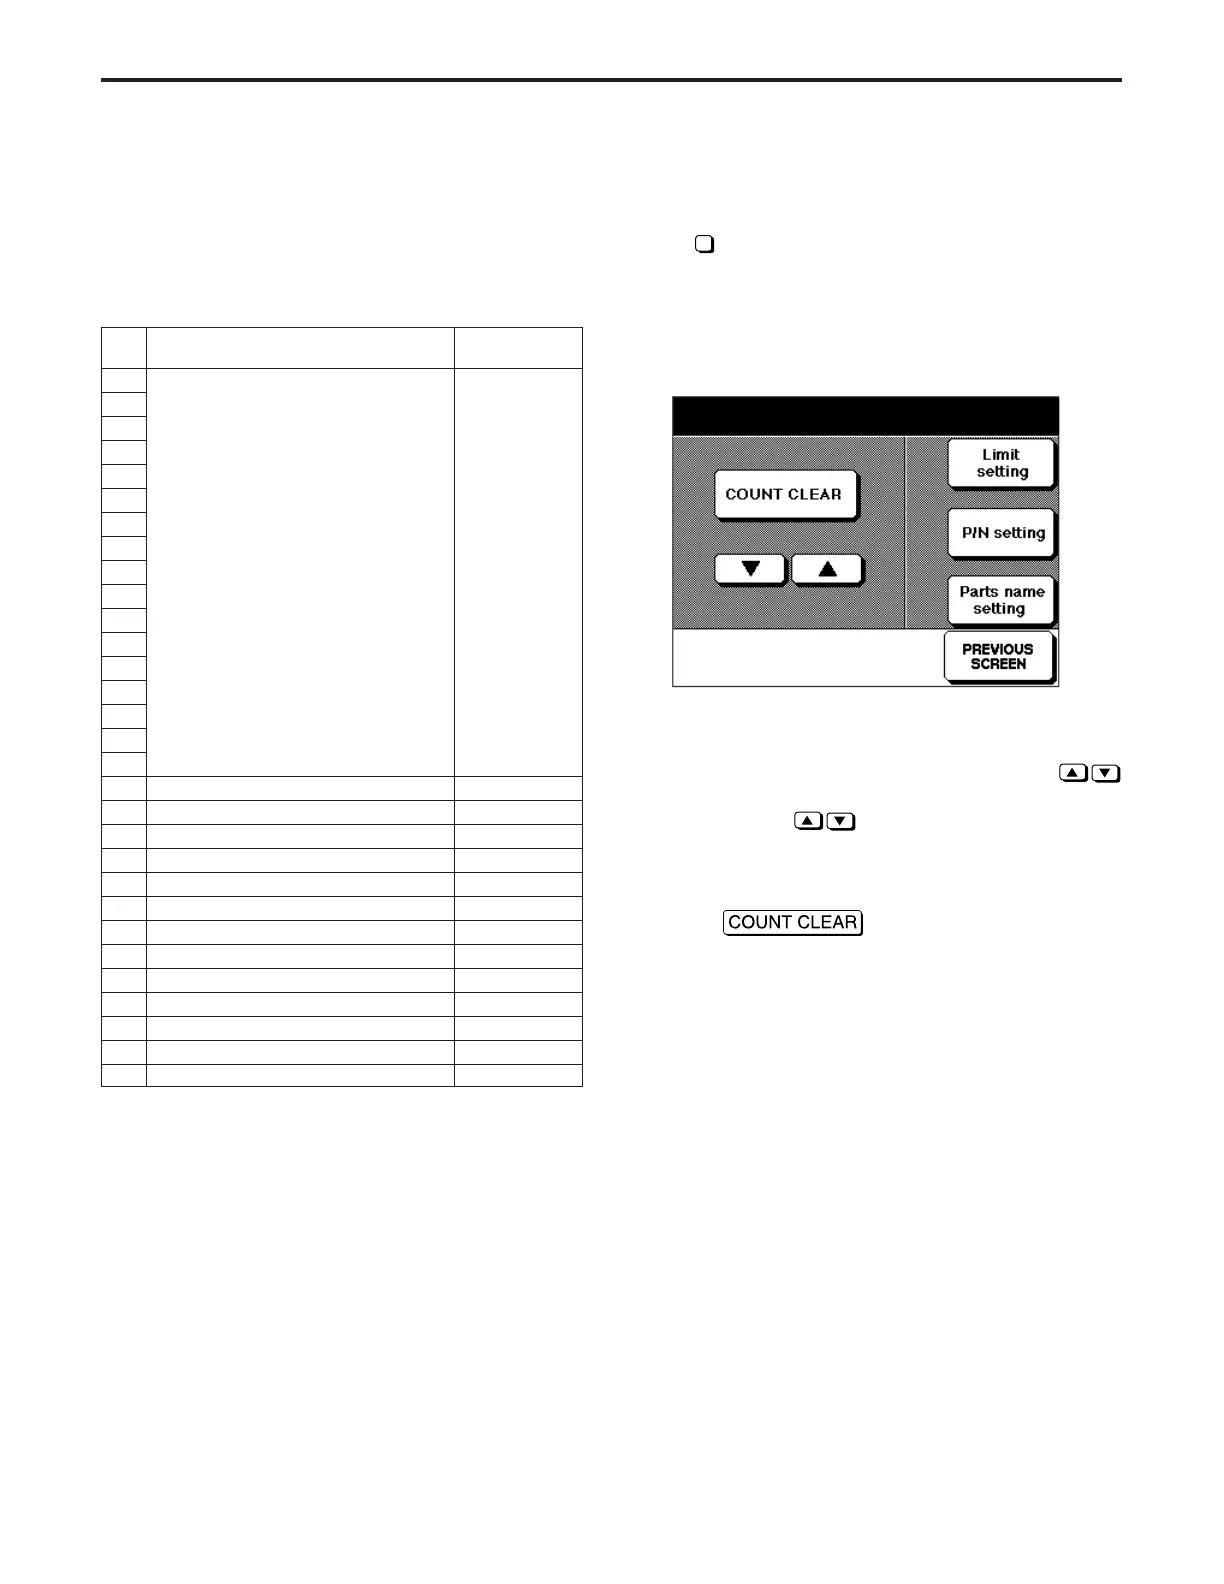
Screen to display Copy Count Screen by Parts to be Replaced
as an initial screen.
Select the count reset here.
[Copy Count Screen by Parts to be Replaced]
(1) Data number, count value then limit value are displayed
on the second row of the message area.
(2) The data number can be changed by pressing
key.
Press and hold
key to display next items continu-
ously.
(3) The count/limit value for the selected data No. will be dis-
played.
(4) Press
button to move to Copy Count
Reset Screen by Parts to be Replaced.
[7] Copy Count by Parts to be Replaced
The following settings are used for arbitrary parts or data.
1. Copy count reset
2. Limit value setting
3. Part number setting
4. Part name setting
No. Count timing
Part name
initial status
1
When copy count (paper exit and ADU)
Not set
2 (Setting is
3 available)
4
5
6
7
8
9
10
11
12
13
14
15
16
17
18 When stapling select (at back) <STAPLER/R>
19 When stapling select (at front) <STAPLER/F>
20 When Large capacity tray paper feed <TRAY 5>
21 When manual paper feed <BY-PASS>
22 When tray 1 select <TRAY 1>
23 When tray 2 select <TRAY 2>
24 When tray 3 select <TRAY 3>
25 When tray 4 select <TRAY 4>
26 When ADU paper feed <ADU>
27 When main unit paper feed <MB-EXIT>
28 When ADF feed <ADF 1>
29 When ADF feed <ADF 2>
30 When ADF feed <ADF 3>
<Initial Status>
* Part numbers 1~30 are not set.
* Part names No. 1~17 are not set.
* Refer to the part names of No. 18~30 in the table above.
Copy count of each part EX-LAMP
No.15 P/N xxxxxxxxx 000300/050000