5 - 20
RADF Mode (large size) Adjustment
12. Touch the
Next adjustment
key until "RADF original
stop position adjustment (two-sided original: Large)"
appears in the message display box.
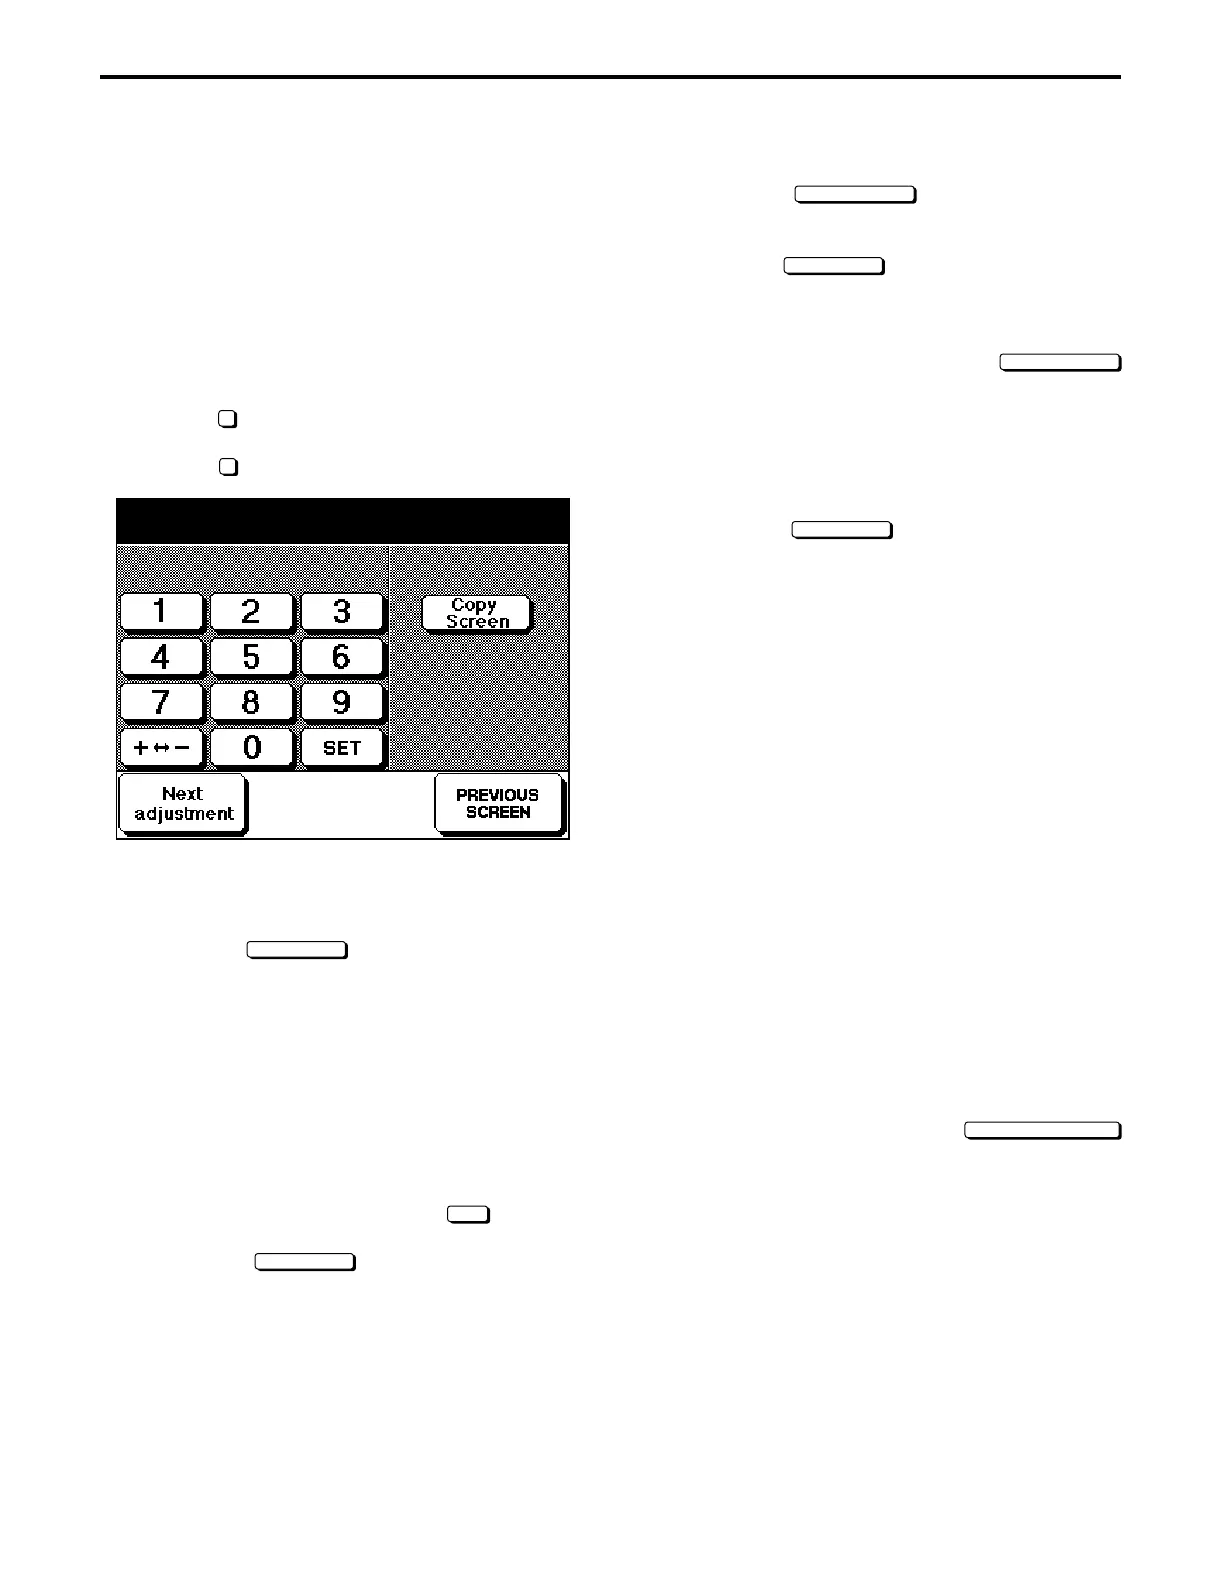
13. Press the
Copy Screen
key and enter the "Two-sided
original to one-sided copy" mode.
14. Press the START PRINT button and make a copy.
15. Measure the original leading edge timing, and if
adjustment is not necessary press the
Next adjustment
key and adjust the next item. (Standard value: Within
1 mm)
16. Press the C button while pressing the P button.
17. While checking the numerical value in the message
display box, change the set value using the numeric
keypad on the screen. (1 step = 0.39 mm)
18. Touch the
Copy Screen
key, then press the START
PRINT button and make a copy, and measure the
leading edge timing.
19. Press the C button while pressing the P button, and if
adjustment is necessary return to step 17.
Likewise, perform the medium size and small size
adjustments of the RADF mode. (Standard value:
Within 1 mm)
When Performing RADF Mode (medium size) Adjustments
Message display box
RADF original stop position adjustment (two-sided original:
Medium)
Copy mode
Two-sided original to one-sided copy mode
Original paper size: A4R/8
1
/
2
" × 11"R
RADF Mode (small size) Adjustment
Message display box
RADF original stop position adjustment (two-sided original:
Small)
Copy mode
Two-sided original to one-sided copy mode
Original paper size: A4/8
1
/
2
" × 11"
Upon completion of adjustment, touch the
PREVIOUS SCREEN
key.
ADJUSTMENTS
[1] Preparations
1. Remove dirt from the platen glass.
2. Obtain the following items.
* Original with a leading edge timing edge
* 150 mm metal scale
* Copy paper (A3/11" × 17"/A4/8
1
/
2
" × 11")
[2] Original Stop Position Adjustment
1. While pressing Copy Quantity Setting buttons 3 and 6,
turn ON the main switch.
2. Select
2
Timing Adjustment from the 36-mode menu
screen.
3. Select
8
RADF Original Stop Position Adjustment.
4. Place an A3/11" × 17" size original in the original paper
feed tray of the RADF, and place A3/11" × 17" copy
paper in the paper feed tray.
5. Touch the
Copy Screen
key, and enter the "One-sided
original to one-sided copy" mode.
6. Press the START PRINT button and make a copy.
7. Measure the original leading edge timing, and if
adjustment is unnecessary proceed to step 13.
(Standard value: within 1 mm)
ADF Mode Adjustments
8. Press the C button while pressing the P button.
9. While checking the numerical value in the message
display box, change the set value using the numeric
keypad on the screen then touch the
SET
key. (1 step
= 0.39 mm)
10. Touch the
Copy Screen
key, then press the PRINT
START button and make a copy, and measure the
leading edge timing.
11. Press the C button while pressing the P button, and if
adjustment is necessary return to step 9.
Original pos. adj. (1 sided) 1/4
+0 +0 0 (-99 ~ +99) 1step + 0.39mm