ADJUSTMENT
4 - 3
SETTING AND ADJUSTMENT WITH P FUNCTION
Copy quantity
setting button
START PRINT
button
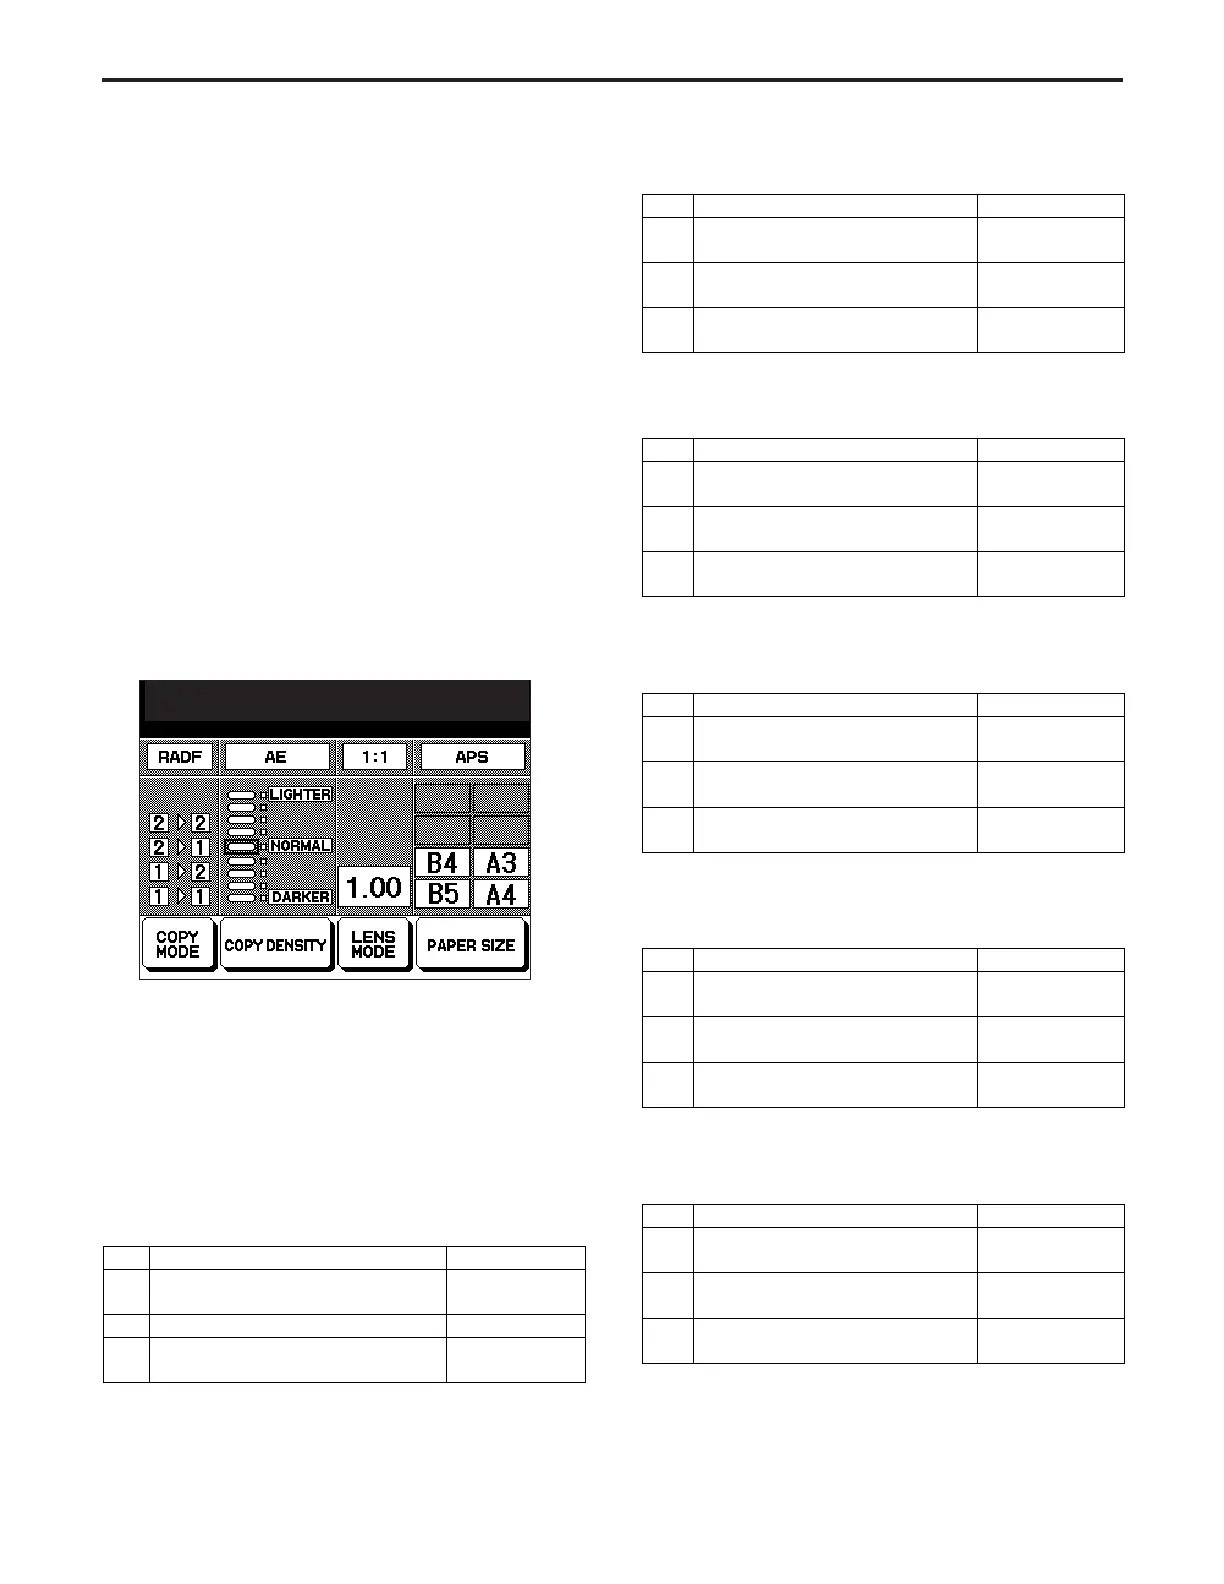
Operation panel
Step
1
2
3
Operation (Indication)
Entry Terminal
Press 2 from the copy quantity
setting button.
Press the START PRINT button.
Check the PM count displayed in
the message area.
Copy quantity
setting button
START PRINT
button
Operation panel
Step
1
2
3
Operation (Indication)
Entry Terminal
Press 3 from the copy quantity
setting button.
Press the START PRINT button.
Check the drum count displayed
in the message area.
Copy quantity
setting button
START PRINT
button
Operation panel
Step
1
2
3
Operation (Indication)
Entry Terminal
Press 4 from the copy quantity
setting button.
Press the START PRINT button.
Check the developing count
displayed in the message area.
Copy quantity
setting button
PRINT START
button
Operation panel
Step
1
2
3
Operation (Indication)
Entry Terminal
Press 5 from the copy quantity
setting button.
Press the START PRINT button.
Check the Setting displayed
in the message area.
P-mode :
Select No. (1-3) using key pad
Copy quantity
setting button
START PRINT
button
Operation panel
Step
1
2
3
Operation (Indication)
Entry Terminal
Press 1 from the copy quantity
setting button.
Press the START PRINT button.
Check the total count displayed in
the message area.
P function enables to display the following parameters with
the P button.
0. Checking the Printer Count
1. Checking the Total Count
2. Checking the PM Count
3. Checking the Drum Count
4. Checking the developing count
5. Checking the density shift (text/photo)
6. Checking the density shift (text)
7. Checking the density shift (photo)
8. Checking the density shift (Increase contrast)
9. Printing user data
This section explains the various functions which is exclusive
for the serviceman.
[1] Setting Method of P Function
a. Turn ON the Main switch.
b. Press P button.
c. P Mode Screen will appear.
d. Use the copy quantity setting button to enter the de-
sired number, following the message on the operation
panel.
e. Press PRINT to confirm the various data displayed in
the message area.
f. Press Stop/Clear button.
g. Turn OFF the main switch.
[2] Checking the Printer Count
Copy quantity
setting button
START PRINT button
Operation panel
Step
1
2
3
Operation (Indication)
Entry Terminal
Press 0 from the copy quantity
setting button.
Press the START PRINT button.
Check the printer count (IP output
only) displayed in the message area.
[3] Checking the Total Count
[4] Checking the PM Count/Starting Date
[5] Checking the Drum Count
[6] Checking the Developing Count
[7] Checking the Density Shift (text/photo)
ADJUSTMENT-1