DIAGNOSTICS
4 - 34
[10] Paper Feed Loop Adjustment
Adjust the loop for each tray using the procedure shown below.
If the 36 mode menu screen is opened, then
2
Timing Ad-
justment selected, the timing adjustment menu screen will
appear.
Open this screen, then select
3
Paper Feed Loop Adjust-
ment.
[Paper Feed Loop Adjustment Screen]
Paper loop adj. (Tray 1 ~ 5)
+0 +0 (-20 ~ +99) 1step = 0.1mm
Press the
Next adjustment
key, and select the paper feed tray
whose loop is to be adjusted.
Paper feed loop adjustment (Tray1 to Tray5)
Paper feed loop adjustment (Bypass feed)
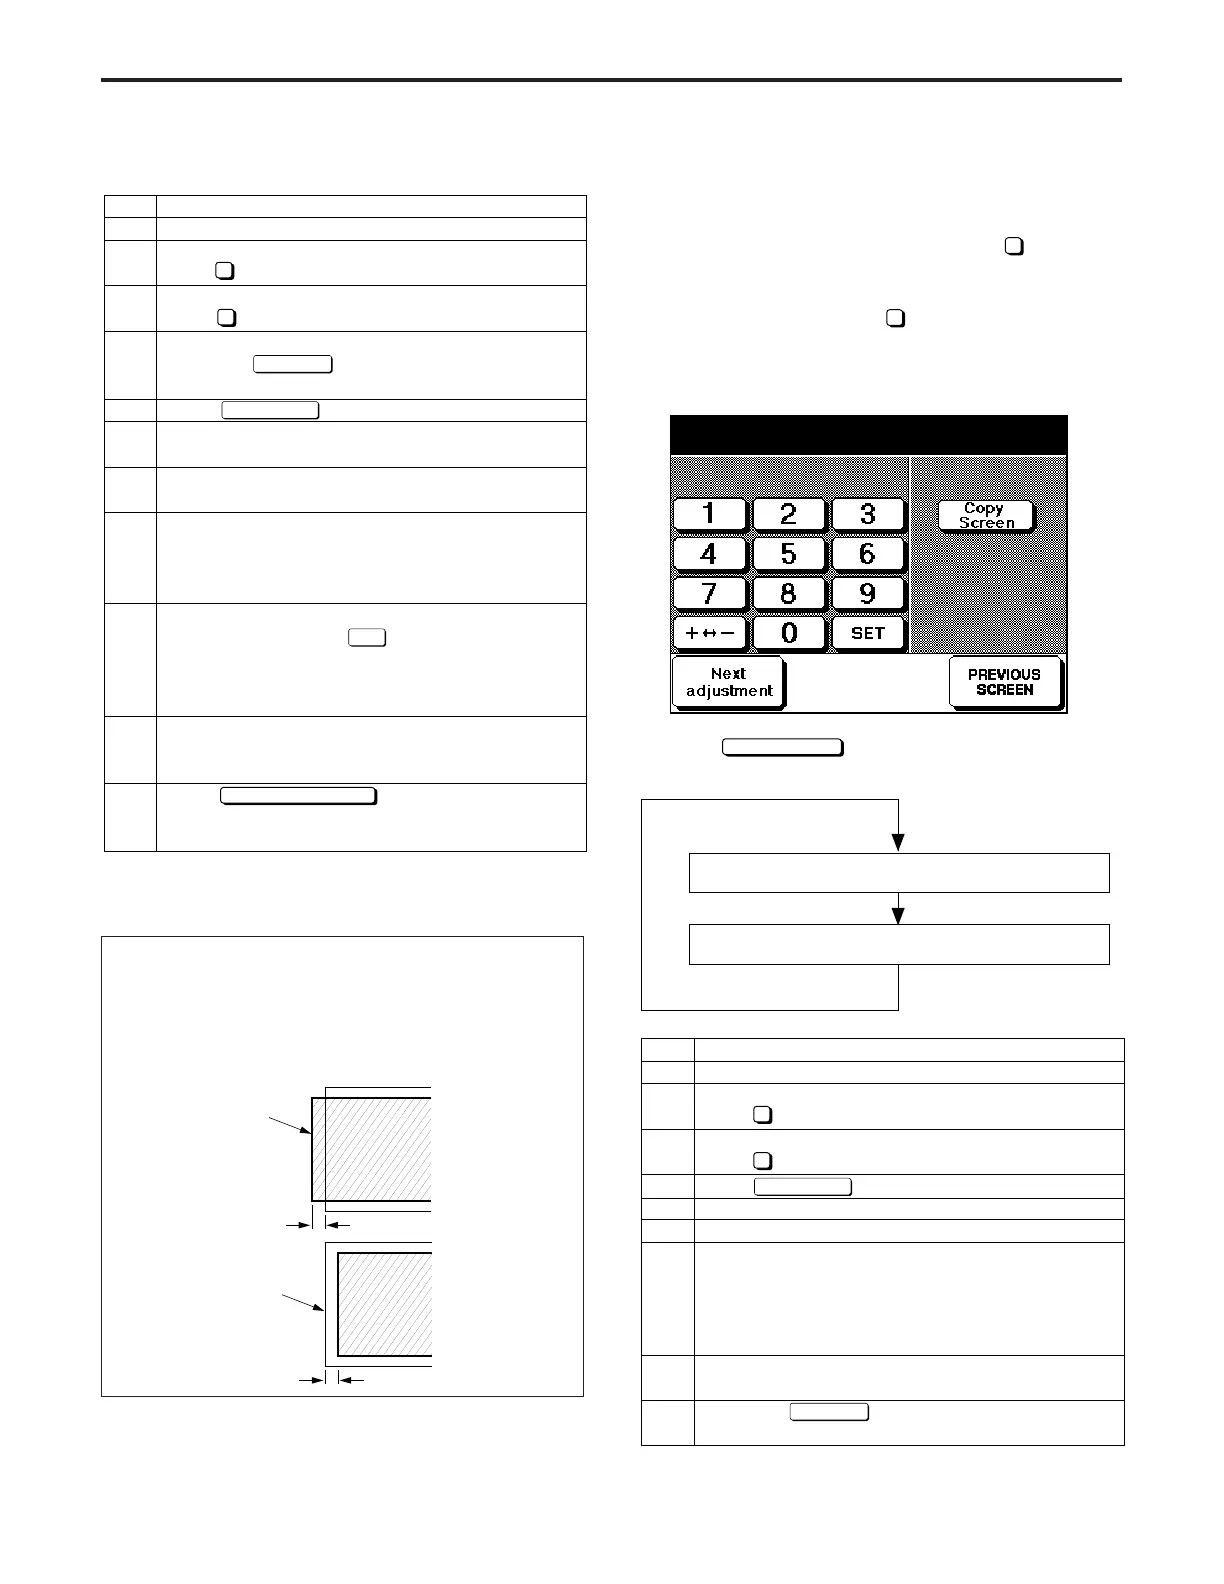
Step
1
2
3
4
5
6
7
8
9
Operation
Enter the 36 mode.
[36 MODE SCREEN]
Press Timing adjustment.
[TIMING ADJUSTMENT SCREEN]
Press Paper feed loop adjustment.
Press key.
Make a copy and check the paper feed loop.
Press the C button while pressing the P button.
Enter a value from the numeric keypad, then touch
the [Set] key.
< Input range >
-20 (small) -00 (standard) +99 (large)
1 step = 0.1 msec
Repeat steps 4 to 7 until the paper feed loop is
appropriate.
Press the key, and select the tray
whose loop is to be adjusted next.
2
3
Copy Screen
Next adjust
(2) Printer system leading edge timing adjustment
Step
1
2
3
4
5
6
7
8
9
10
11
Operation
Enter the 36 mode.
[36 MODE SCREEN]
Press Timing adjustment.
[TIMING ADJUSTMENT SCREEN]
Press Restart timing adjustment.
[Re-start Timing Adjustment Panel]
Press the key until Printer:
***
is
displayed. (
***
indicates any optional tray.)
Press key.
Using the copy quantity setting buttons, set the copy
quantity to 1.
Press the START PRINT button, and visually check
the leading edge timing.
If the leading edge timing is different to the standard
value, press the C button while pressing the P
button to re-display the re-start timing adjustment
screen.
Enter a value from the numeric keypad on the
screen, then touch the key.
< Input range >
-99 (slow) to 99 (fast)
1 step = 0.1 mm
Repeat steps 6 to 9 until the leading edge timing
becomes the standard value.
* Standard value: Within ±0.5 mm
Touch to re-display the timing
adjustment screen.
Next Page
Copy Screen
SET
2
2
PREVIOUS SCREEN
Standard: ±3mm (Main body: without rotation)
±4mm (Full system: without rotation)
±4mm (Main body: with rotation)
±6mm (Full system: with rotation)
Image
Paper
DIAGNOSTICS-1