DIAGNOSTICS
4 - 35
[11] Leading Edge Original Erasure
Adjustment
Adjust the leading edge margin using the procedure shown
below.
If the 36 mode menu screen is opened, then
2
Timing Adjust-
ment selected, the timing adjustment menu screen will ap-
pear.
Open this screen, then select
4
Leading Edge Margin Ad-
justment.
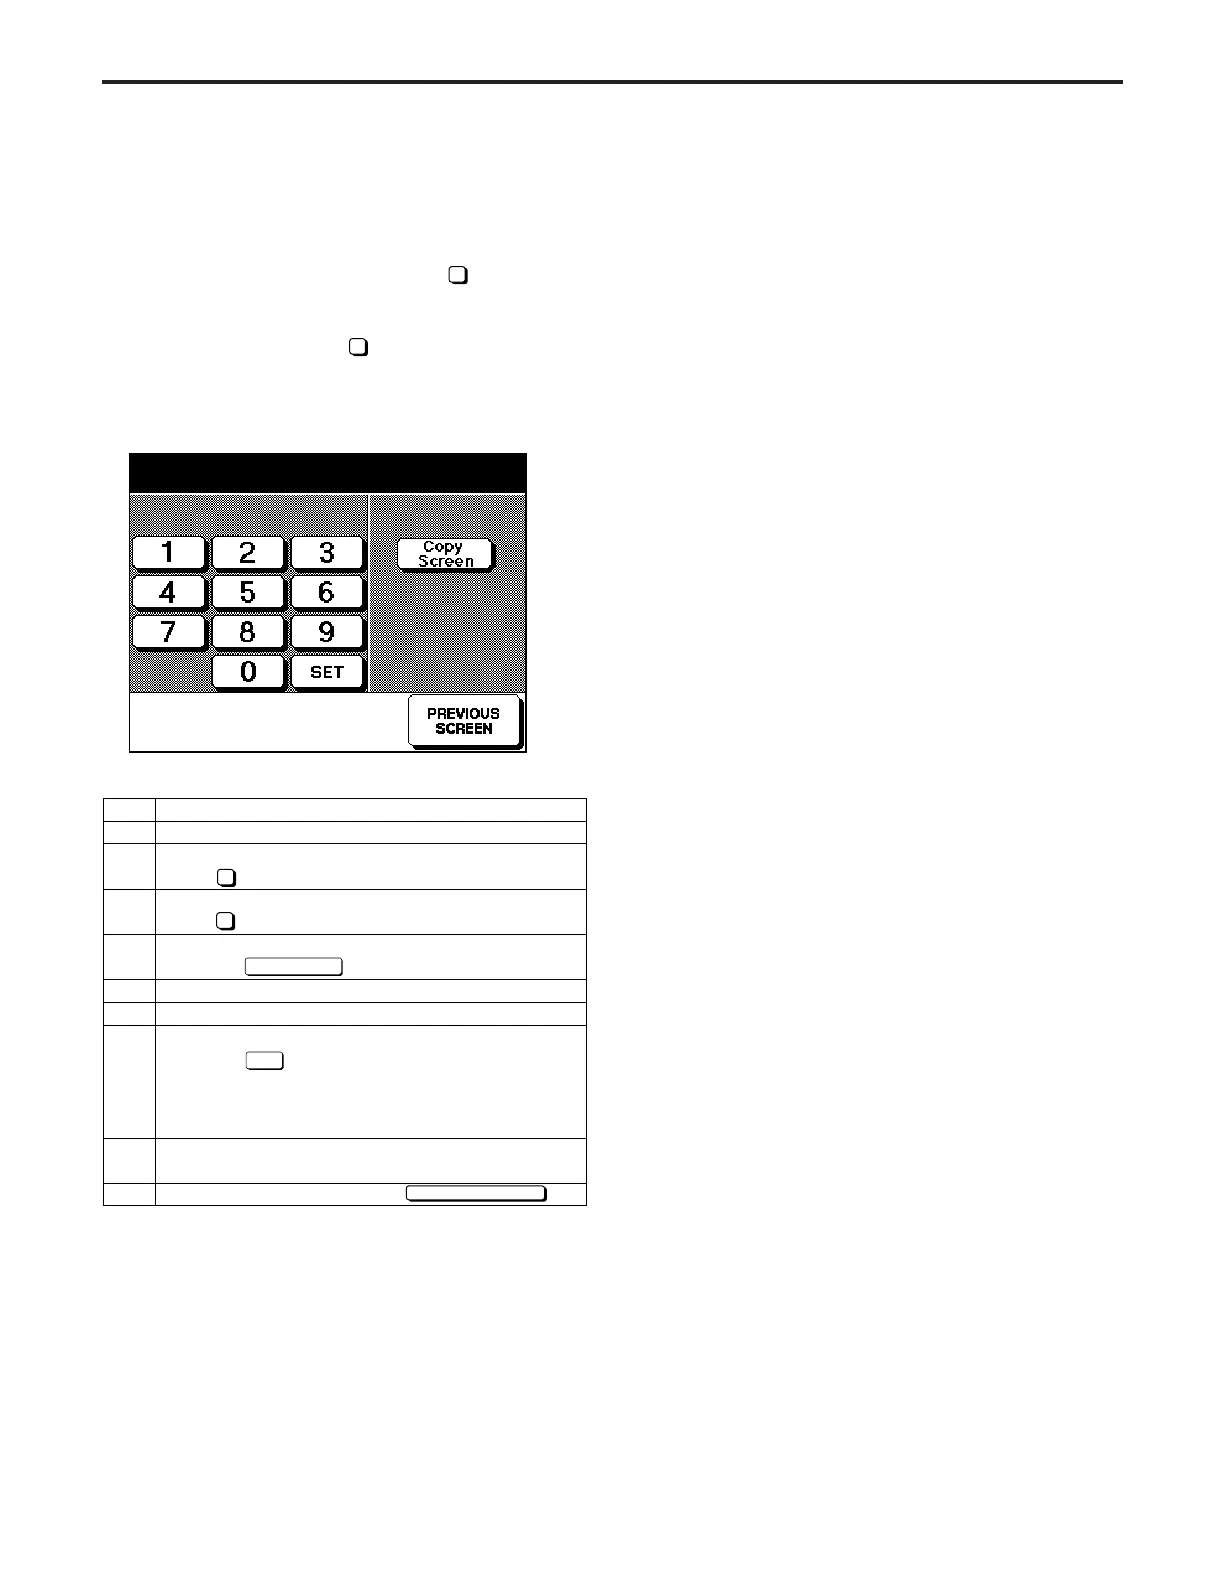
[Leading Edge timing Adjustment Screen]
Step
1
2
3
4
5
6
7
8
9
Operation
Enter the 36 mode.
[36 MODE SCREEN]
Press Timing adjustment.
[TIMING ADJUSTMENT SCREEN]
Press Lead edge original erasure adjustment.
[Leading Edge Margin Adjustment Screen]
Press the key.
Make a copy, and confirm the output.
Press the C button while pressing the P button.
Enter a value from the numerical keypad, then
touch the key.
< Input range >
0 (small) to 99 (large)
1 step = 1 pixel
Repeat steps 5 to 7 until the leading edge margin
falls within the standard range (within 3mm).
To end adjustment, touch the key.
2
4
Copy Screen
SET
PREVIOUS SCREEN
Lead edge timing adjustment
+0 +0 (-20 ~ +50) 1step = 0.1mm
[12] Optics Brake Adjustment
Optics Brake Adjustment is not field adjustable.