2 - D - 1
DRIVE SECTION
DRIVE SECTION
[1] Composition
Mechanism Method
Drum drive Gear drive (dedicated motor)
Developing sleeve drive Gear drive (dedicated motor)
Developing agitator drive Gear drive (dedicated motor)
2nd paper feed drive Timing belt + gear drive
conveyance drive Timing belt + gear drive
Fixing and exit drive Timing belt + gear drive
ADU lead-in drive Timing belt + gear drive
Toner recycle Timing belt + gear drive
*1
*1
*1
a. Procedure
(1) Remove the drum unit from the main body. (Refer to
"Drum unit section".)
(2) Remove the nine set screws, then remove the rear
cover.
(3) Remove the three set screws, then remove the fly-
wheels (three).
*1: Separation of the different parts of the drive system
The drum, developing sleeve and developing agitator of
this machine are driven by separate motors in order to
improve the serviceability of the drum unit and also to
improve the developing performance.
[3] Disassembly and Re-assembly
1. Removing and Re-installing the Main Motor
Unit
Caution: Be sure that the power cord has been unplugged
from the power outlet.
Caution: Be sure to remove the drum carriage before remov-
ing or re-installing the main motor unit.
If you leave the drum carriage installed, the cleaning
blade is likely to be damaged because the drum will
turn when you remove or re-install the flywheel.
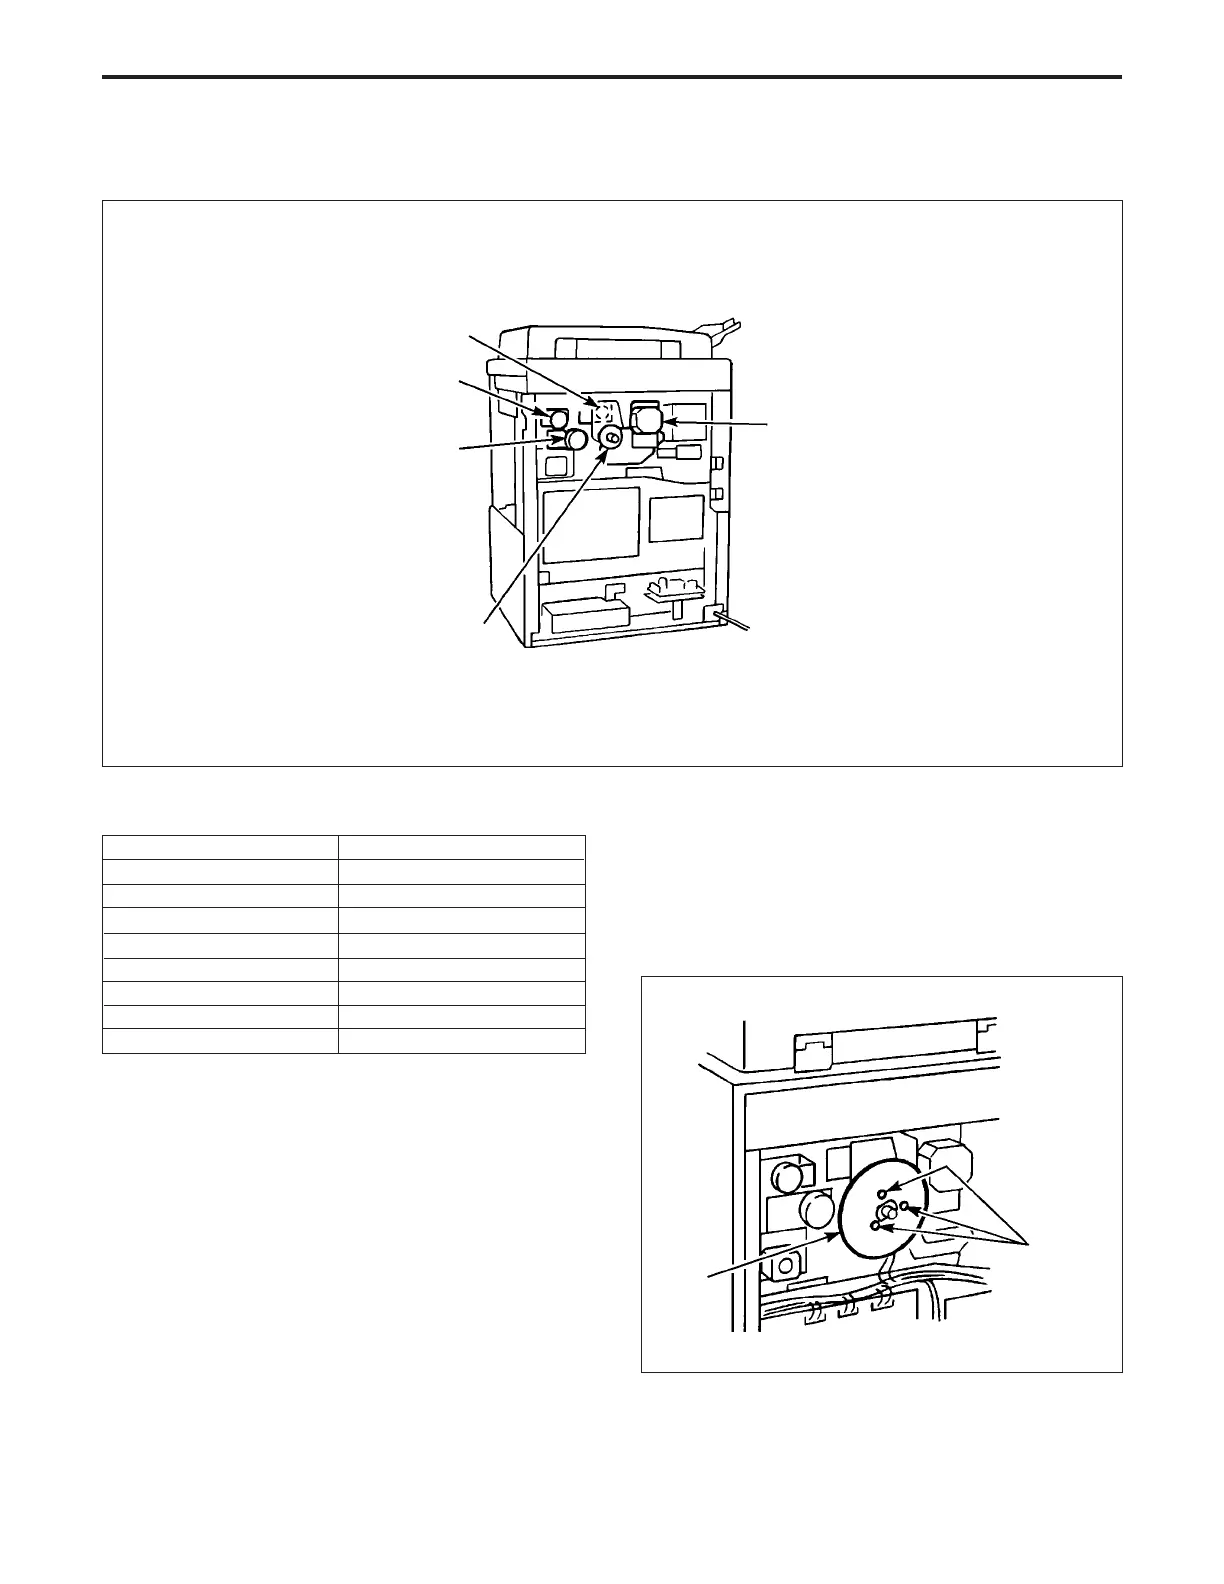
[2] Mechanisms
Set screws
Flywheels
Agitator screw motor (M35)
Drum motor (M4)
Developing drive motor (M3)
Main motor (M1)
Drum drive unit