ADJUSTMENT
4 - 4
Copy quantity
setting button
START PRINT
button
Operation panel
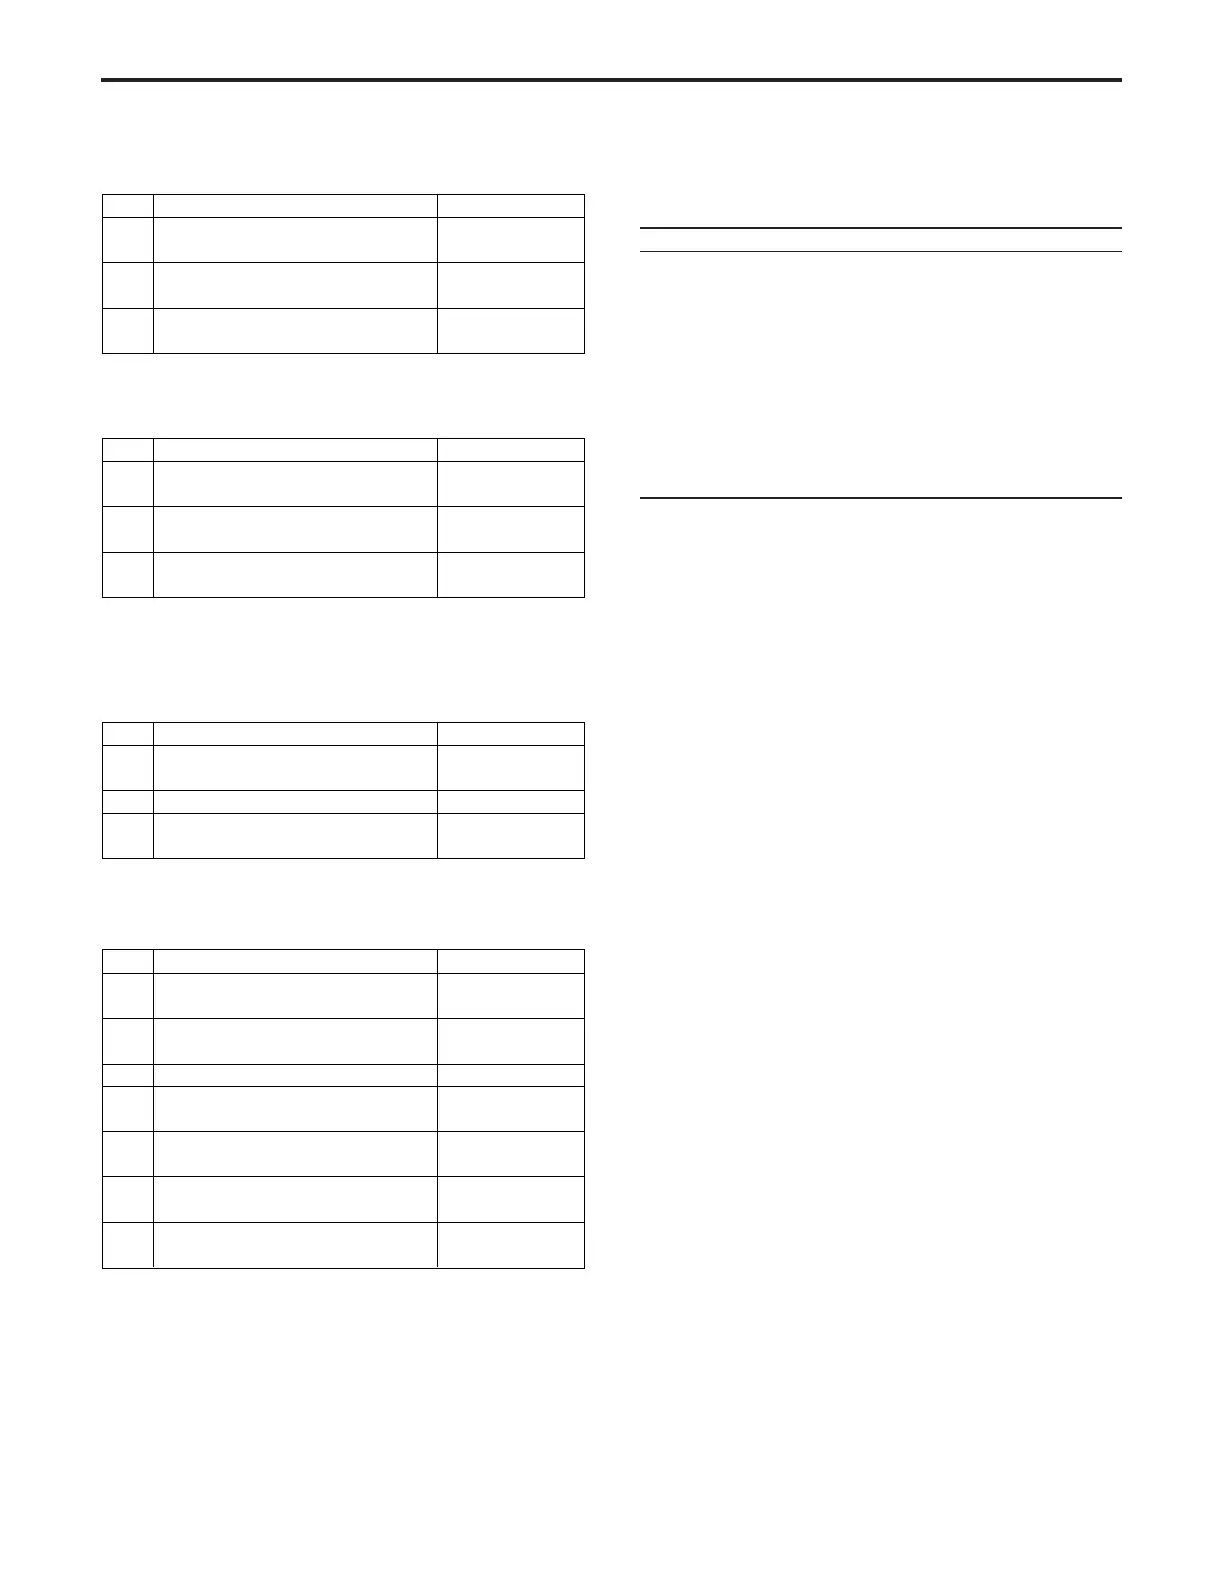
Step
1
2
3
Operation (Indication)
Entry Terminal
Press 6 from the copy quantity
setting button.
Press the START PRINT button.
Check the setting displayed
in the message area.
Copy quantity
setting button
START PRINTT
button
Operation panel
Step
1
2
3
Operation (Indication)
Entry Terminal
Press 7 from the copy quantity
setting button.
Press the START PRINT button.
Check the setting displayed
in the message area.
[10] Checking the Density Shift
(INCREASE CONTRAST)
Copy quantity
setting button
START PRINT
Operation panel
Step
1
2
3
Operation (Indication)
Entry Terminal
Press 8 from the copy quantity
setting button.
Press the START PRINT button.
Check the setting displayed
in the message area.
[11] Printing User Data
Copy quantity
setting button
START PRINT
button
Operation panel
START PRINT
button
Operation panel
START PRINT
button
START PRINT
button
Step
1
2
3
4
5
6
7
Operation (Indication)
Entry Terminal
Press 9 from the copy quantity
setting button.
Press the START PRINT button.
Enter the EKC master key code.
Press the START PRINT button.
Select the number (1 to 3) that
you wish to output. *1
Press the START PRINT button.
Press the START PRINT button.
The user data starts to be output.
*1: The selection items are as follows.
1 Copy count for each password (256 items)
2 Limit quantity for each password (256 items)
3 Copy count for each size (10 items)
Referrence: Each copy count data number describe papersize
as follows.
No. Japan Europe USA
001 — — —
002 A3 A3 11"
× 17"
003 B4 B4 8
1
/
2
"
× 14"
004 A4 A4 8
1
/
2
"
× 11"
005 B5 B5 5
1
/
2
"
× 8
1
/
2
"
006 A5 A5 —
007 B6 F4 —
008 8
1
/
2
"
× 14" — —
009 8
1
/
2
"
× 11" — —
010
special special special
[8] Checking the Density Shift (text)
[9] Checking the Density Shift (photo)
ADJUSTMENT-1