DIAGNOSTICS
4 - 37
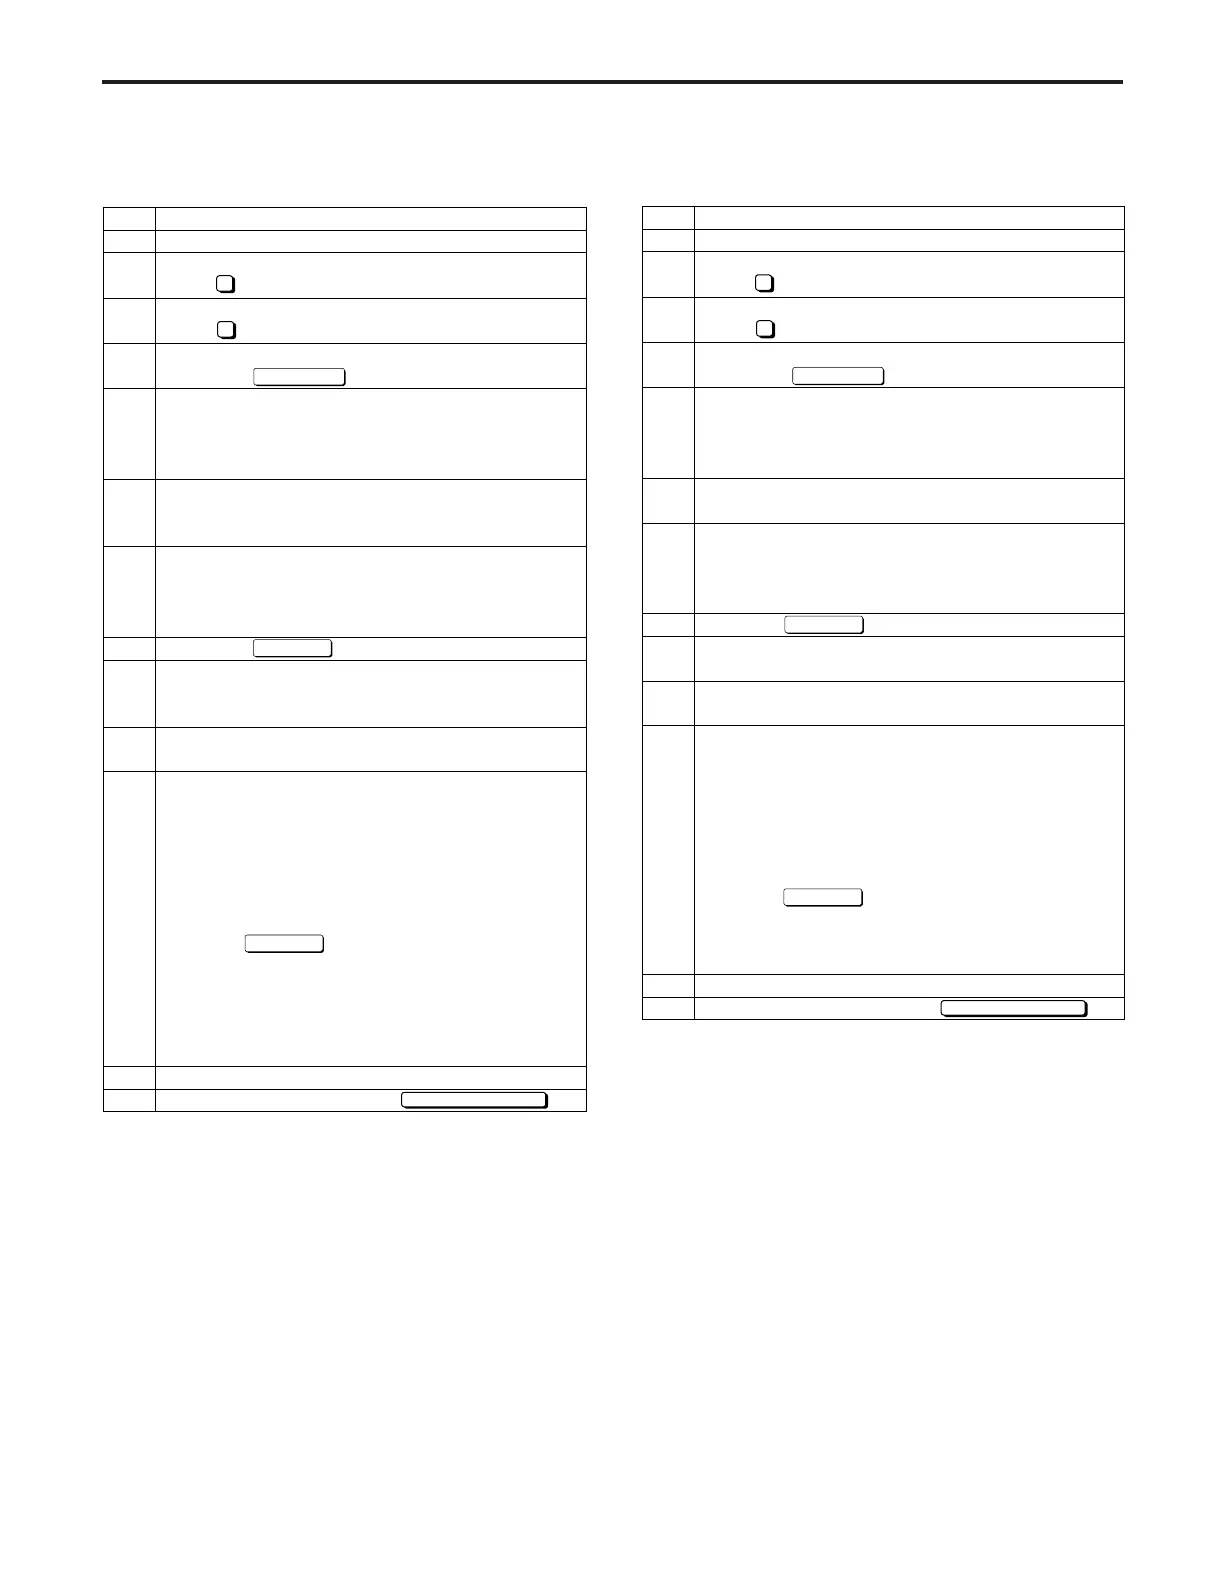
(1) Each tray Manual feed centering adjustment (2) ADU centering adjustment
Step
1
2
3
4
5
6
7
8
9
10
11
12
13
Operation
Enter the 36 mode.
[36 MODE SCREEN]
Press Timing adjustment.
[TIMING ADJUSTMENT SCREEN]
Press Centering Adjustment.
[Centering Adjustment Screen]
Touch the key.
(Adjust Tray 1)
Make a copy under the following conditions.
* One-sided original to one-sided copy mode
* Tray 1 (A3/11" × 17")
Fold the output at the center in the
feeding direction, and check that the left and right
lines coincide exactly. Standard: ±1mm
* If the mis-centering is more than ± 2 mm:
Perform mechanical adjustment. (*1)
* If the mis-centering is no more than ± 2 mm:
Press the C button while pressing the P button.
Press the key and select [Writing]
Enter a value from the numeric keypad, then press
the [Set] key.
( Input range -32 to +32 1 step = 1 pixel)
Repeat steps 4 to 9 until the mis-centering is within
±1 mm.
Perform the same adjustments for the other trays
as well.
* When the mis-centering is more than ±2 mm:
Perform mechanical adjustment. (*1)
* When the mis-centering is no more than ±2 mm:
Press the C button while pressing the P button.
Select the paper feed tray that you wish to adjust
using the key.
Lower tray ...................... [Tray 2]
LCT right ........................ [Tray 3]
LCT left ..........................
[Tray 4]
ST-3500................. ........
[Tray 5]
Manual feed ................... [By-pass]
Subsequent adjustments are the same as for tray 1.
To end adjustment, touch the key.
2
6
Copy Screen
Next adjust
Next adjust
PREVIOUS SCREEN
*1: For details of mechanical mis-centering adjustment
of each tray, refer to "Other Adjustments".
Step
1
2
3
4
5
6
7
8
9
10
11
12
13
Operation
Enter the 36 mode.
[36 MODE SCREEN]
Press Timing adjustment.
[TIMING ADJUSTMENT SCREEN]
Press Centering Adjustment.
[Centering Adjustment Screen]
Touch the key.
(Adjust Large size)
Make a copy under the following conditions.
* Duplicationcopy mode
* Tray 1 (A3/11" × 17")
Confirm that the centerlines of the face side and
reverse side test patterns coincide exactly.
* If the mis-centering is more than ± 2 mm:
Perform mechanical adjustment. (*1)
* If the mis-centering is no more than ± 2 mm:
Press the C button while pressing the P button.
Press the
key and select [Side 2 collective]
Enter a value from the numeric keypad, then press
the [Set] key. (
Input range -94 ~ +99 1step = 1 pixel
)
Repeat steps 4 to 9 until the mis-centering is within
±1 mm.
Perform the same adjustments for the other trays
as well.
* When the mis-centering is more than ±2 mm:
Perform mechanical adjustment. (*1)
* When the mis-centering is no more than ±2 mm:
Press the C button while pressing the P button.
Select the paper size that you wish to adjust
using the key.
A4R (8
1
/
2
" × 11"R)
..... [Side2: Middle]
A4(8
1
/
2
" × 11") ........... [Side2: Small]
A5R
........................... [Side2: Very small]
Subsequent adjustments are the same as for Large.
To end adjustment, touch the key.
2
6
Copy Screen
Next adjust
Next adjust
PREVIOUS SCREEN
*1: For details of mechanical mis-centering adjustment
of each tray, refer to "Other Adjustments".
DIAGNOSTICS-1