2 - H - 3
CORONA UNIT SECTION
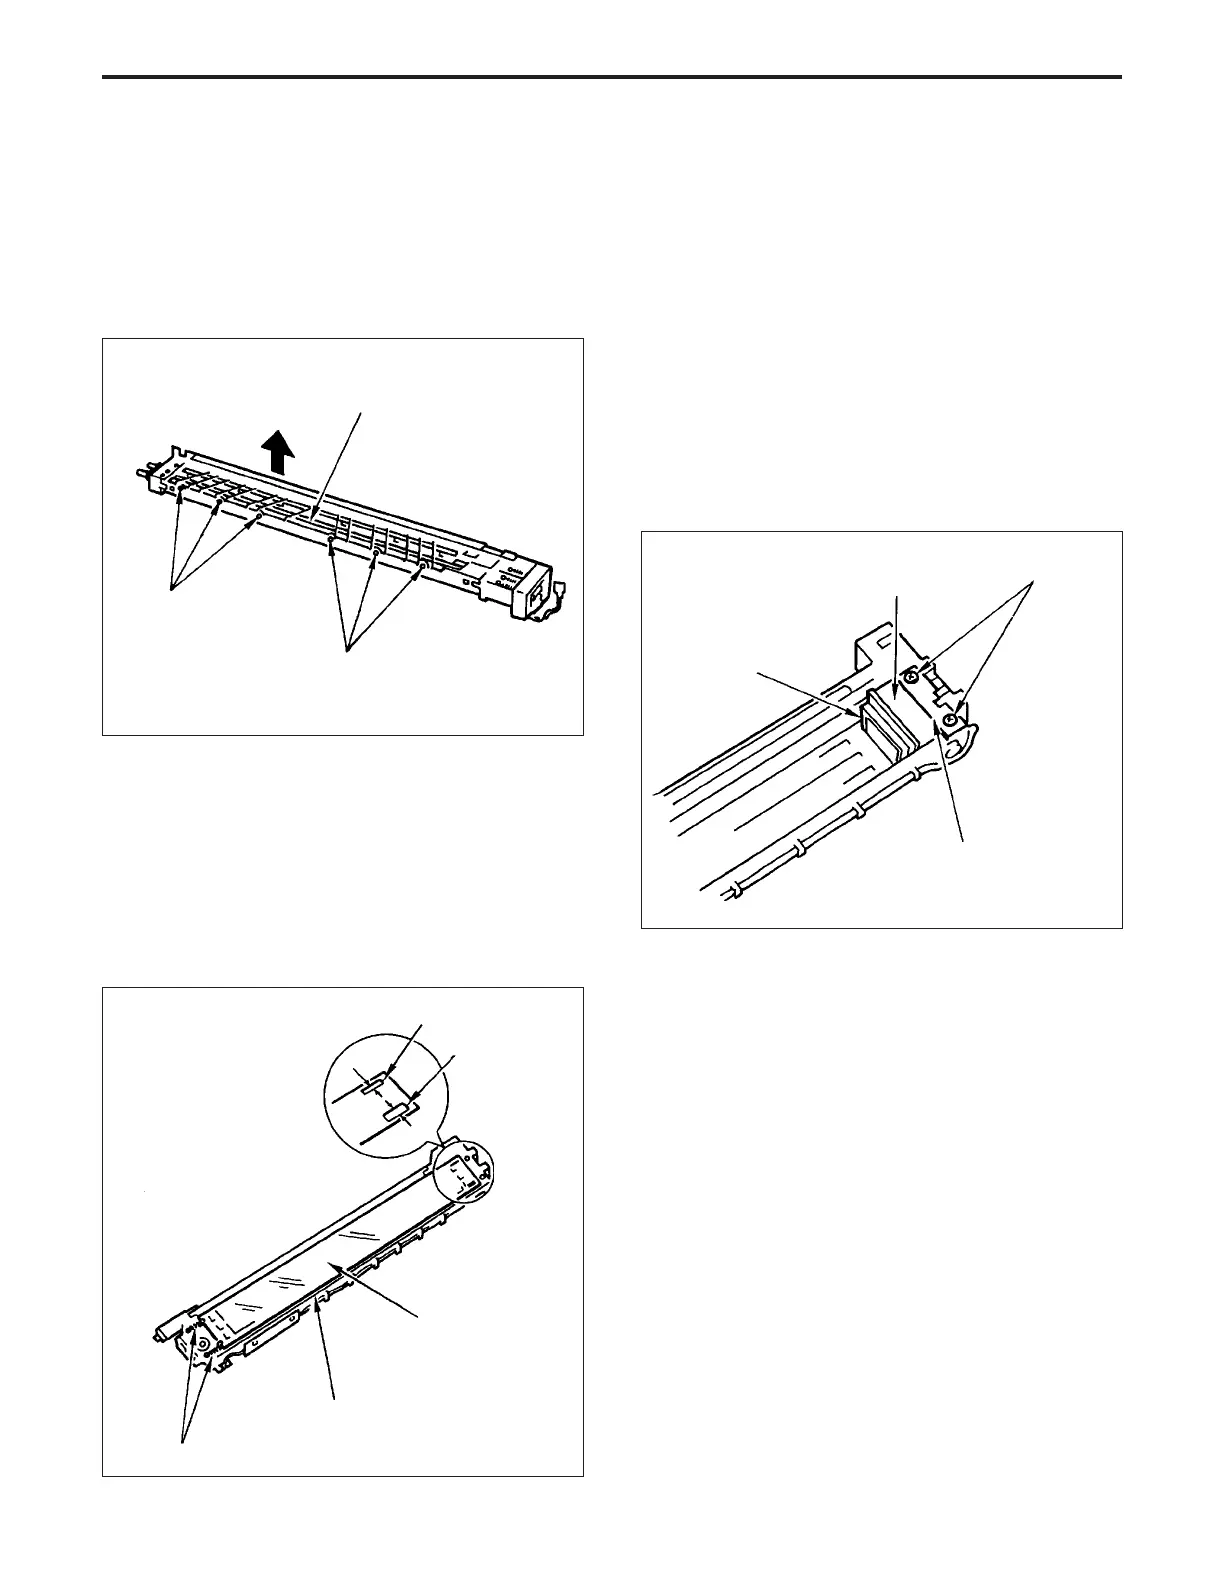
3. Removing and re-installing the Plunging
Prevention Plate
a. Procedure
(1) Remove the transfer and separation corona unit
(2) Push in the six hooks at the rear of the back plate while
grasping them with a pair of tweezers, and remove the
plunging prevention plate.
(3) Re-install the plunging prevention plate in the opposite
sequence to removal.
4. Cleaning the charging control plate
a. Procedure
(1) Remove the charging corona unit.
(2) Remove the two springs, then slide the charging con-
trol plate toward the charging wire cleaning motor and
remove it.
(3) Remove dirt from the charging control plate by gently
dabbing it with a piece of cloth moistened with drum
cleaner, then remove any remaining dirt with a blower
brush.
(4) Re-install the charging control plate in the opposite
sequence to removal.
5. Replacing Charging Wire Cleaning Block B
a. Procedure
(1) Remove the charging corona unit.
(2) Remove the charging control plate.
(3) Remove the two set screws of the charging corona unit
(front).
(4) Lift out and remove charging wire cleaning block B
together with the spark arrestor plate (front).
(5) Re-install charging wire cleaning block B in the oppo-
site sequence to removal.
Plunging prevention plate
Hooks
Hooks
Charging wire control plate
Charging corona unit
Springs
Narrow
Wide
Charging wire
cleaning block B
Spark arrestor plate (front)
Charging corona unit (front)
Set screws
CORONA UNIT SECTION-1